Setting a Christmas Table with Pottery Barn Reindeer Plates
You know Dasher and Dancer and Prancer and Vixen, Comet and Cupid and Donner and Blitzen…but do you recall the most red-nosed reindeer of all? Da-da-dum-dum…and so on.

Years ago when Pottery Barn first came out with their reindeer dinnerware I fell head over heels in love with the dashing plates (ha! a reindeer pun!). I was not, however, in love with the price tag. For several years I have been collecting these plates via eBay, one at a time, waiting for the right character and a low enough price. I finally have all 8 reindeer and am just waiting to find the Rudolph platter for the right discount. (I imagine that price won’t show up until after Christmas is over, and I am perfectly okay with that; I can wait.) Over the weekend I decided to pull out those reindeer plates and see what Christmas-y place settings I could come up with.


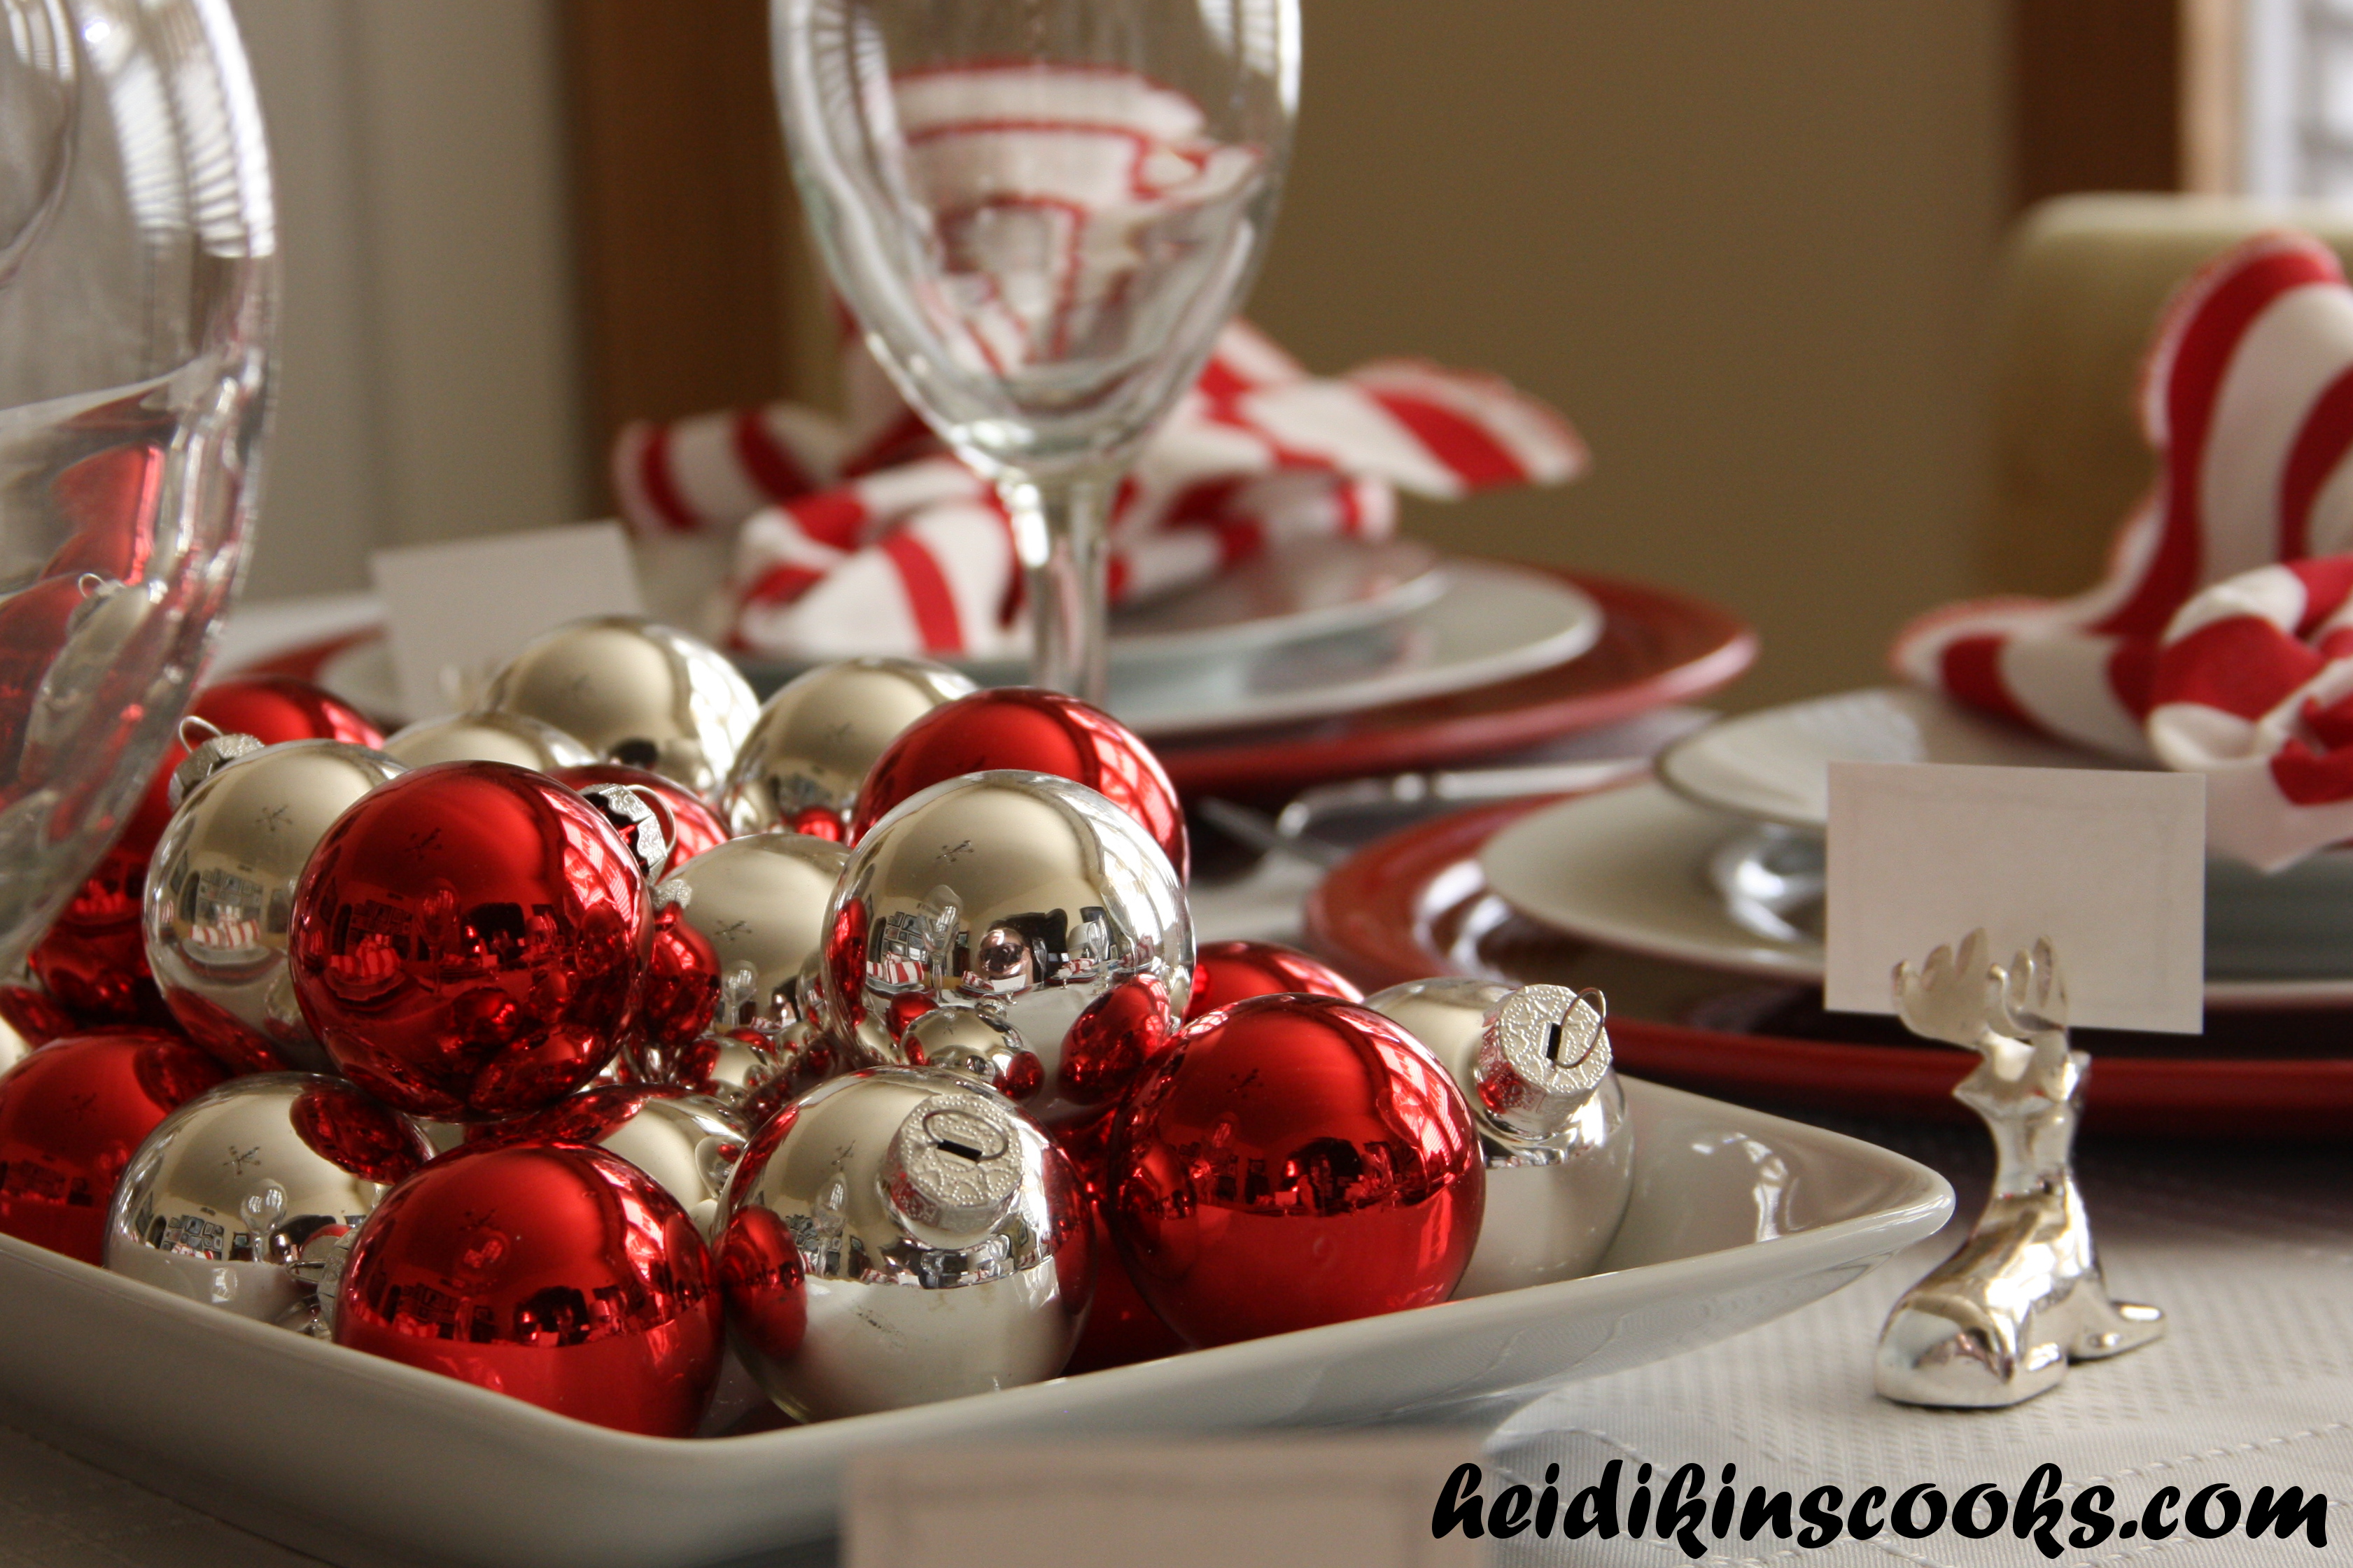
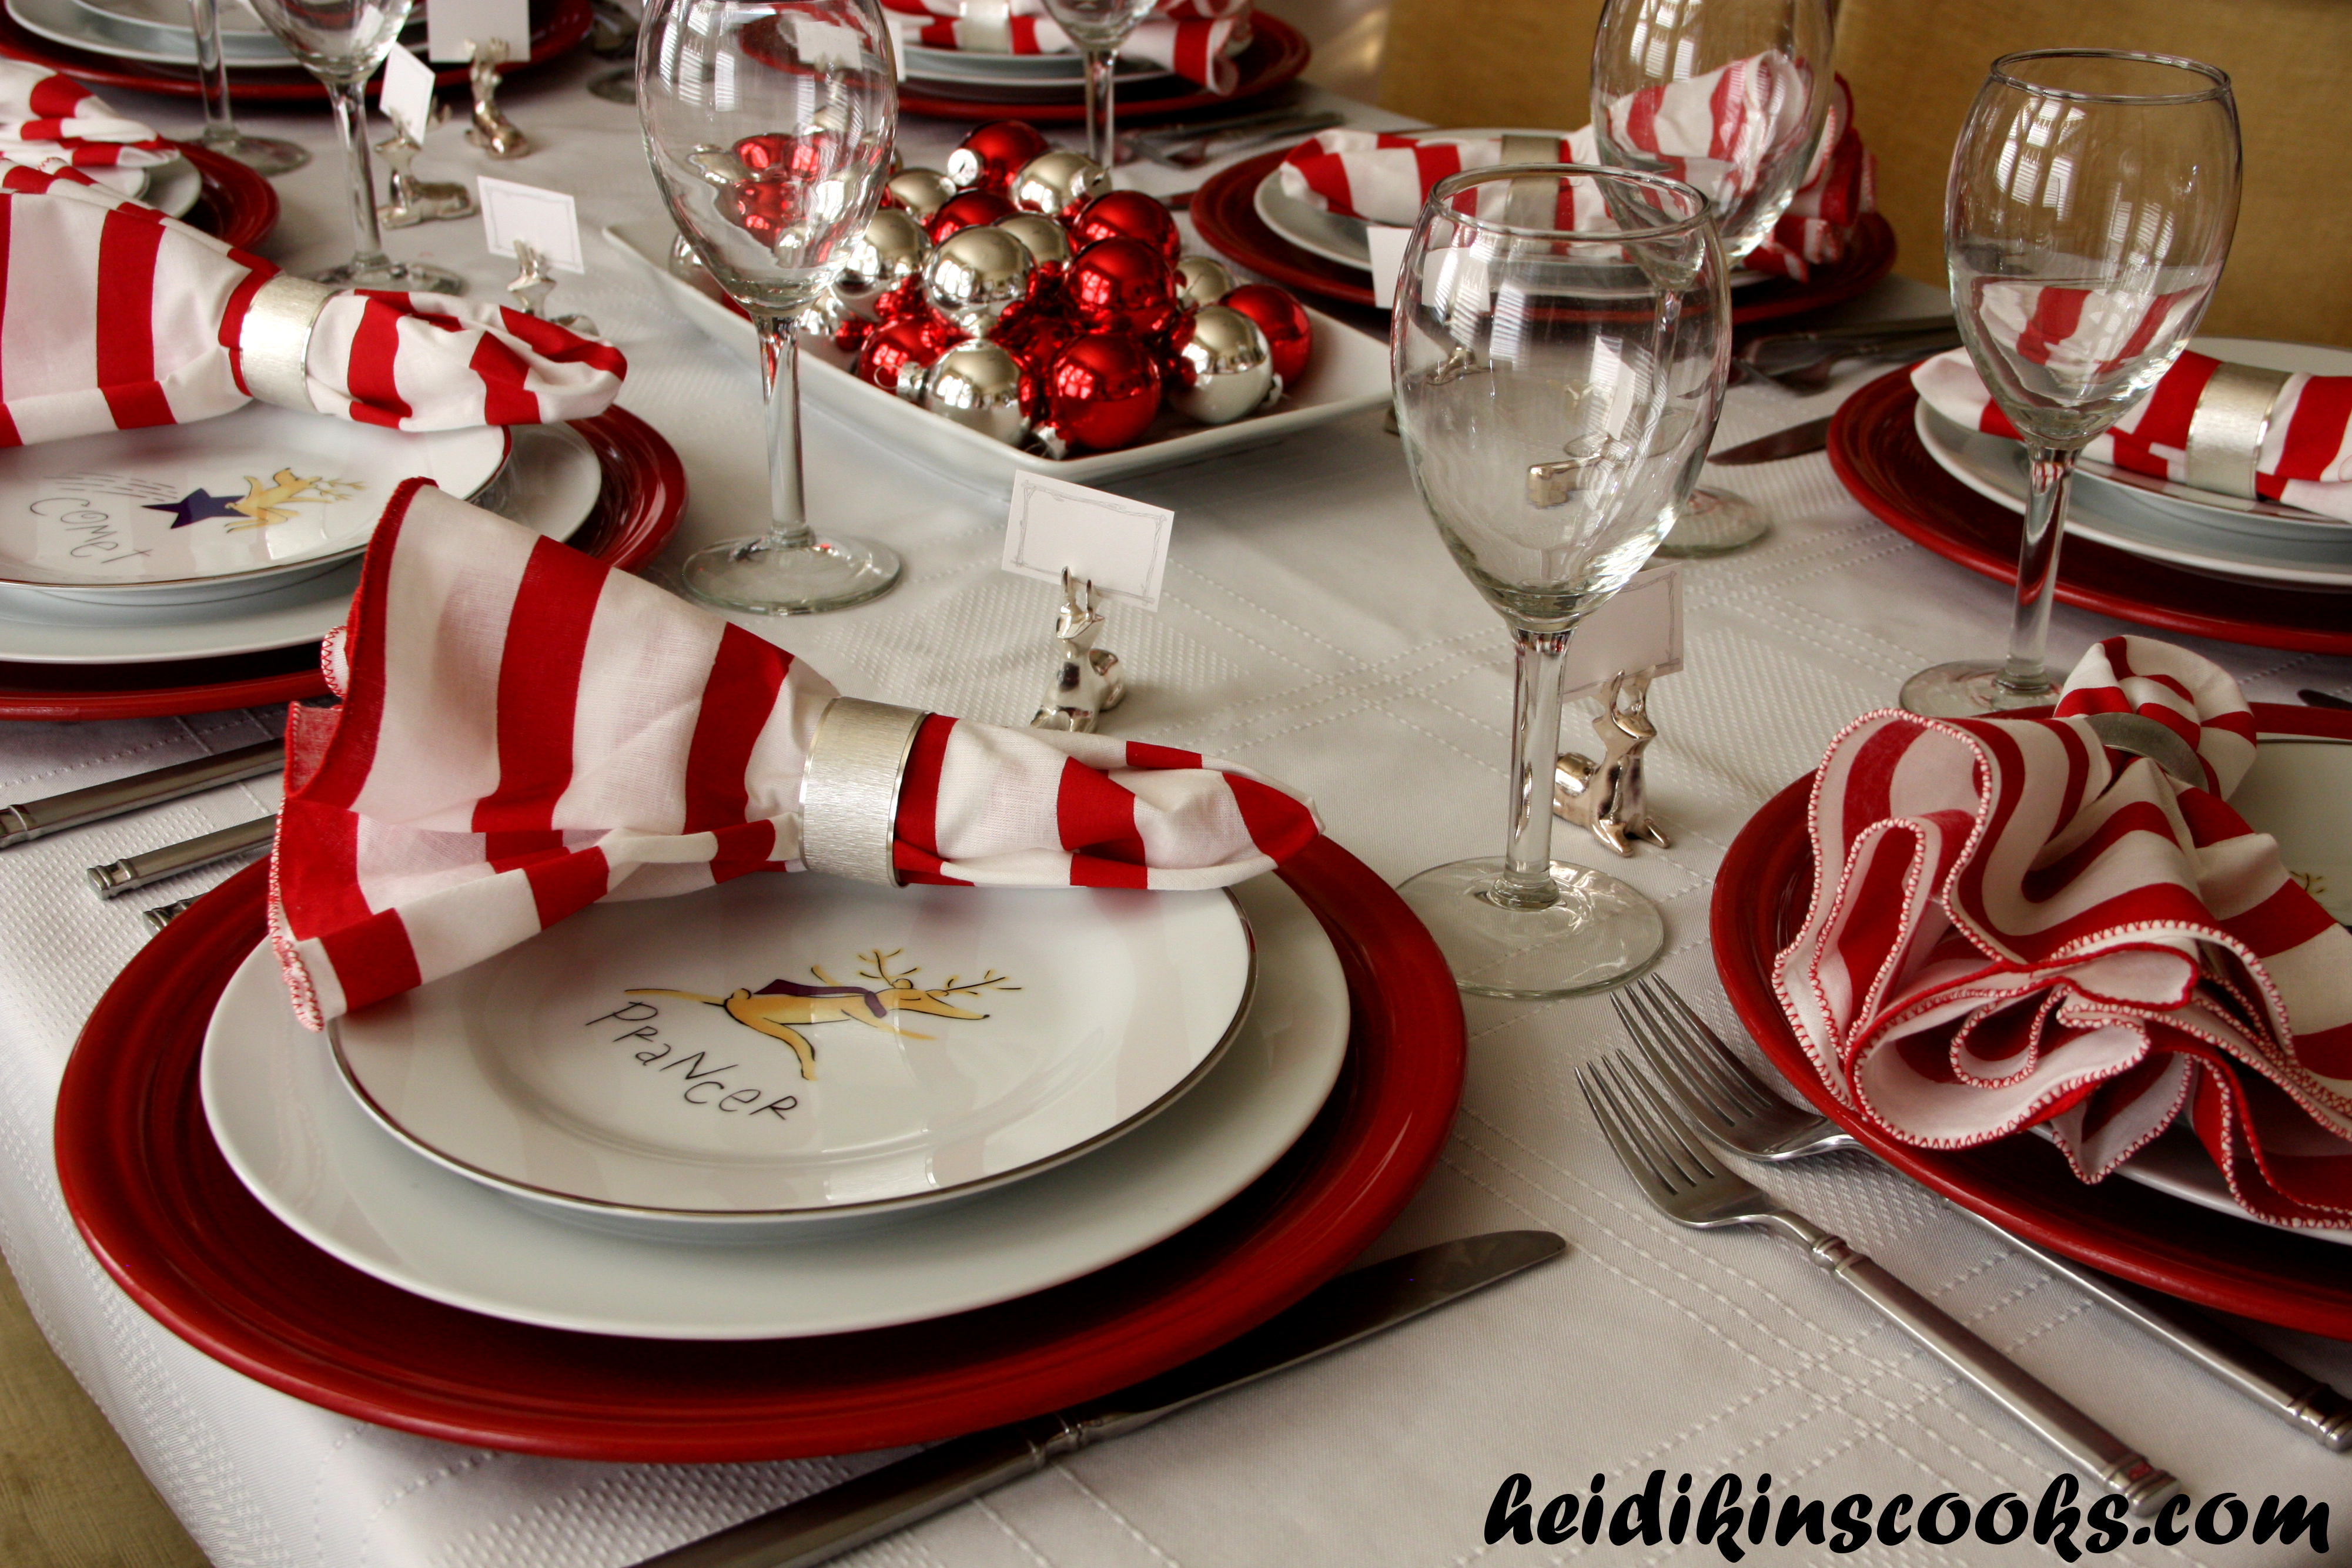
I am so pleased with how this all turned out! The red and white peppermint napkins are from Pier 1 (this year, currently on sale!), and the centerpiece is just a serving dish from IKEA filled with dollar store ornaments…meaning, they were $1.00 for a dozen five or six years ago.
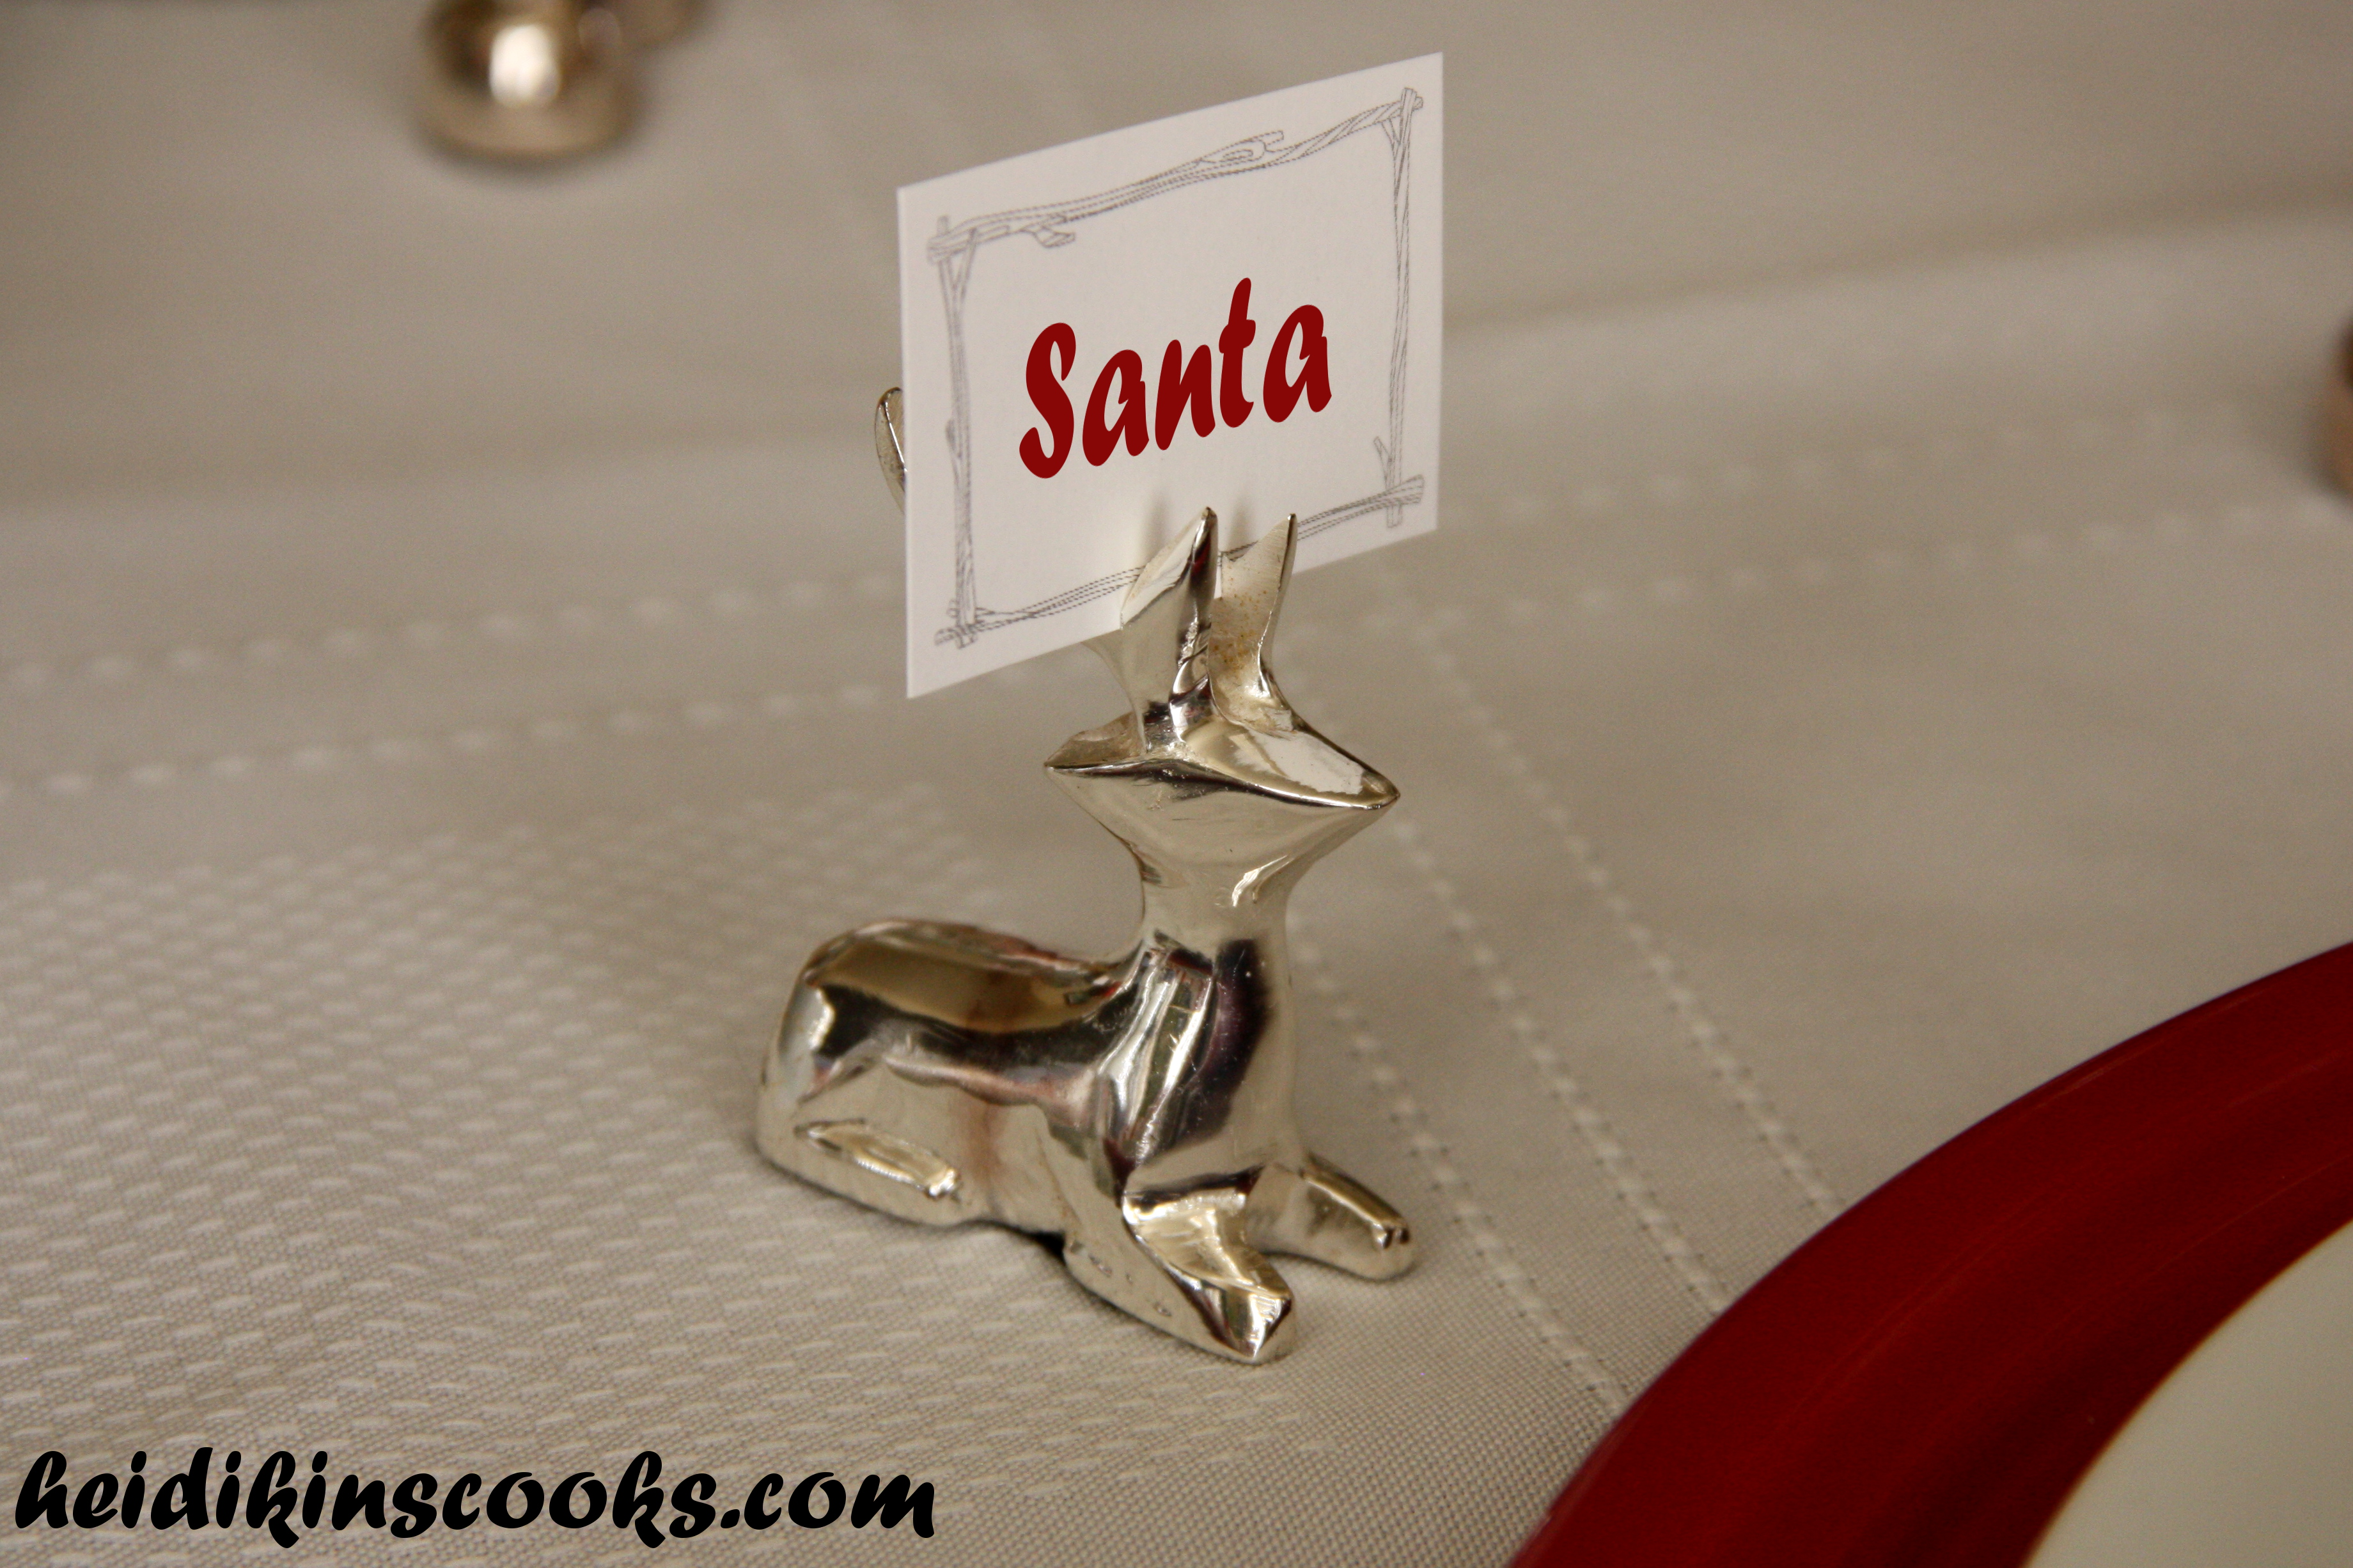
I found these little reindeer place card holders on eBay over the summer, I think they are just so darling! And, um, my Photoshop skills are still on the amateur end, so this is the only place card pic I populated with a name. Meh, just keeping it real over here!

The red Fiestaware chargers were a wedding present, I love how festive they look with those stripey napkins.
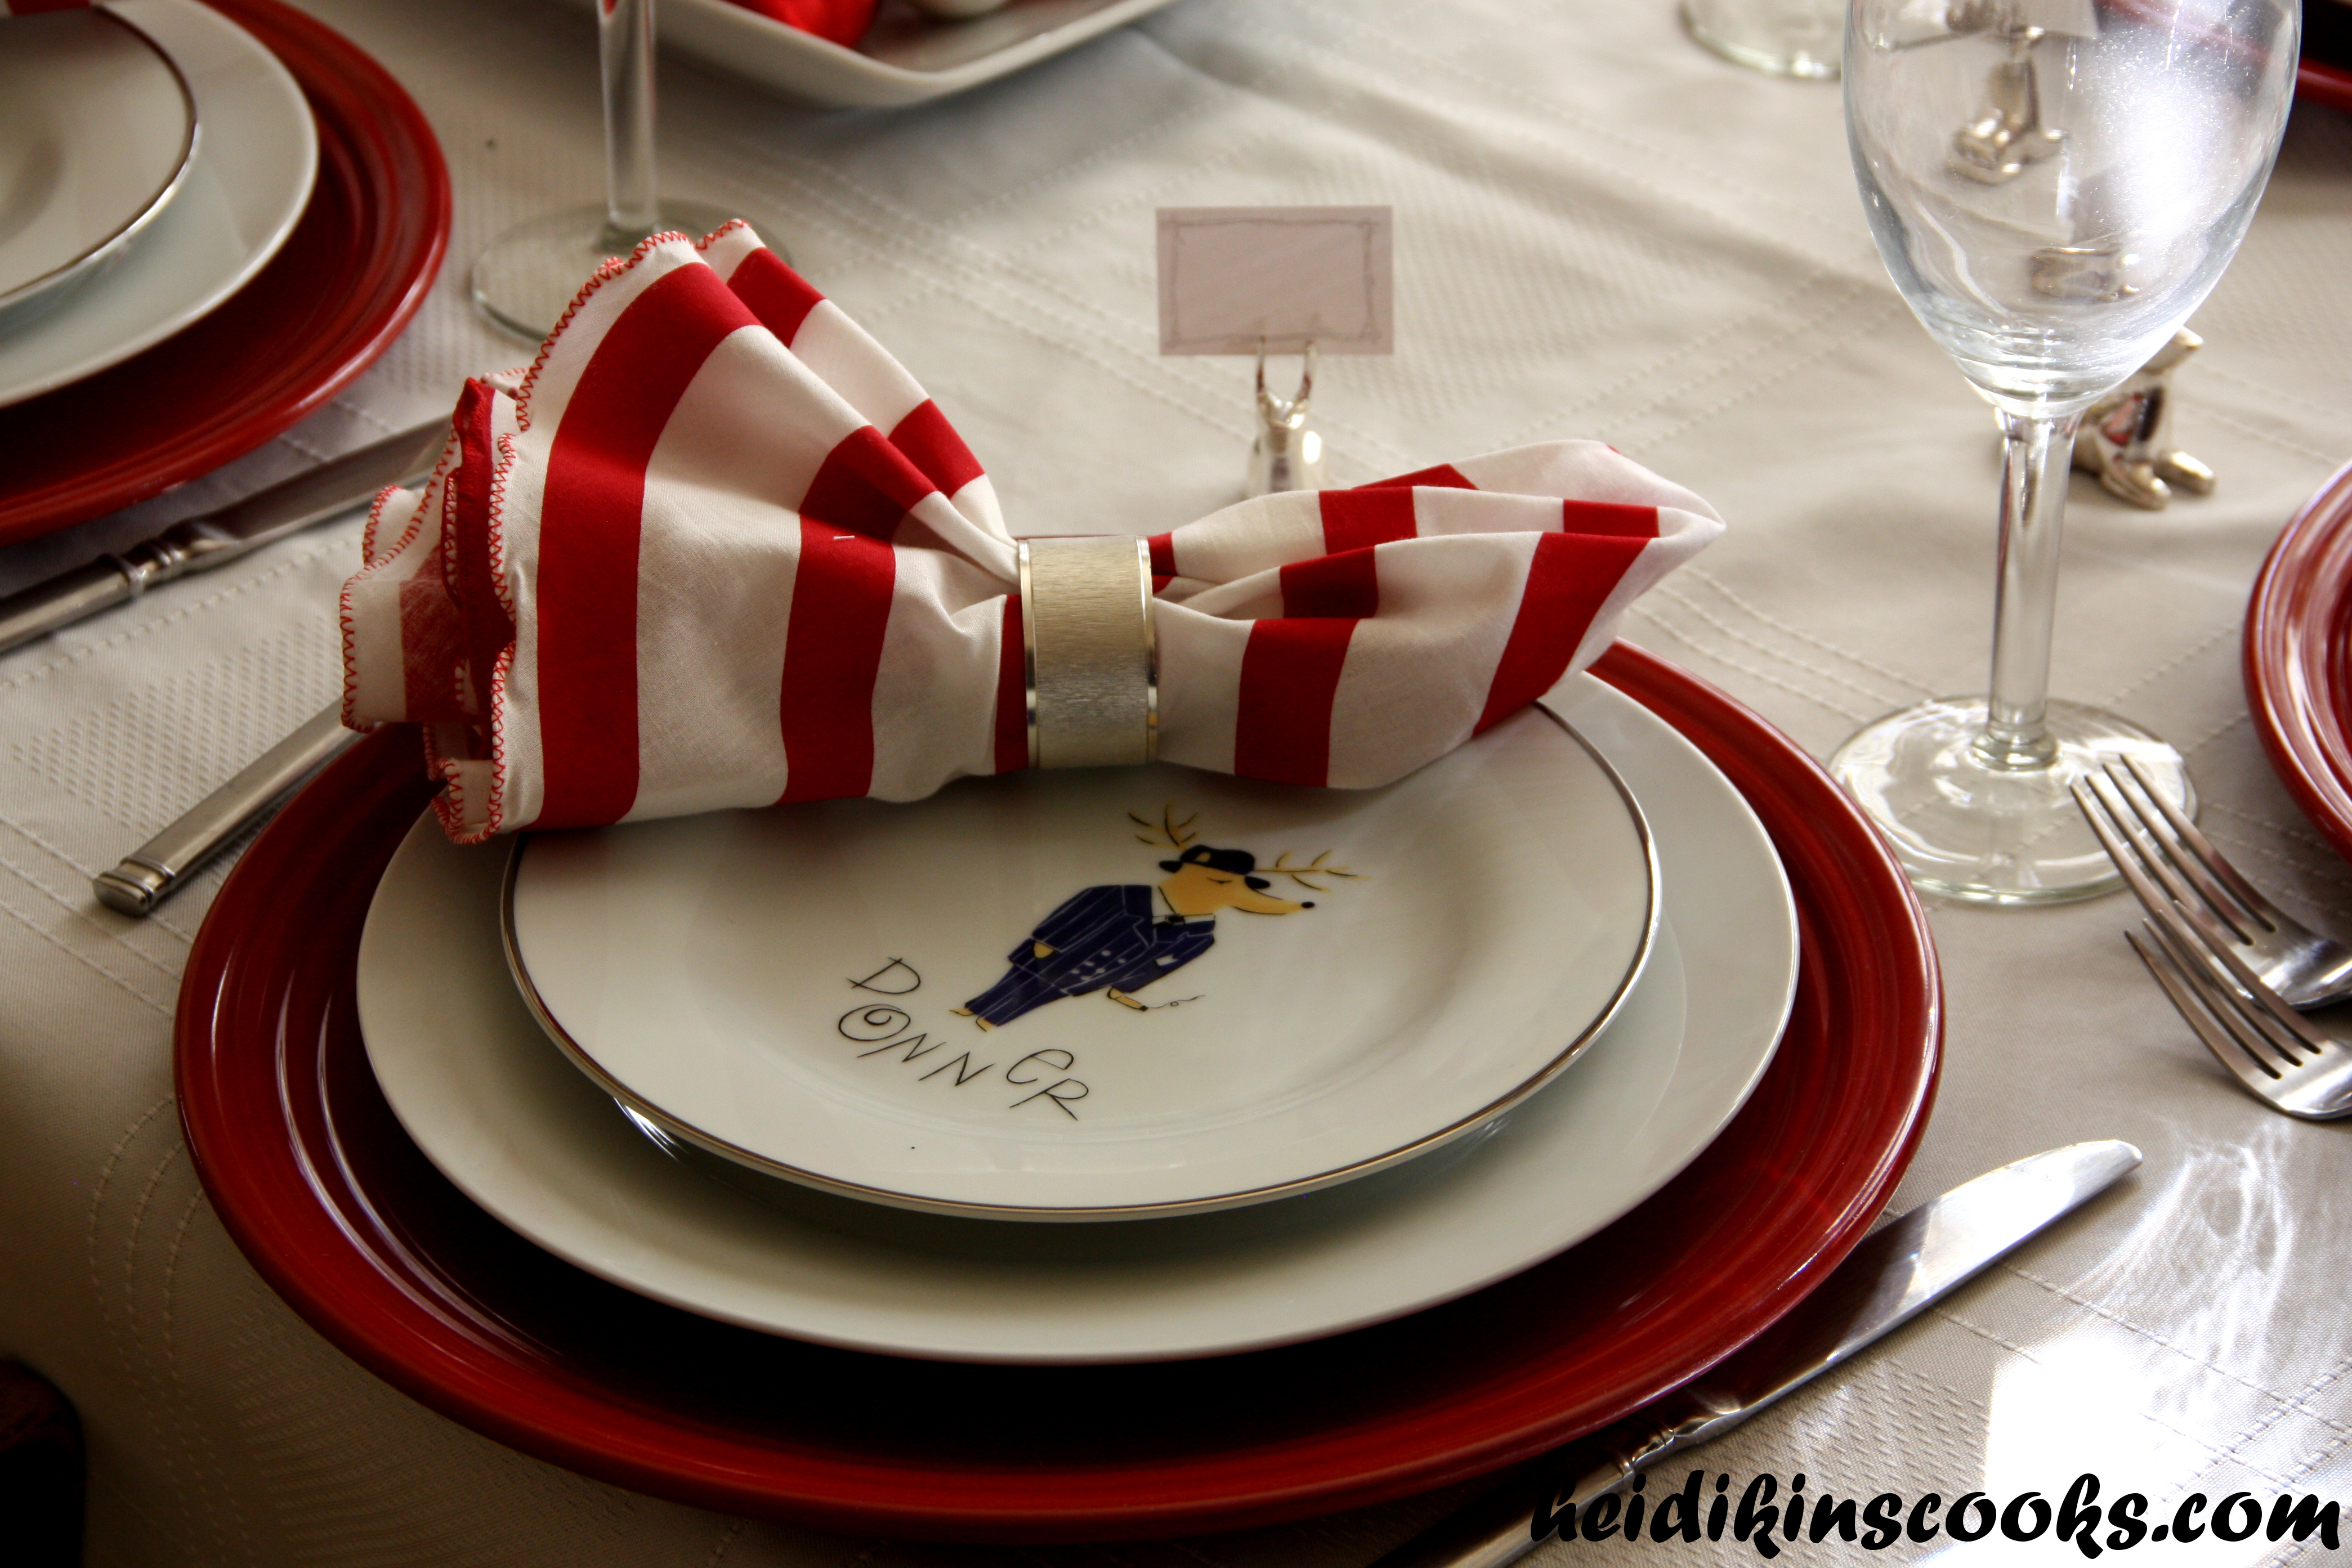
Is this reindeer Donner? Or Donder? I always thought it was the latter, but Pottery Barn clearly goes the other way.

I love how Christmas-y this looks! The fun reindeer plates and darling stripey nakins make me want to turn up the Christmas tunes and bake some gingerbread! And now, for a list of what I pulled:
Red charger, Fiestaware
White Dinner Plates, Pottery Barn Catering Set
Reindeer Plates, Pottery Barn, collected via eBay
Glass goblets, Pier 1 (super old)
Peppermint stripe napkins, Pier 1
Silver napkin rings, Macy’s
Flatware, Target (super old)
Reindeer place card holders, eBay
Chicken Enchilada Dip

I have been tweaking this recipe for several months now, and the great thing I’ve discovered is that no matter what you add to it the end result is pretty darn delicious. You can bump up the spices for a more flavorful dip, or add jalapenos if you’d like some more kick, you can throw in a half can of olives or top with some fresh salsa…the variations are endless. You should also make a habit of bringing this to every party you attend, you are practically guaranteed massive popularity because everyone loves this dip. I don’t eat chicken and I love this dip!
Chicken Enchilada Dip
Preheat oven to 325
2 12.5 oz cans cooked chicken (or leftover cooked chicken, or rotisserie chicken, whatever you prefer)
16 oz. Neufchatel cheese, room temperature (or cream cheese, if you prefer)
1 cup mayo
(optional: substitute 1/2 cup of mayo for greek yogurt)
1 10 oz. Rotel tomatoes with green chilies or Mexican spices
1 14 oz can black beans, rinsed and drained
1 4 oz can diced green chilies (I used mild, but you can use medium or hot if you like things spicy)
1 – 1 ½ cups shredded cheddar cheese
3-4 cloves garlic, minced
1 tablespoon chili powder
2 teaspoons cumin
1 teaspoon salt
½ teaspoon oregano
½ teaspoon dry mustard
½ teaspoon white pepper
½ teaspoon garlic powder
½ teaspoon onion powder
½ teaspoon paprika
1-2 Roma tomato, diced (for topping)
2-3 stalks green onion, sliced thin (optional, for topping)
sliced olives (optional, for topping)
1 cup shredded cheddar cheese (for topping)
Combine everything except topping ingredients and mix well. Pour into 9×13 pan, spreading into an even layer, top with diced tomatoes, green onion, and olives, and bake for 20-25 minutes until heated through. As soon as dip comes out of the oven, top with the remaining cheese, the dip will be hot enough to melt the cheese perfectly without it pooling into oily puddles. Serve with tortilla chips.
This freezes beautifully; I just scooped the leftovers into a tupperware and popped it in the freezer. When I had a hankering for this again, I let it thaw overnight in the fridge and then warmed it up in the microwave for a delicious snack.
Setting a Simple Harvest Table

While I was growing up every Sunday dinner was a “fancy” dishes, “fancy” flatware, napkins-plus-tablecloth affair. We didn’t have heirloom china, but I always thought the “reserved for Sundays and holidays” stoneware and flatware and heavy red glass goblets were incredibly chic. I don’t know if I’ve set a “fancy” table more than a handful of times in my life, but apparently I have been collecting dishes and things for years.
The last several weeks I have been cleaning out nooks and crannies I forgot existed and finding the most wonderful treasures, including about 80% of the items I used to set this table. I had completely forgotten about these mis-matched but complimentary creamy dishes and simple plaid napkins as well as the gold mercury glass pumpkin. I pulled out a few gold-ish votives and bought a few white pumpkins from the grocery store and started arranging things.

The dinner plates and salad plates are definitely not from the same set, but they are both creamy-neutral and I think they work well together. The placemats reverse to a dark red and I’m pretty sure I bought them at least 10 years ago at Pier 1. (Here’s to sharing some of my hoarding/storing tendencies with the wide, wide interwebs!)
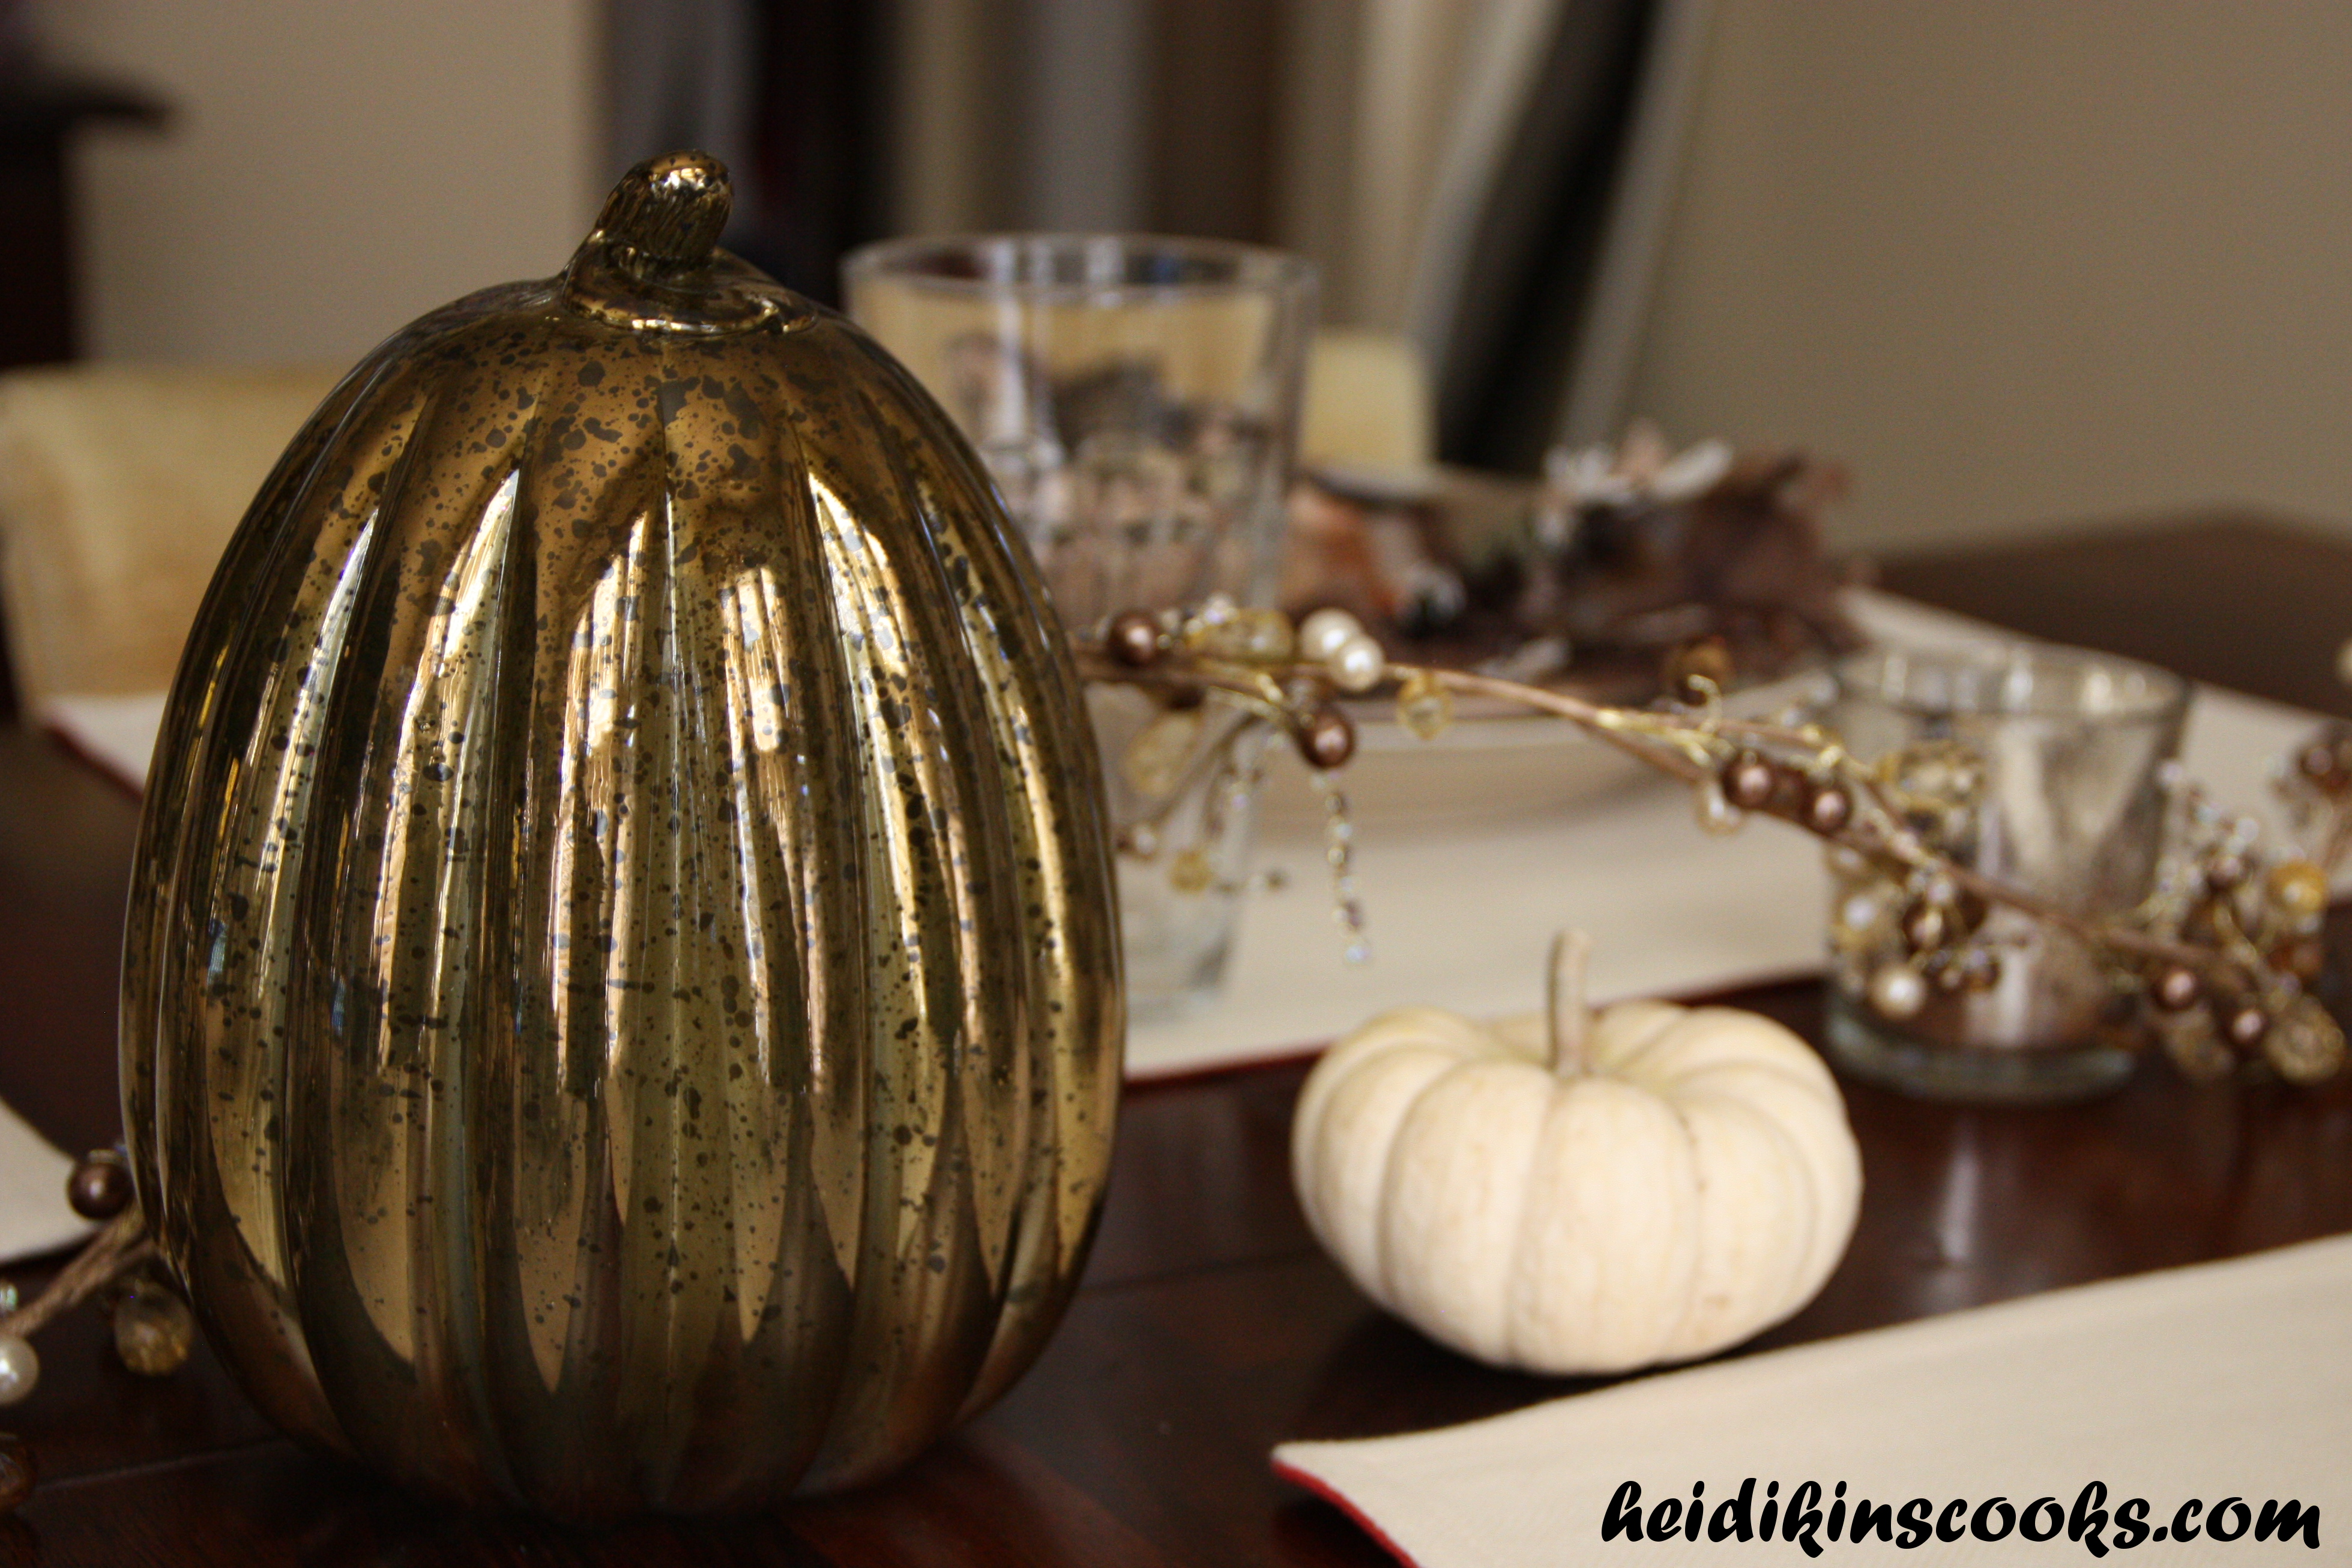
I have no idea where I picked this up, but I imagine if you look at places like TJ Maxx, Ross, and HomeGoods you can find a little bit of gold for your own table.
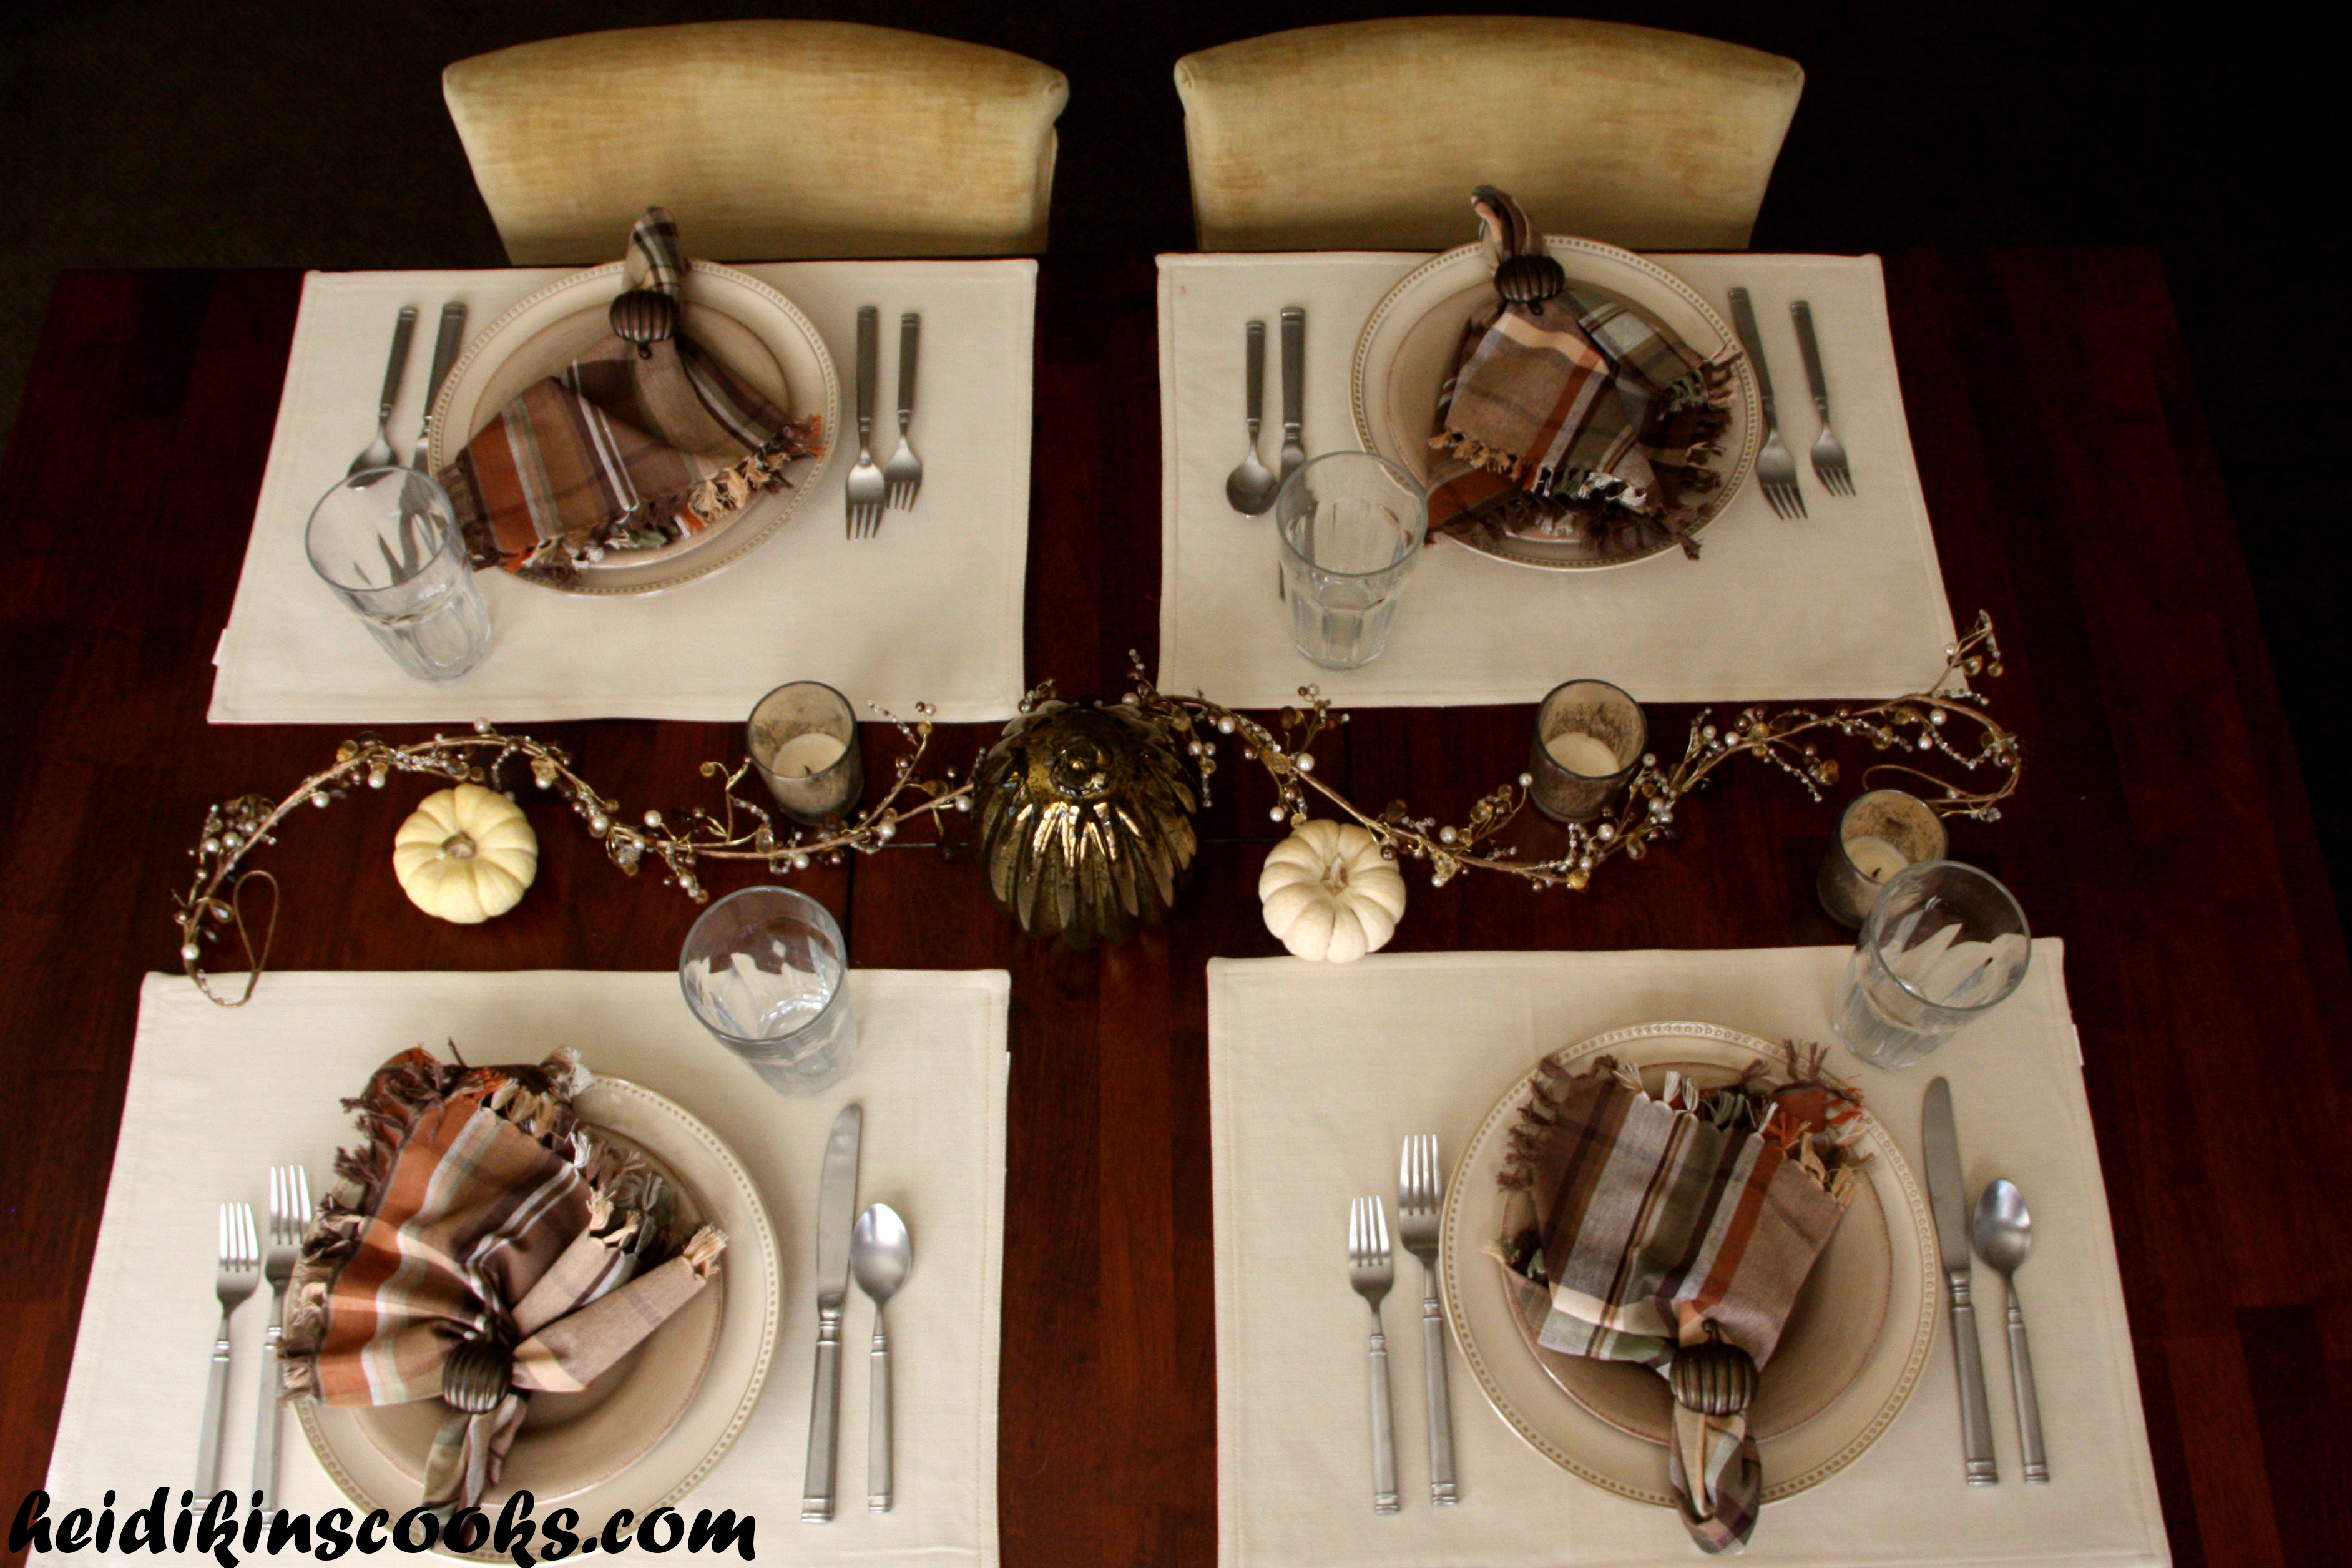
Really this whole set-up is quite simple, placemats, dishes, and a few candles and pumpkins in the center. For me, the little touches of gold and the pretty napkins make it special. I also really like how the soft, muted colors go so nicely with my thrifted mustard-yellow velvet dining chairs. They are one of the best thrifty finds I’ve ever stumbled upon!
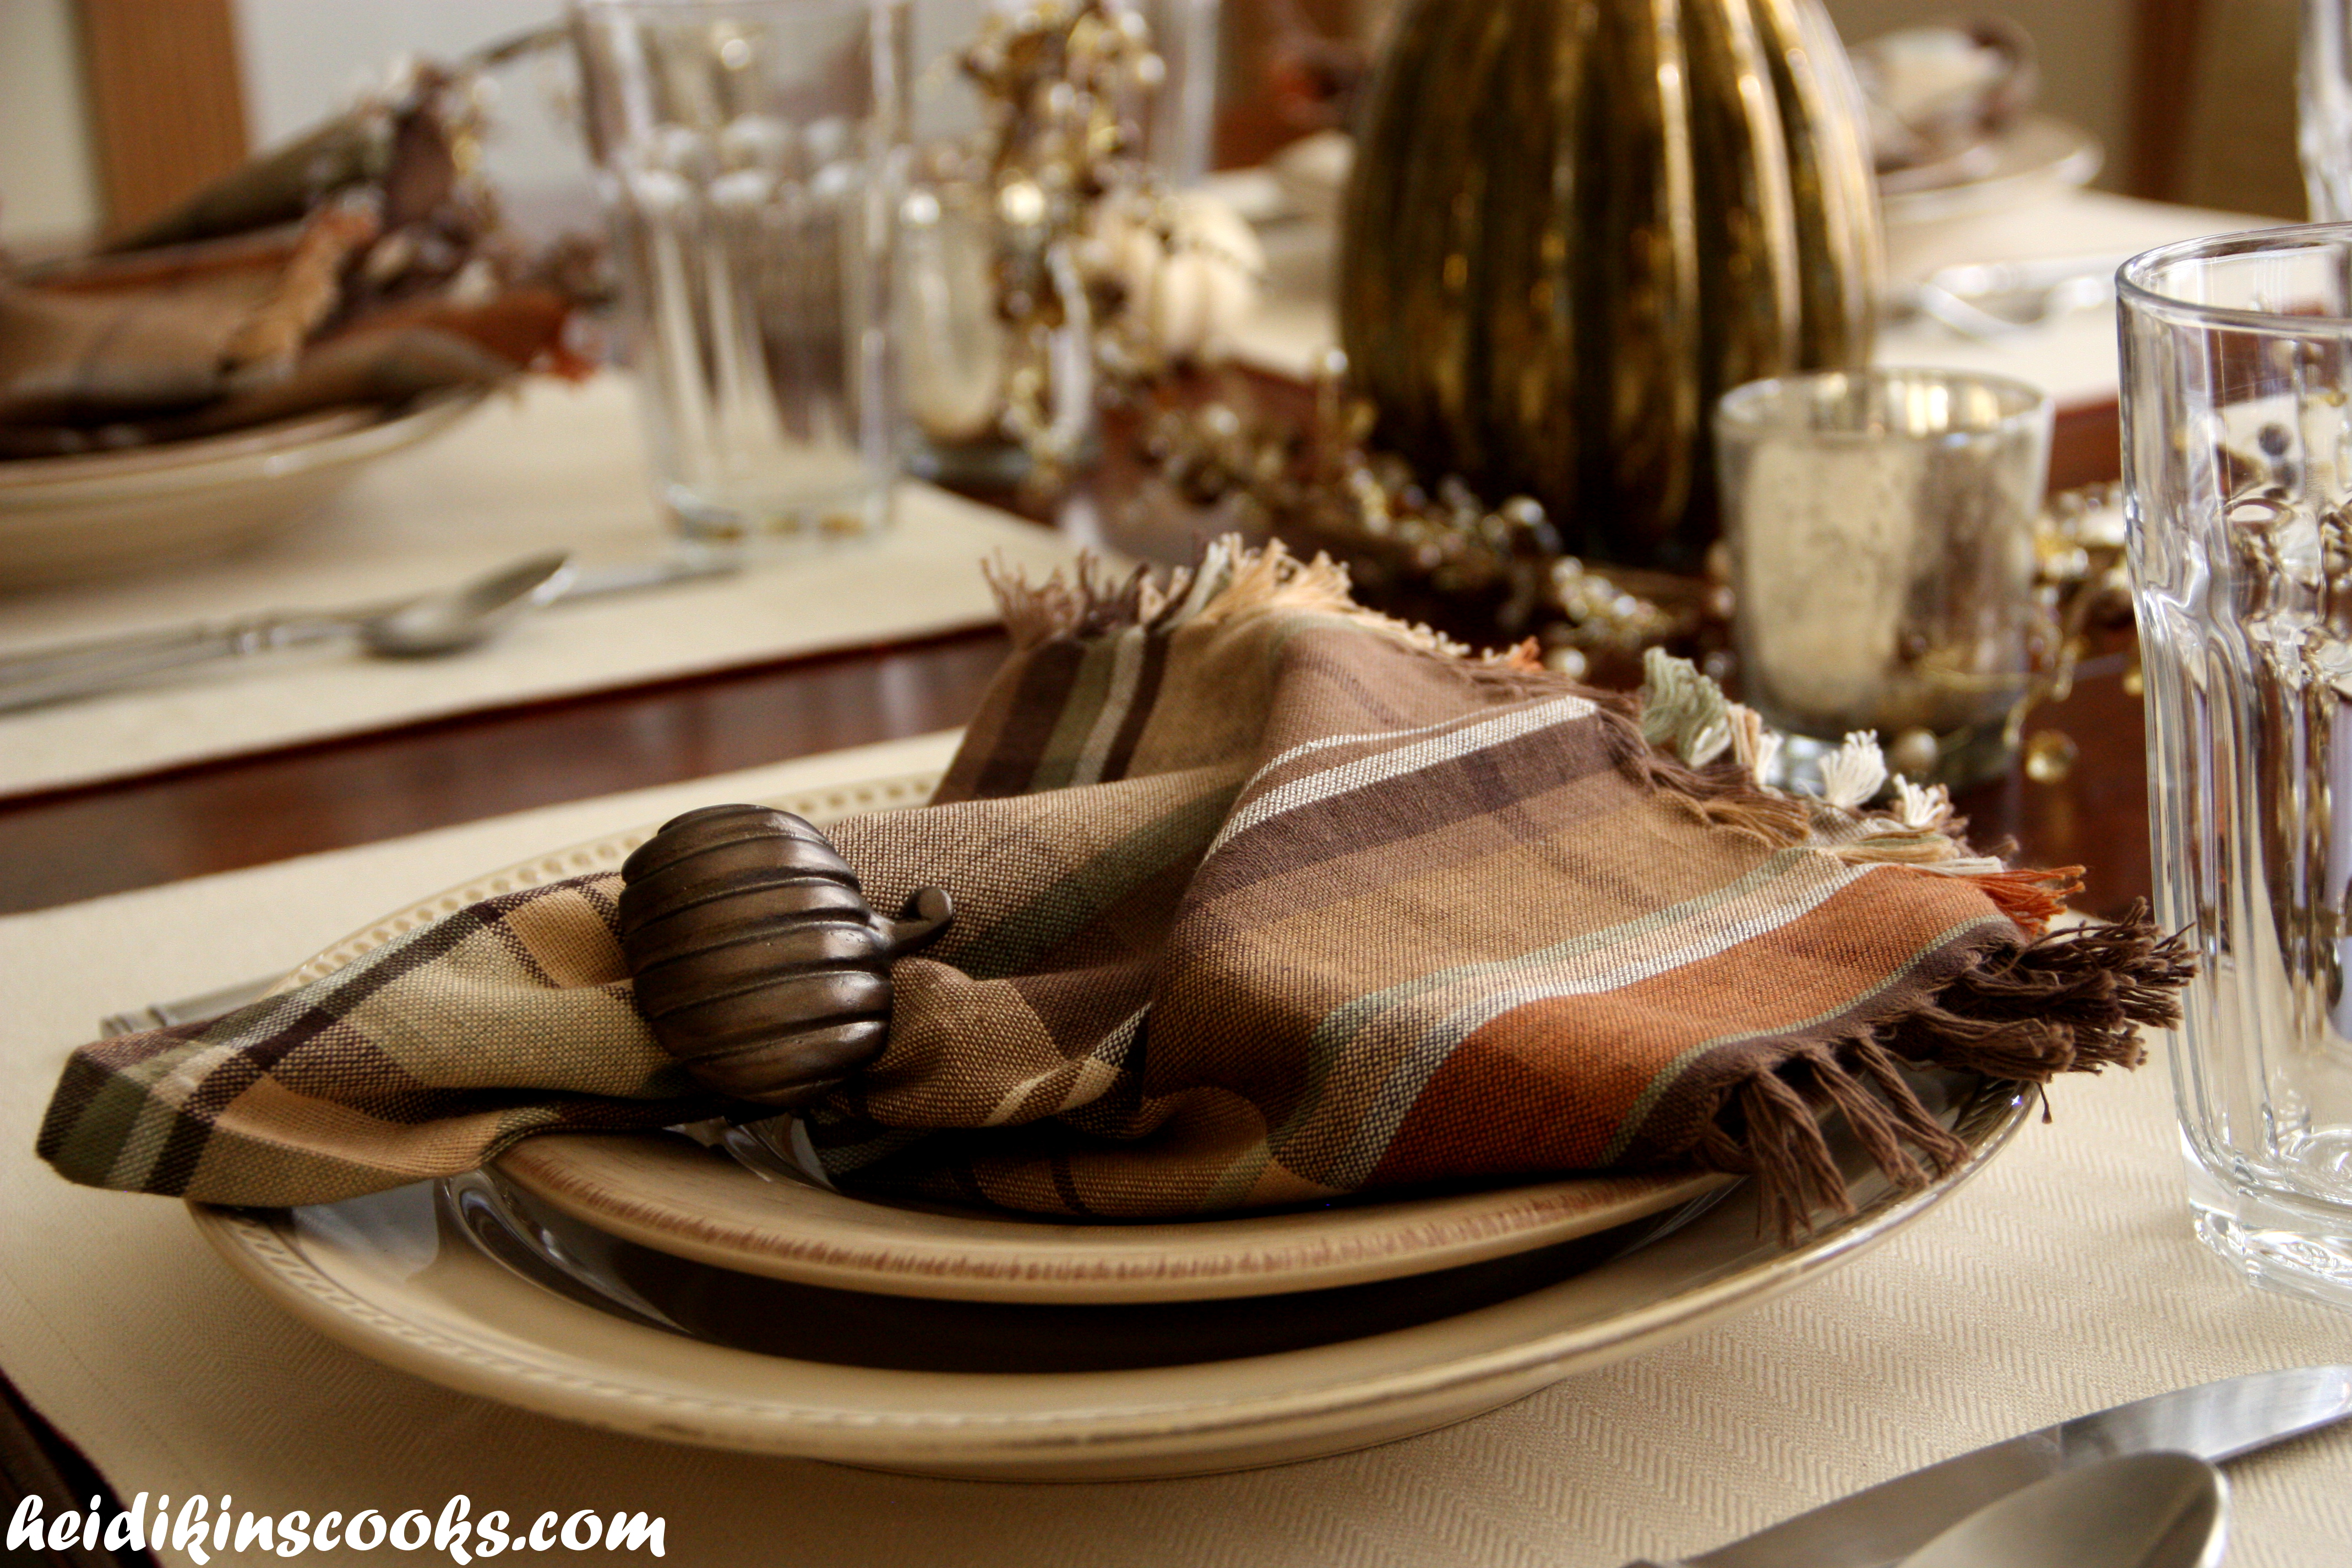
Pumpkin napkin rings, same ones I used for my Halloween table setting.
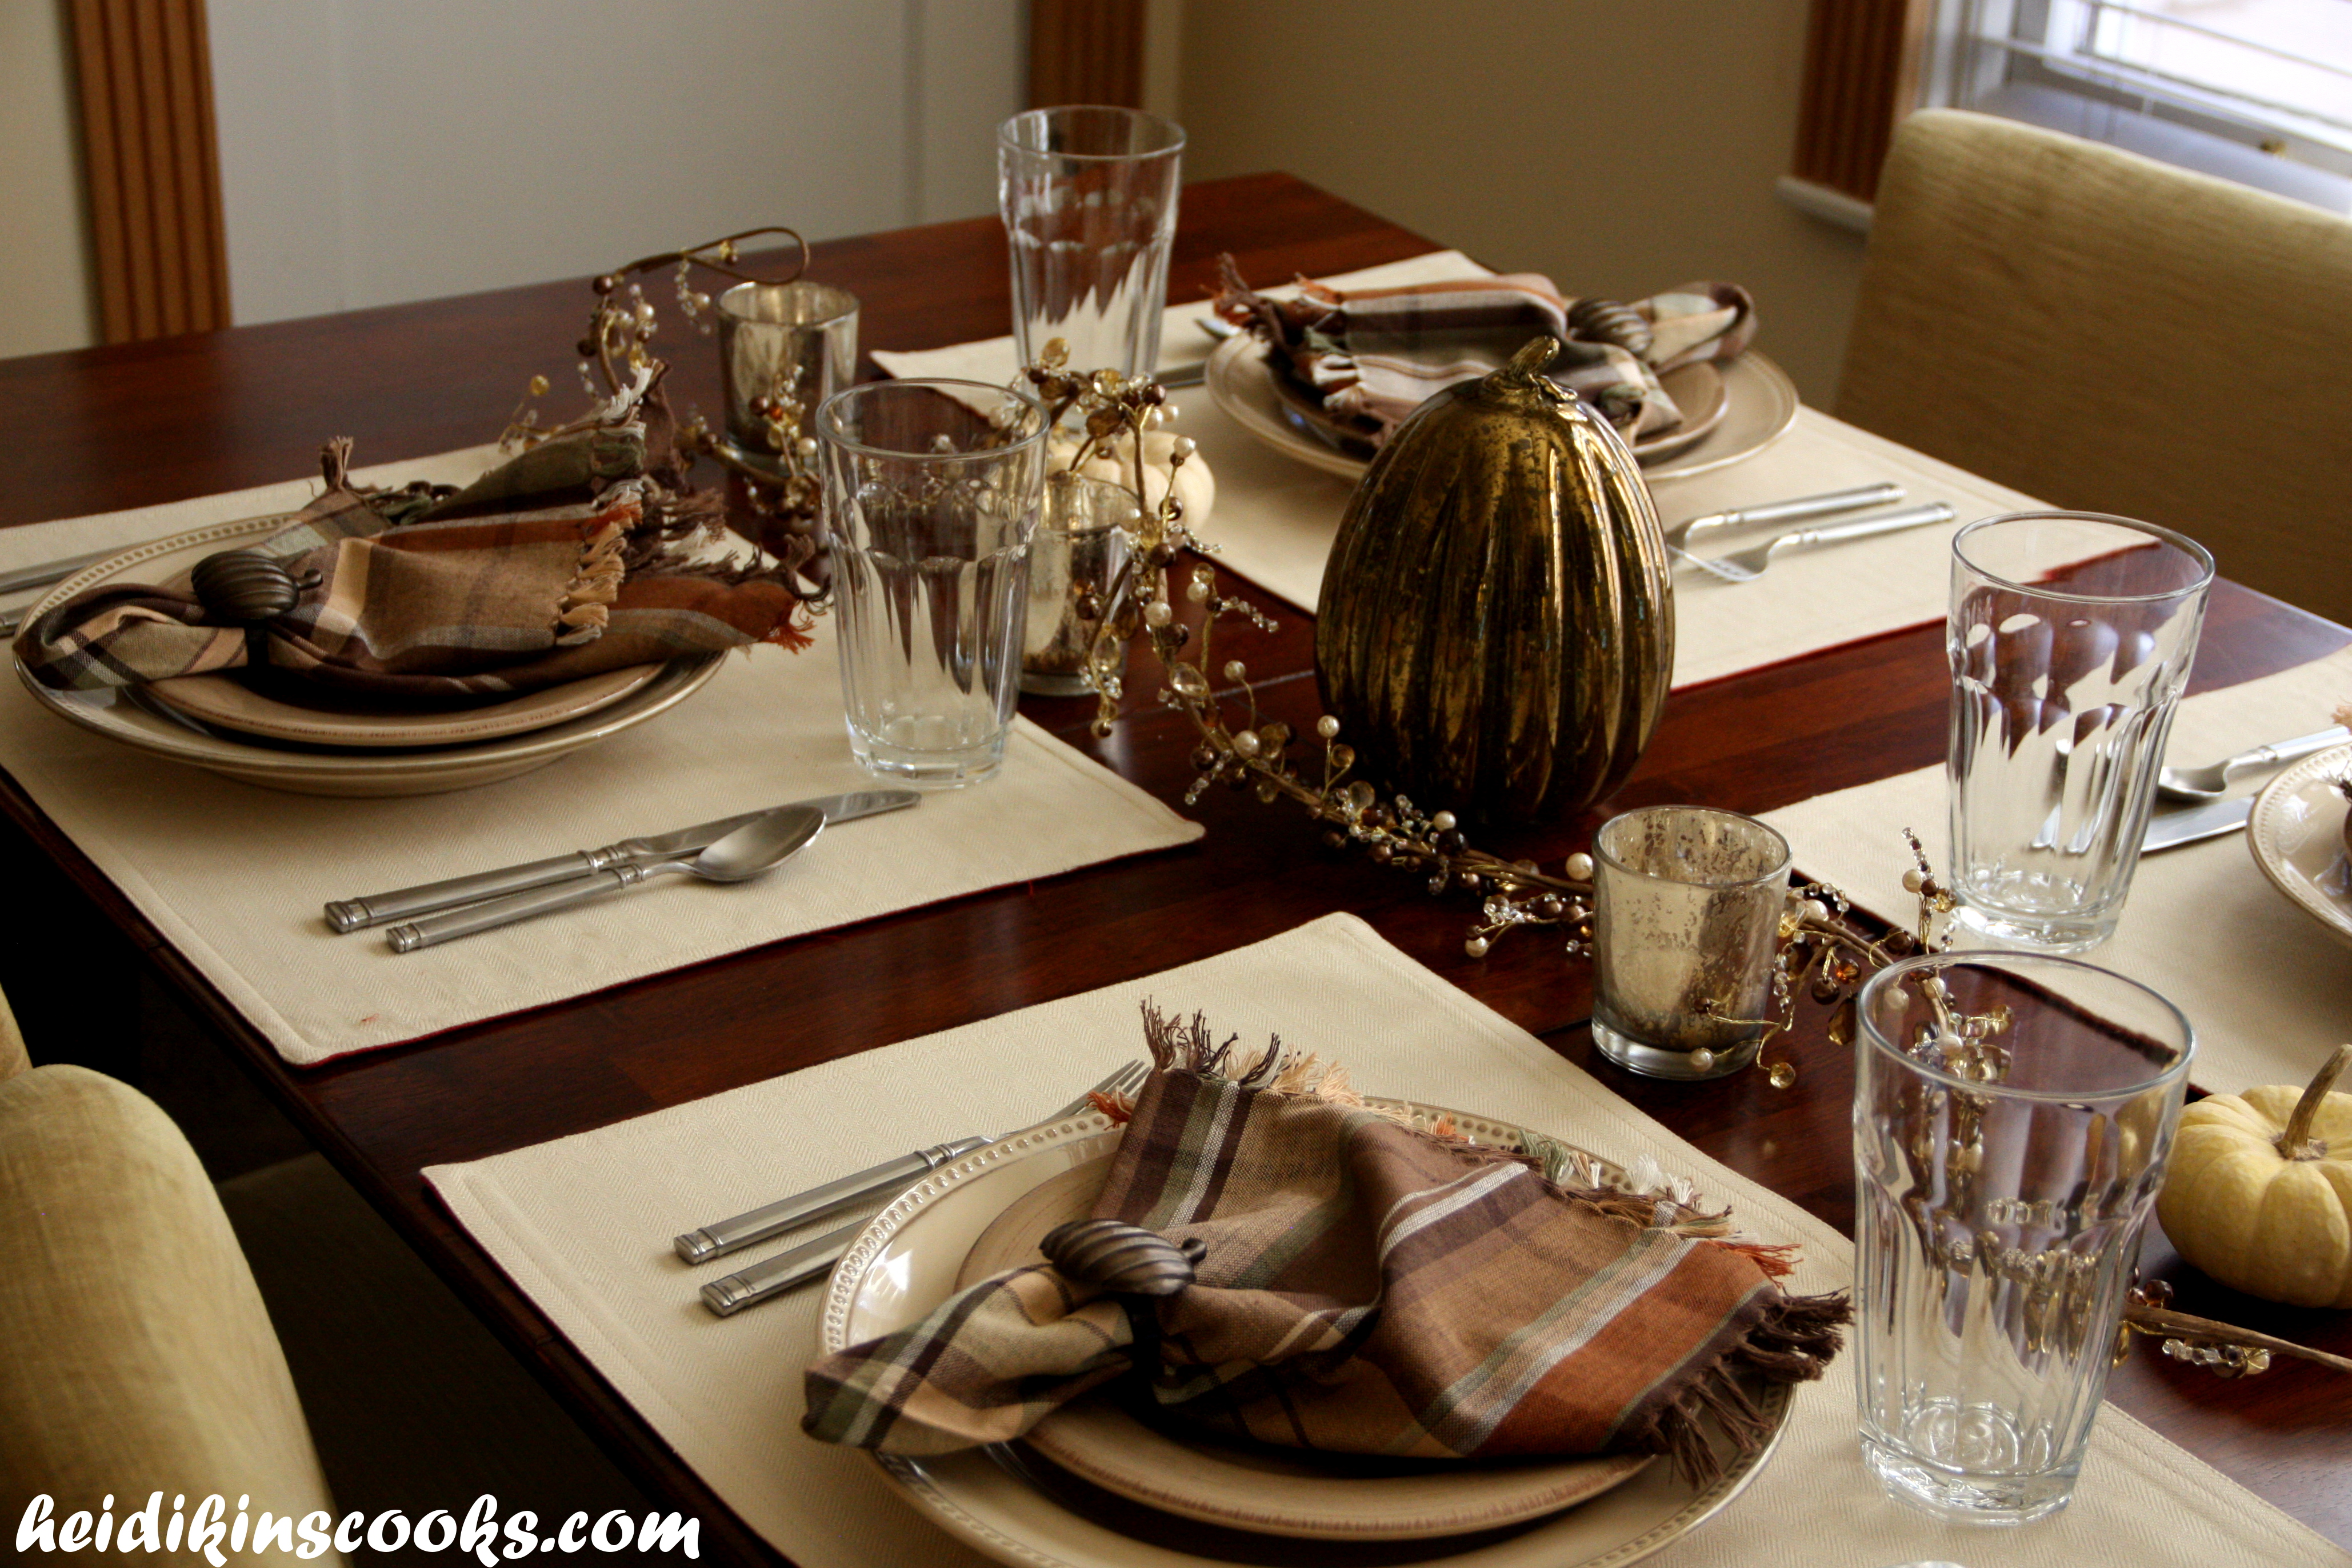
This could be a your inspiration for a small and simple Thanksgiving, a Friendsgiving, or a regular Sunday dinner. In reality, J-Mo and I sat down to this table one Sunday evening with our plates piled high with green salad and homemade lasagna.
Turkey-Lentil Dal
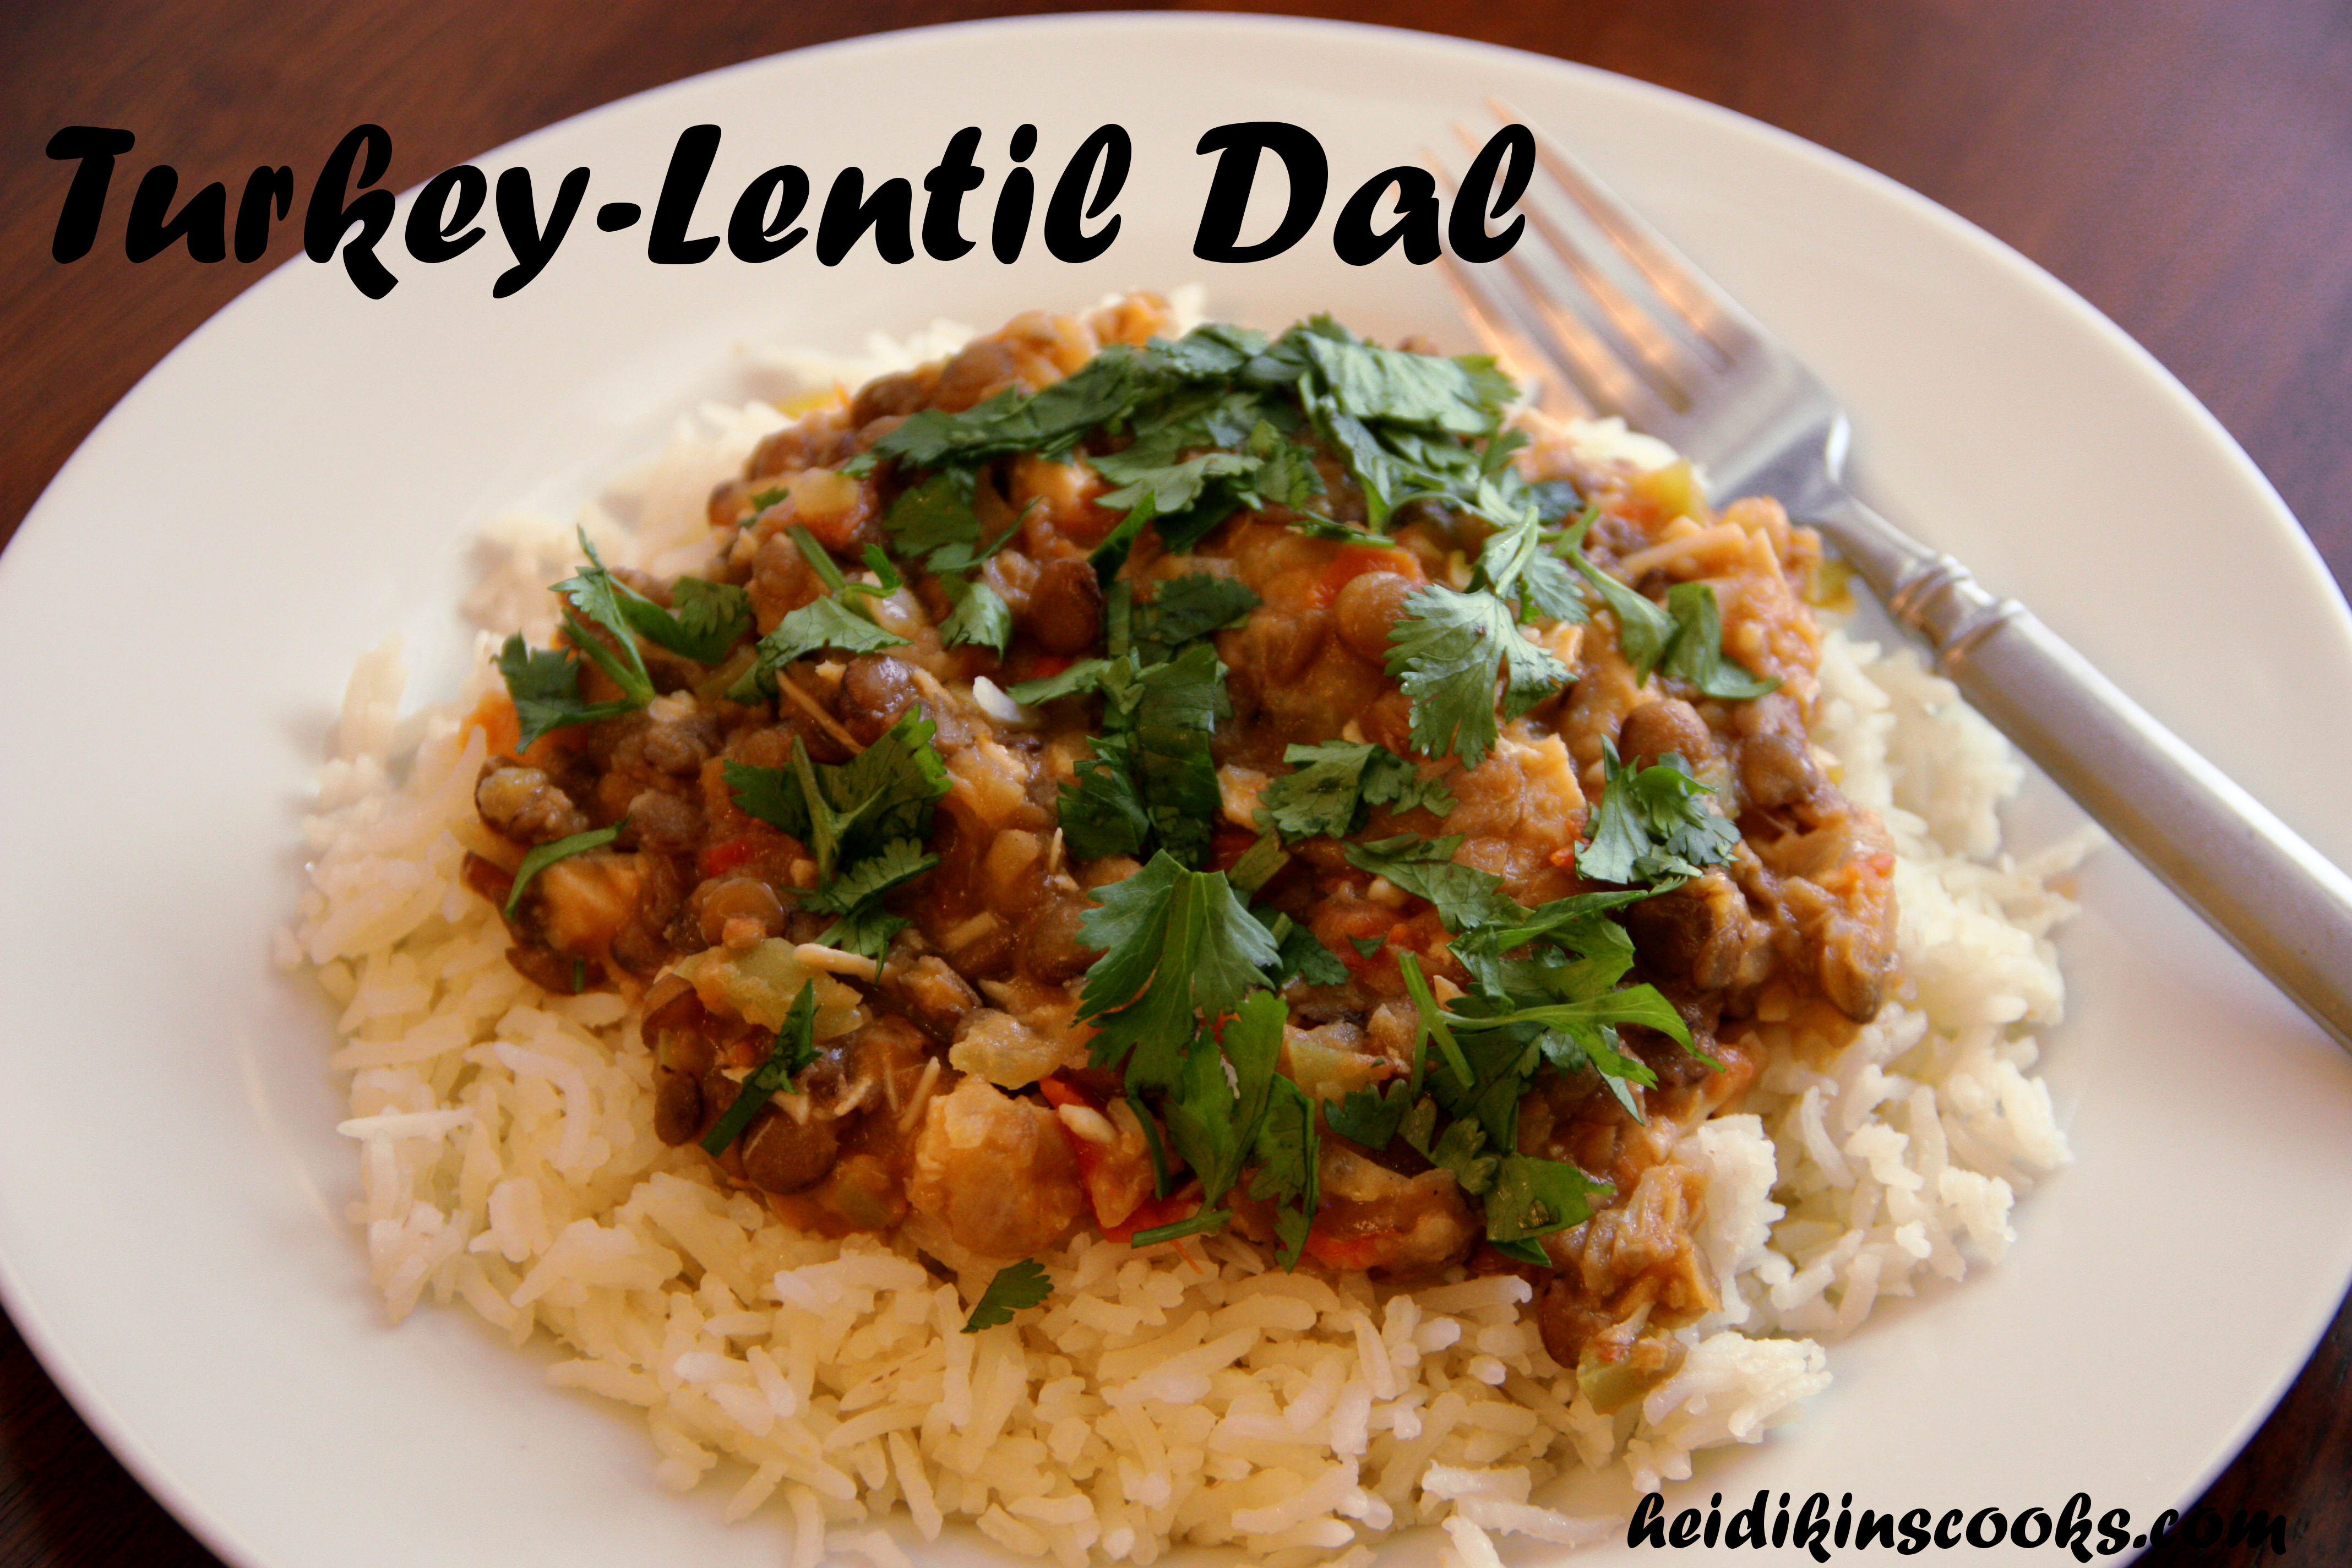
A few weeks ago I had dinner with my friend Saskia and she made the delicious Dal Nirvana recipe from Budget Bytes. This version of the traditional Indian Dal uses pieces of that recipe with few ideas from a cookbook I’ve had for ages, Fresh Indian by Sunil Vijayakar. I further adapted this by using a number of leftovers and farmers market produce I had in the fridge. Luckily, this seems to be the kind of recipe that was made for substitutions and experimentation. This is an easy dish to throw together, has a wonderful combination of flavors, and most of the ingredients you will have on hand, no special grocery trip required! You could easily make this vegetarian by eliminating the turkey and the cream.
Turkey-Lentil Dal
1 cup dry lentils
2 TB olive oil
1 yellow onion, diced
4-5 cloves garlic, minced
1-2 inches fresh ginger, minced
1/2 green bell pepper, diced
2 cups diced tomatoes (or 1 can (15 oz) diced tomatoes)
1/2 teaspoon red pepper flakes
1/4 teaspoon cayenne pepper
3/4 teaspoon cumin
1/2 teaspoon mustard powder
1 teaspoon white pepper
2 teaspoons salt
1- 1 1/2 cups water, chicken, or veggie broth
2 cups cooked turkey or chicken, chopped
1/2 cup cream
2-3 cups cooked rice (I used Basmati because it’s my favorite)
Fresh cilantro, chopped, for garnish
Start your rice cooking according to package instructions. I often times substitute some of the water for chicken of vegetable broth to get a little more flavor in the rice, but cooking it with water is also totally fine.
Put the dry lentils in a heavy medium-sized pot, cover with water and bring to a boil and let it bubble away for about 10 minutes.
While the lentils are cooking chop up all your veggies. Peel the ginger before shredding, grating, or mincing it. (I don’t have a grater, so I just minced it super fine with my sharpest knife.) When the lentils are soft but not mushy, drain them into a colander and drizzle the olive oil in the still warm pot. Toss in the onion, garlic, ginger, and bell pepper. (If your turkey or chicken is raw, you can throw it in at this point and stir everything around until the meat is about 75% cooked. Then add the lentils, tomatoes, spices, and the liquid. Cover and let simmer for about 25 or 30 minutes, stirring occasionally and making sure it doesn’t get too dry. This dish is supposed to be pretty thick, you don’t want it too watery, but you also don’t want to it to burn to the bottom of the pan.
If you are using cooked meat (i.e. leftovers), add that towards the end of the cooking and keep on the stove until it is heated through. Add the cream and stir. Serve over rice, garnished with cilantro.
Brussels Sprouts with Bacon and Parmesan
I discovered Brussels Sprouts about two years ago and in that time have tried a number of different ways to cook them (examples here and here). This, however, may be my new favorite. Steam-boiling them on the stove top takes considerably less time than roasting them, they remain soft and just a little chewy, and the flavor combination of these ingredients is amazing!

Brussels Sprouts with Bacon and Parmesan
Serves 4 as a side, 2 as a main dish
12-14 oz. Brussels Sprouts, trimmed and halved
2 tablespoons olive oil
4-6 cloves garlic, minced
10-12 pearl onions, trimmed and halved
1/2 cup chicken or vegetable stock
Salt and Pepper
(Optional: splash of white vinegar)
4-6 pieces bacon, cooked and crumbled
Parmesan cheese (about 1/3 cup, more or less to taste)
Wash and trim Brussels Sprouts. Heat olive oil in large skillet. Saute garlic, onions and sprouts in 1 layer, stir for 2-3 minutes. Cover in broth (making sure to keep in 1 layer), cover and let simmer on high for 5-8 minutes. Season to taste with salt and pepper and vinegar (optional, it only takes a tiny splash, less tha a cap full.) Serve immediately topped with crumbled bacon and Parmesan.
