Baked Risotto with Green Beans
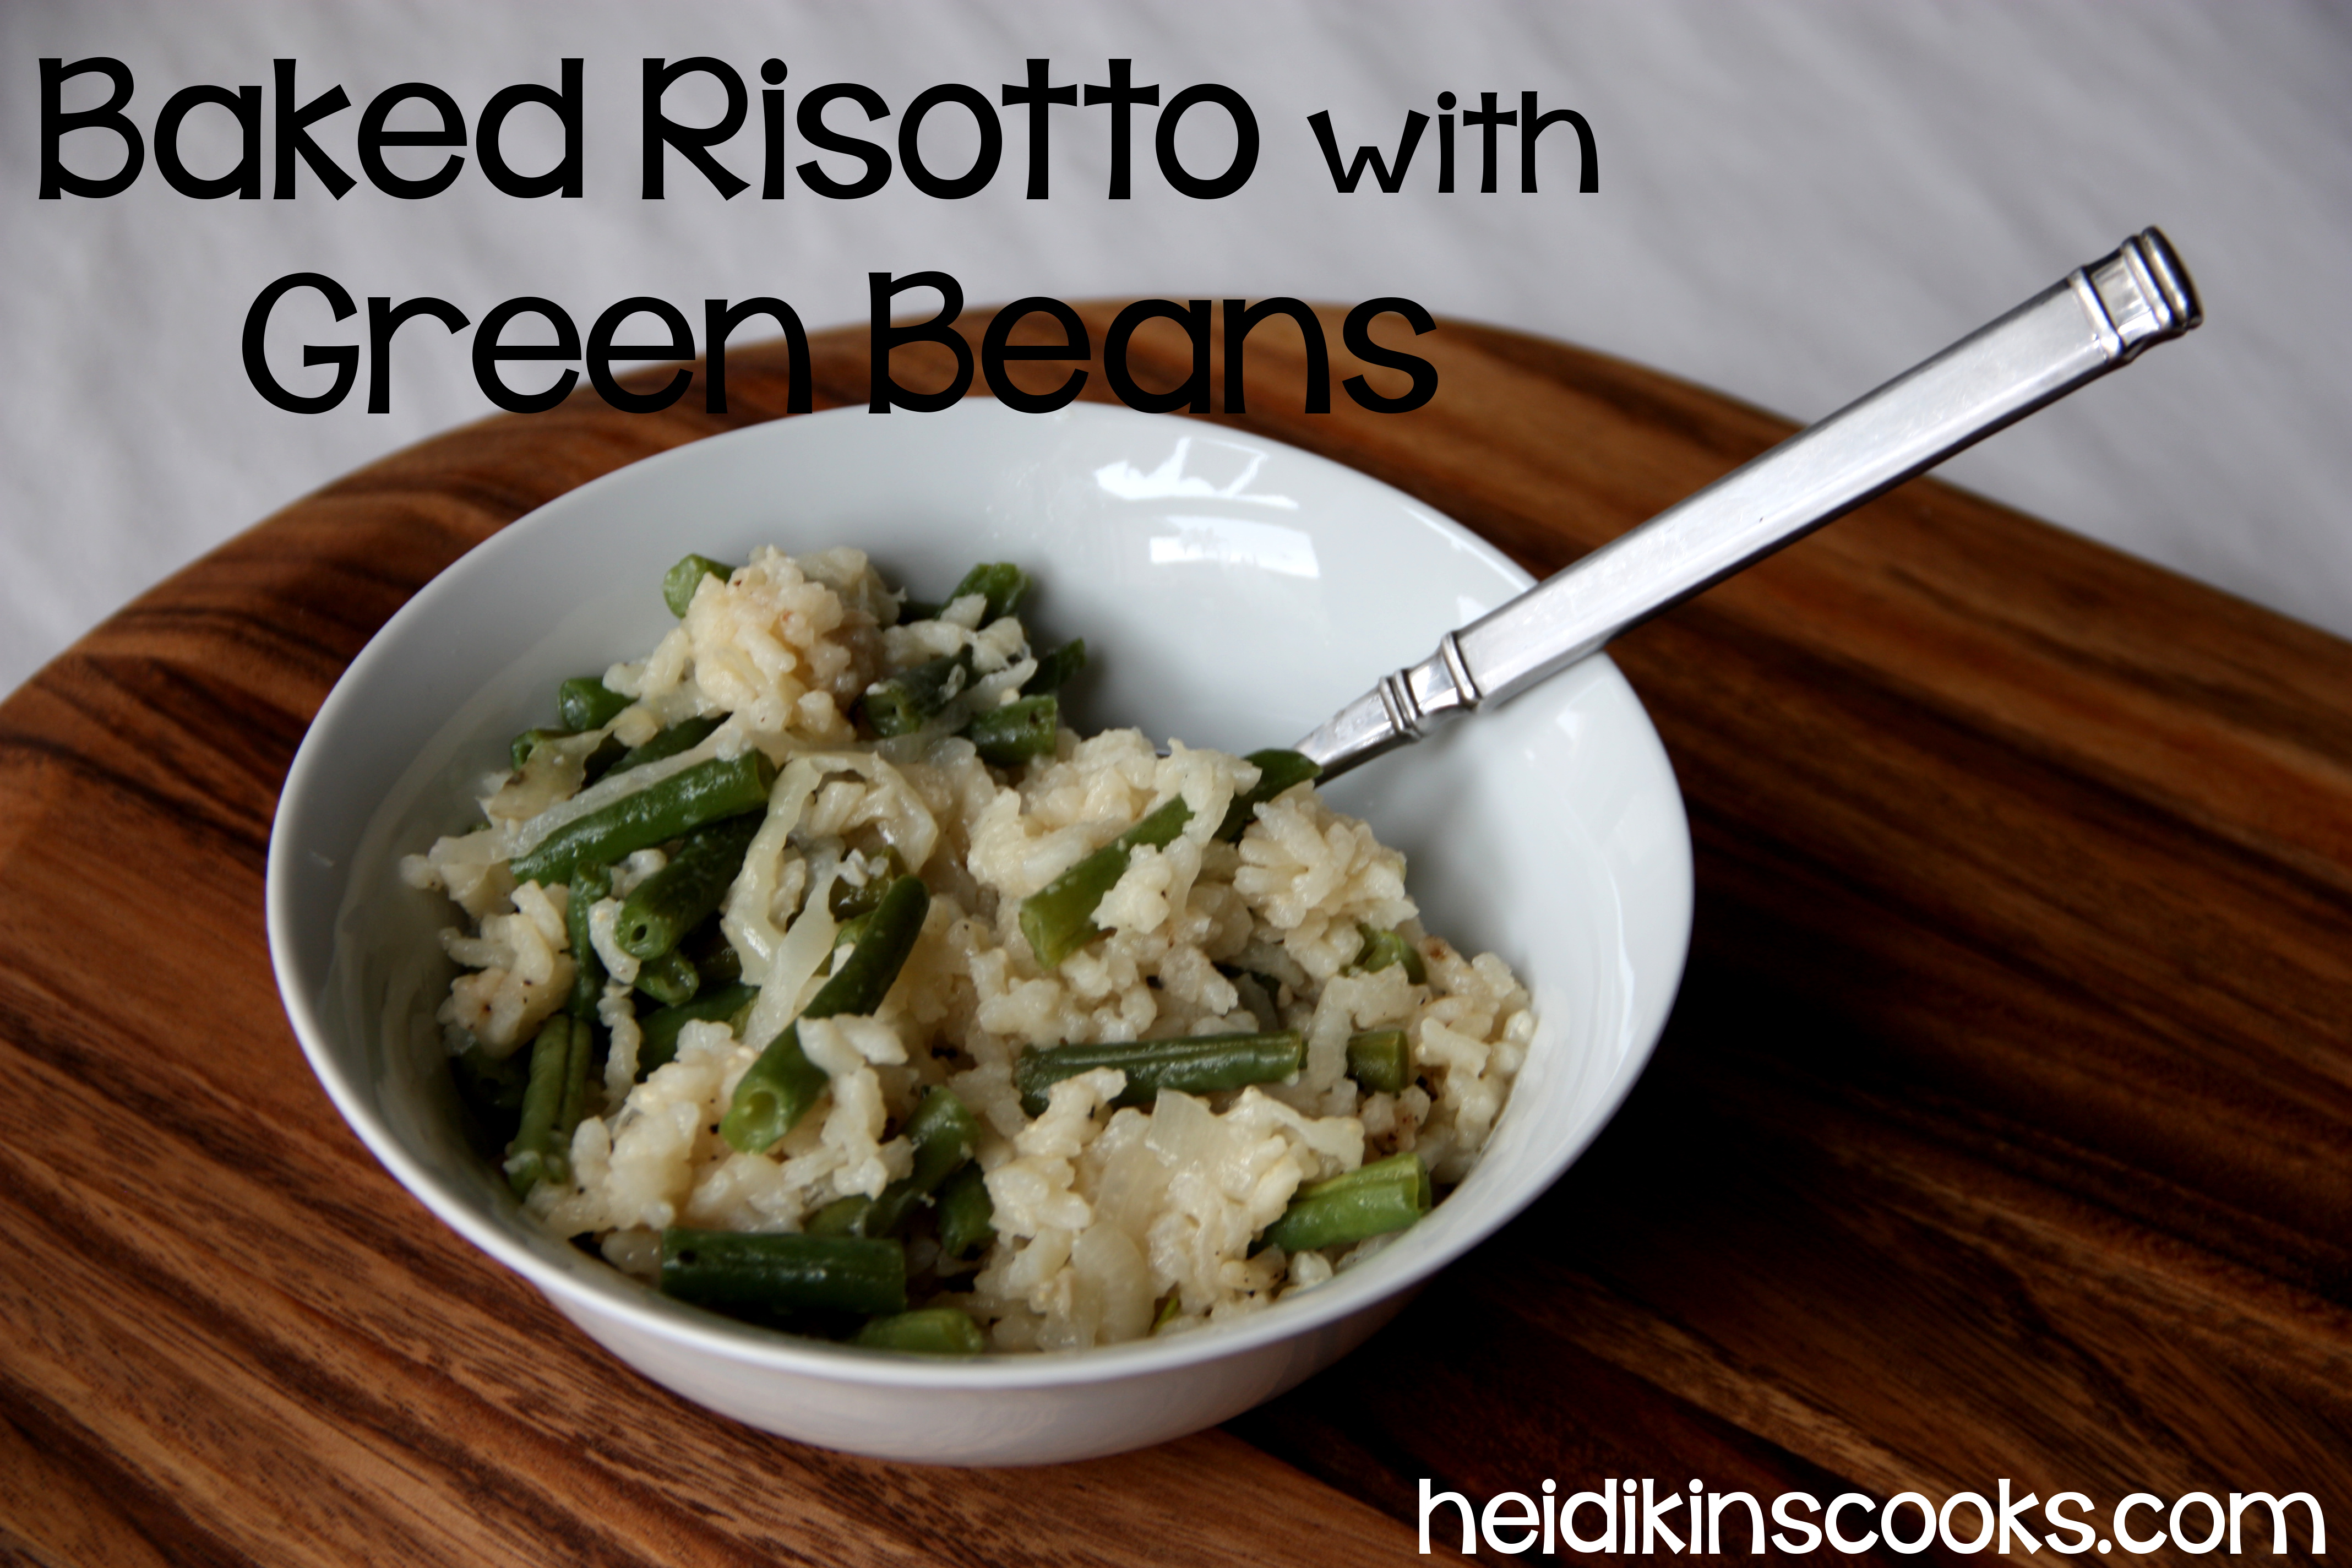
I have never made risotto, as in, the kind you have to stand and stir and stir until the rice is fluffy and the broth is (mostly) soaked up. The whole idea of making risotto is kind of scary to me. But, I wondered if you could make baked risotto, stir it for a minute and then pop it in the oven and let it do it’s thing. I like this idea MUCH better than standing over the stove stirring. I am so pleased that this turned out so well! This may not be a classic risotto, but both me and my dinner companions really enjoyed it, and the leftovers were divine.
Baked Risotto with Green Beans
Preheat oven to 400 degrees
2 tablespoons extra virgin olive oil
1/2 white onion, sliced thinly and separated into strips
4 cloves garlic, minced
1 teaspoon oregano or basil
1/2 teaspoon dry mustard
1/4 teaspoon white pepper
1 teaspoon salt
1/4 teaspoon ground pepper
1 1/2 cps Arborio rice
3 cups chicken or vegetable broth
1 1/2 pounds fresh green beans, trimmed into 1 1/2″ pieces
1/2 grated Parmesan cheese, for topping
*If you have a Dutch oven or stovetop-to-oven pan, use that. I don’t have one and used a saucepan and then an 8×8 glass dish and it turned out just fine.
In medium saucepan heat olive oil, add onion and garlic and spices, cook until onion is translucent, about 5-7 minutes. Add the rice and broth and bring to a boil and the simmer for 3 minutes. Dump the rice into an 8×8 glass dish, carefully cover with foil, and pop into the oven for 25-30 minutes, stirring once halfway through.
While that is cooking, rinse out the saucepan and fill it halfway with water, bring to a boil. When it is simmering nicely blanch the green beans by dropping them in the boiling water for a few minutes and the scooping them out with a slotted spoon or dumping them in a colander. Rinse with cold water and set aside.
When the rice is done cooking, carefully stir the green beans right into the 8×8 dish. Top with Parmesan and serve while hot.
This was a side dish to some baked halibut with lemon and they went so well together! Recommended! Inspired by this recipe from Williams-Sonoma
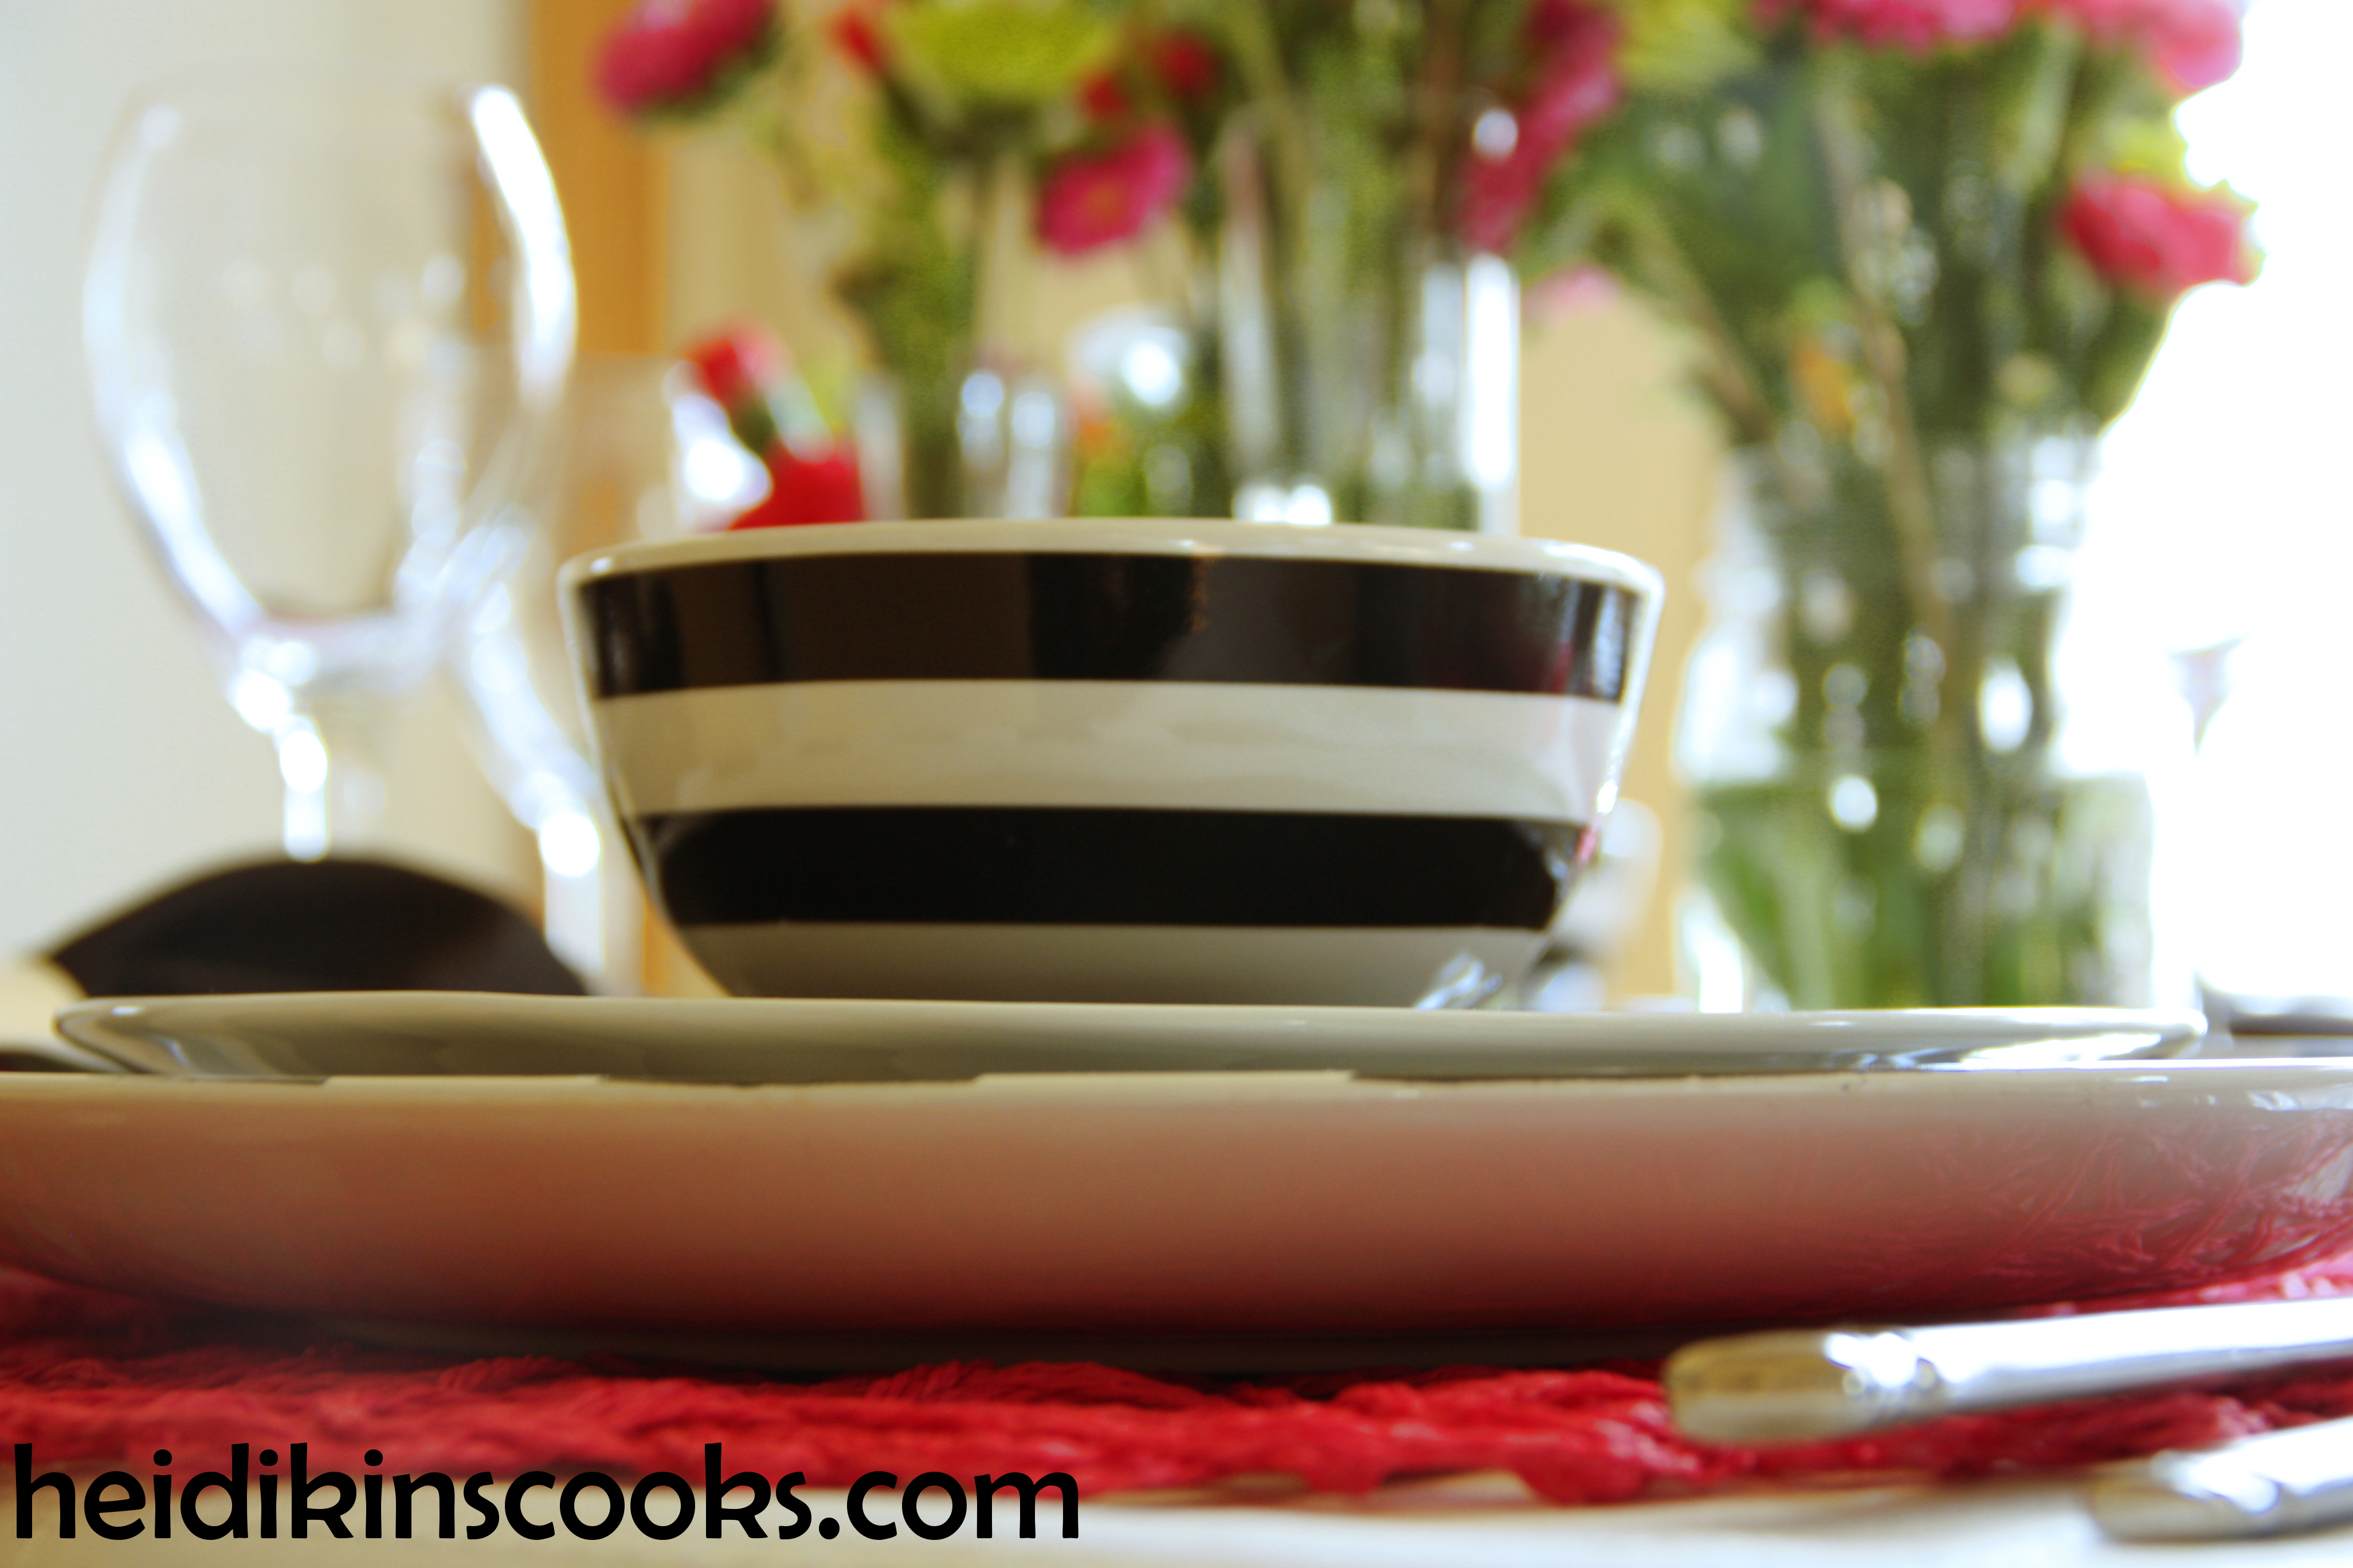
Black and White Stripe Table Setting
I love Valentine’s Day and I think having all your girlfriends over for a party is the perfect way to celebrate! On a recent trip to IKEA I found these to-do-for black and white stripey plates, and fell head-oven-heels in love. The TICKAR line has a couple other swoony pieces in black and white, but I knew I already had some things at home that would compliment it nicely. So I picked up my plates and bowls and exited as quickly as possible. When I got home I pulled out everything that could go with a black and white theme, and then I saw these hot pink placemats peeking out from their clearance sale bag. Boom! Perfect Valentine’s Day dinner party!
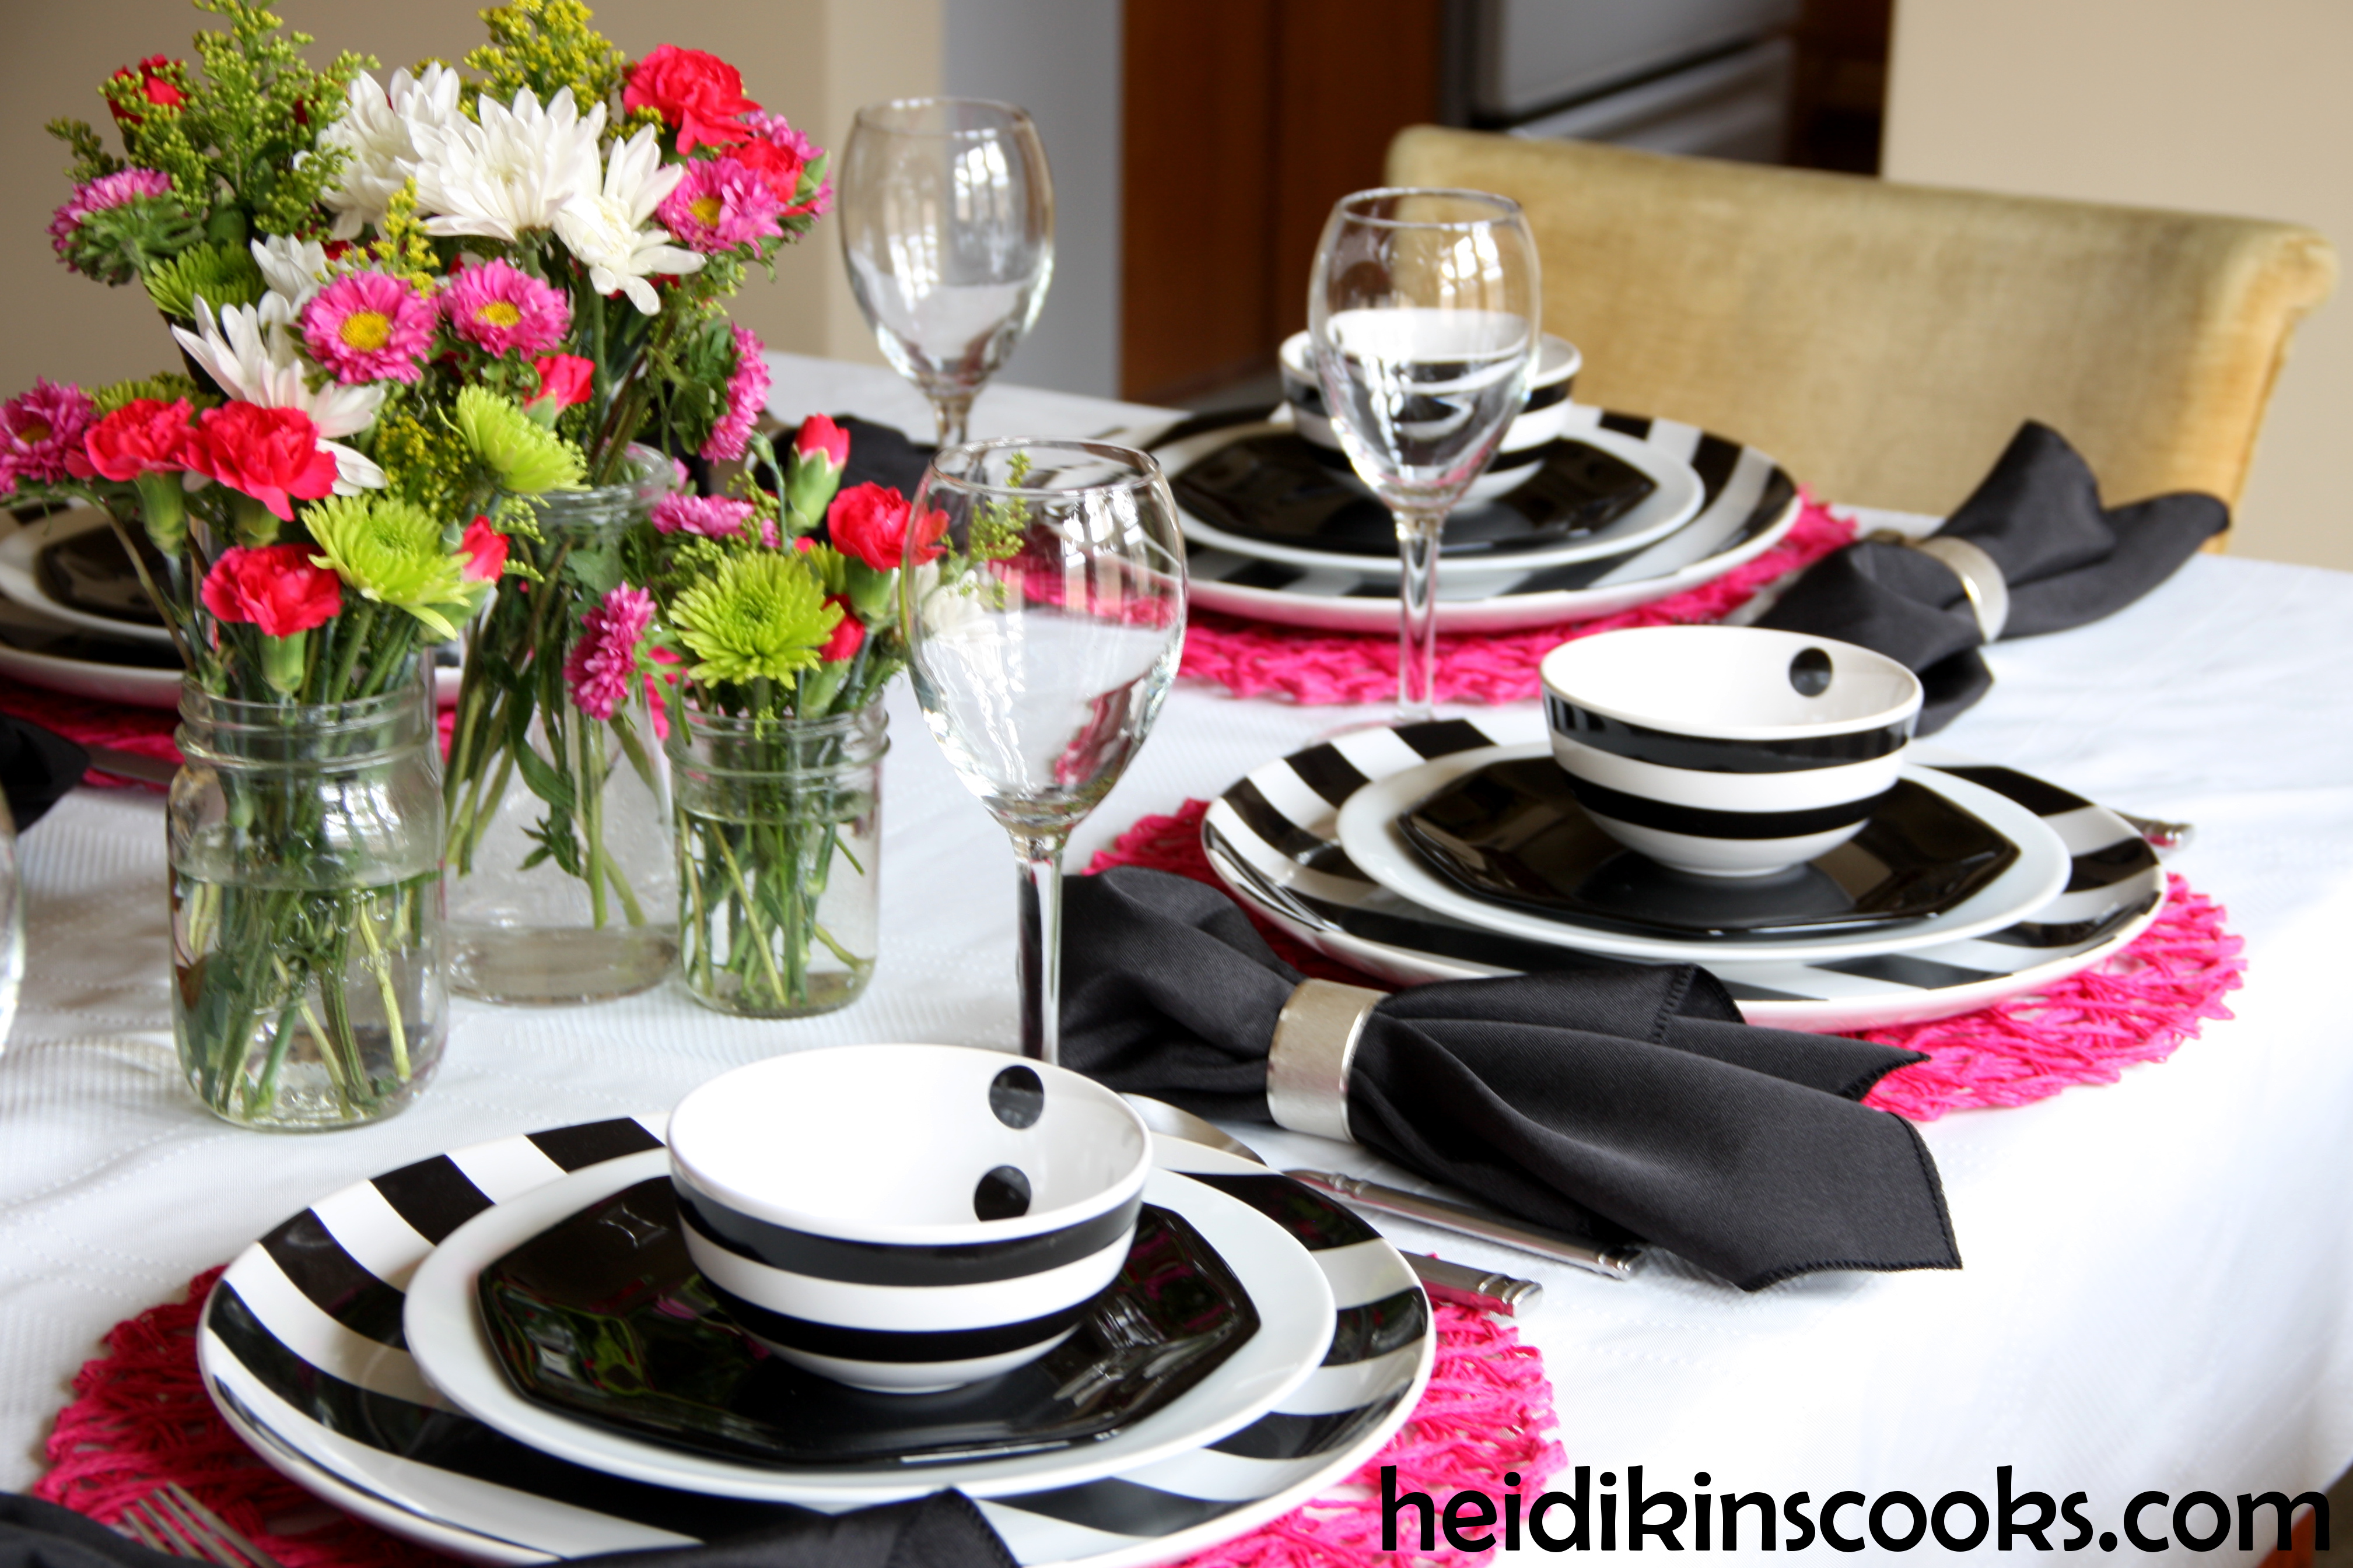
Hot pink placemats are from Tuesday Morning, found on major mark down. The white plates are my every day dishes and the black octagon plates are a thrifted find, the patter is Arcoroc Octime. (Z Gallerie sells a similar pattern called Octavia in black or white, by the way, if you’re on the hunt for octagon-shaped dishes.)


I just love the stripes and polka dots!
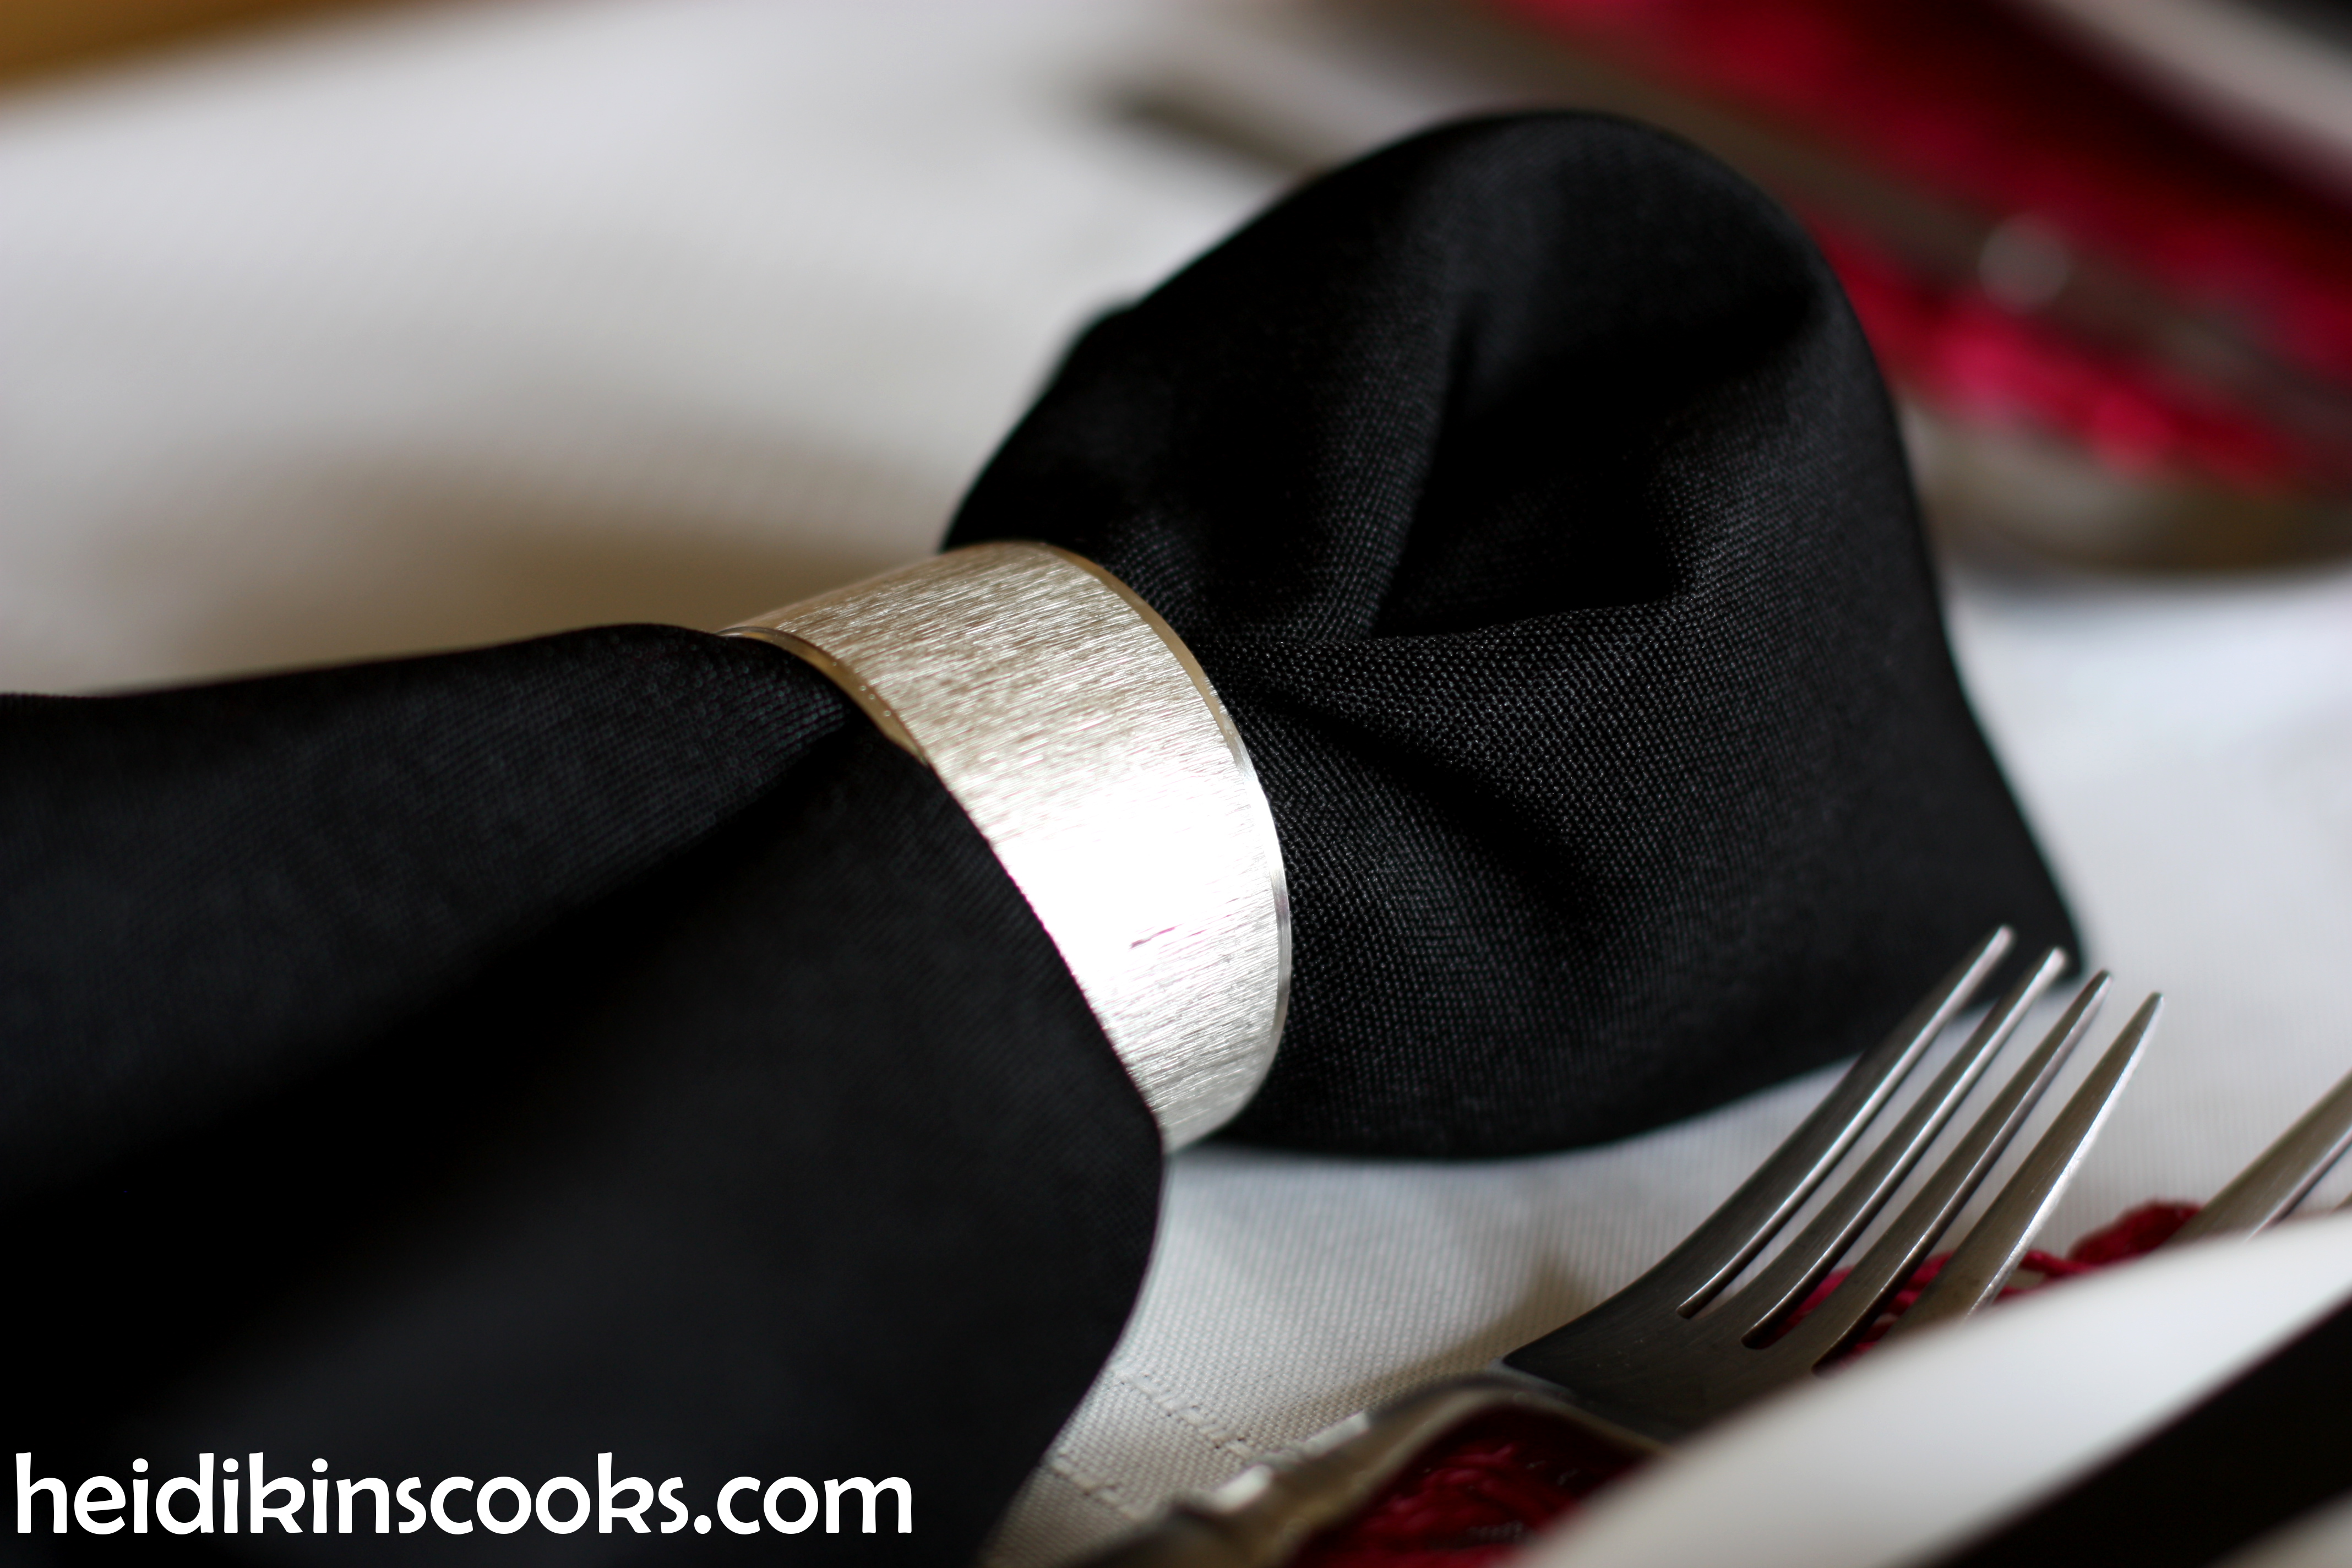
Black napkins from Amazon, napkin rings from Macys.
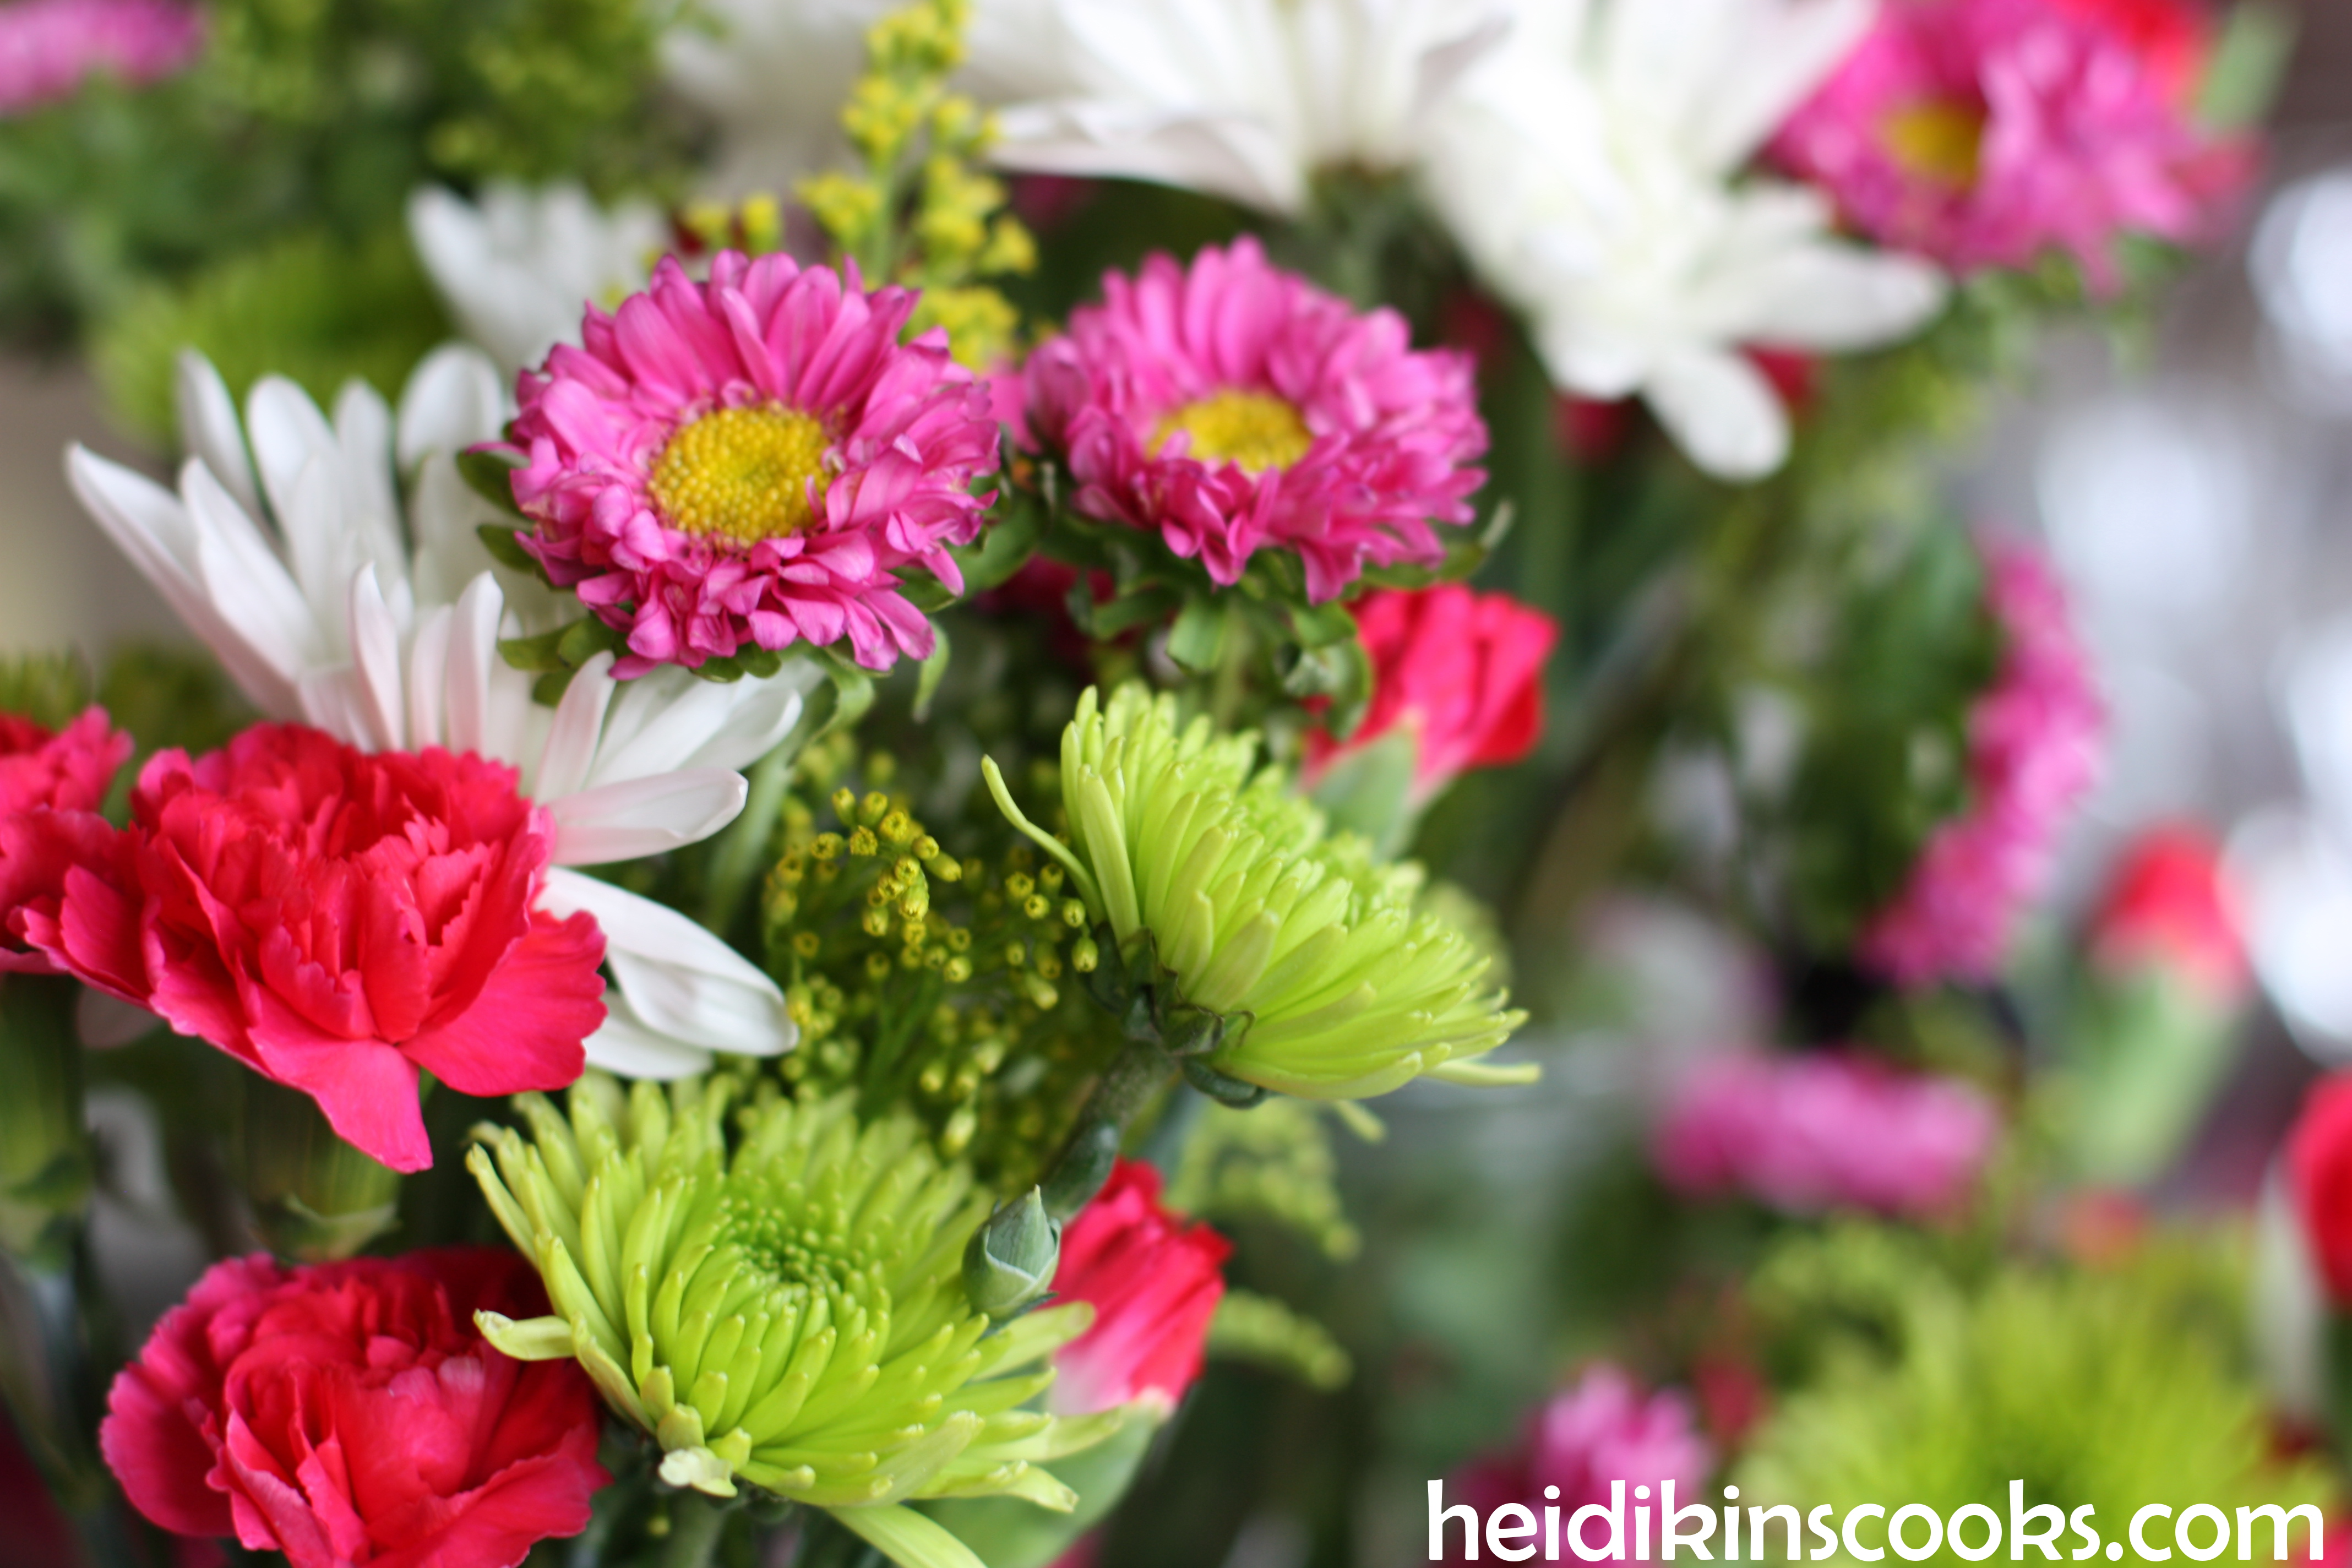
The flowers are about $5 dollars of grocery store flowers on the manager’s special in 4 or 5 glass jars. You don’t have to spend a ton of money on flowers! I think these lasted almost a week, I was careful to trim them and give them fresh water every few days.

I really love how the hot pink really sets off the black and white. You could use any bright color, I think, for the same effect. Think teal or turquoise, purple, red, or emerald green.

Flatware is over 10 years old, wine glasses are from Pier 1 (super old as well).
Stripes! Sorry, I can’t get over them!

Sources:
Tablecloth: inherited from my grandma
Hot pink placemats: Tuesday Morning
Black and white stripe plates: IKEA
White plates: Pottery Barn Caterer’s Box
Black Arcoroc Octime plates: thrifted (similar)
Black and white stripe bowls: IKEA
Black napkins: Amazon
Silver napkin rings: Macy’s
Flatware: Target (old, old)
Wine Glasses: Pier 1 (old, old)
*no affiliate links
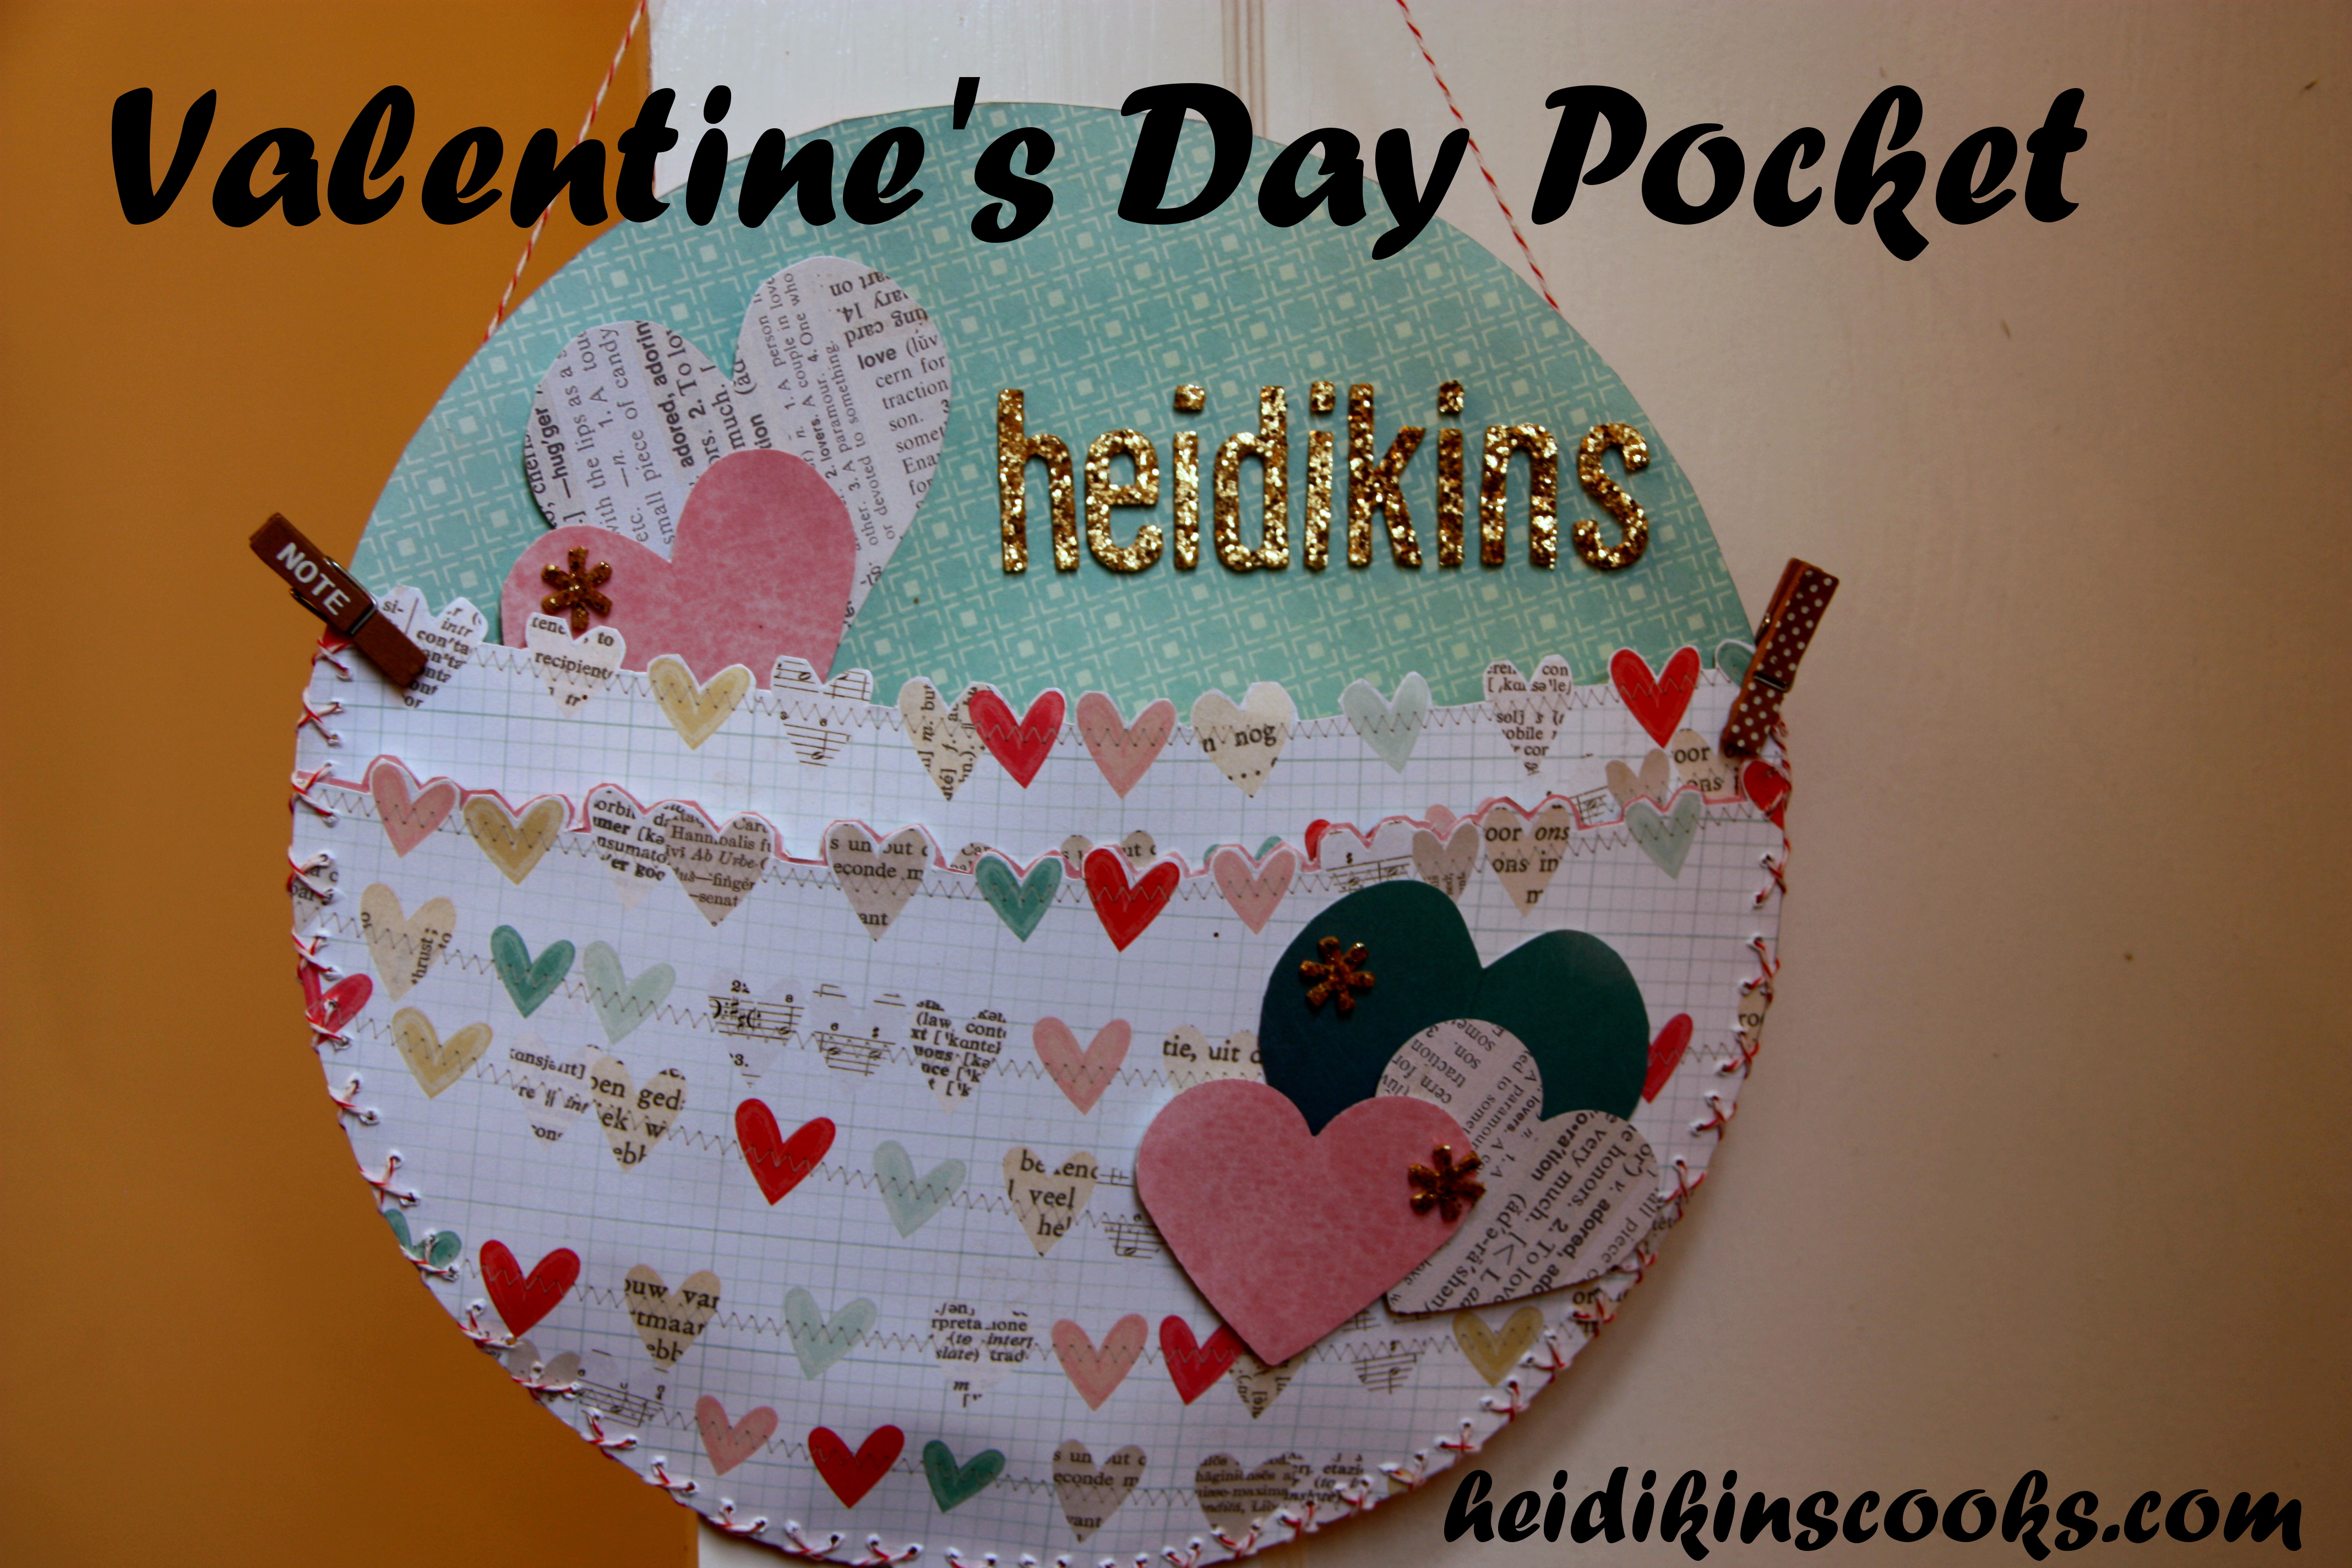
Valentine’s Day Pocket
Valentine’s Day is my Mom’s favorite holiday rivaling Christmas and Halloween in decorations and festivities at our house. My parents split when I was a kid and growing up Valentine’s Day was never about going to dinner with your sweetheart or some extravagant “romantic” gift. Valentine’s Day was about decorating heart-shaped cookies, and red and pink construction paper garlands, lots of Valentine’s, and sometimes even making candy or chocolates. In fact, it wasn’t until I was in college that I ever associated Valentine’s Day with my relationship status. Even now I prefer the Valentine’s Day of my childhood with paper hearts and frosted cookies to a couple dozen roses and a fancy dinner. (Not that I’d say no to roses or dinner, it’s just not part of my expectation because I’d rather eat pizza and cookies and snuggle in my pajamas.)
Every year at the end of January my Mom would pull out all the Valentine’s Day supplies, including boxes of stickers, patterned paper, pipe cleaners, glue, glitter, and yarn in a dozen shades of red and pink. My two sisters and I would carefully plan out and decorate our Valentine’s Day Pocket. What is a Valentine’s Day Pocket? Well, in it’s simplest form it is two paper plates, one cut in half, that are laced together to form a pocket (use a single hole punch around the edges and a long piece of yarn to lace them together). Then you decorate it and hang it on your bedroom doorknob. Every night my Mom would leave a small surprise in the pocket, something like a heart-shaped eraser, or a fun-size candy bar, or a sheet of Valentine’s stickers, or a pencil with hearts on it. On Valentine’s Day morning we’d usually get something a little more substantial like a fun pair of heart socks, or a hair bow (do you remember the bows of the early 90’s?! Hoo boy!), or maybe a new book or a T-shirt. This is one of my favorite holiday traditions, and I’m sad that more people don’t know about it. So, now you know. It’s kind of like the 12 Days of Christmas mixed up with Christmas stockings…only with hearts and glitter and all things cute and Valentine’s-y and in February when most people could use a little cheer that doesn’t revolve around whether or not they are single.
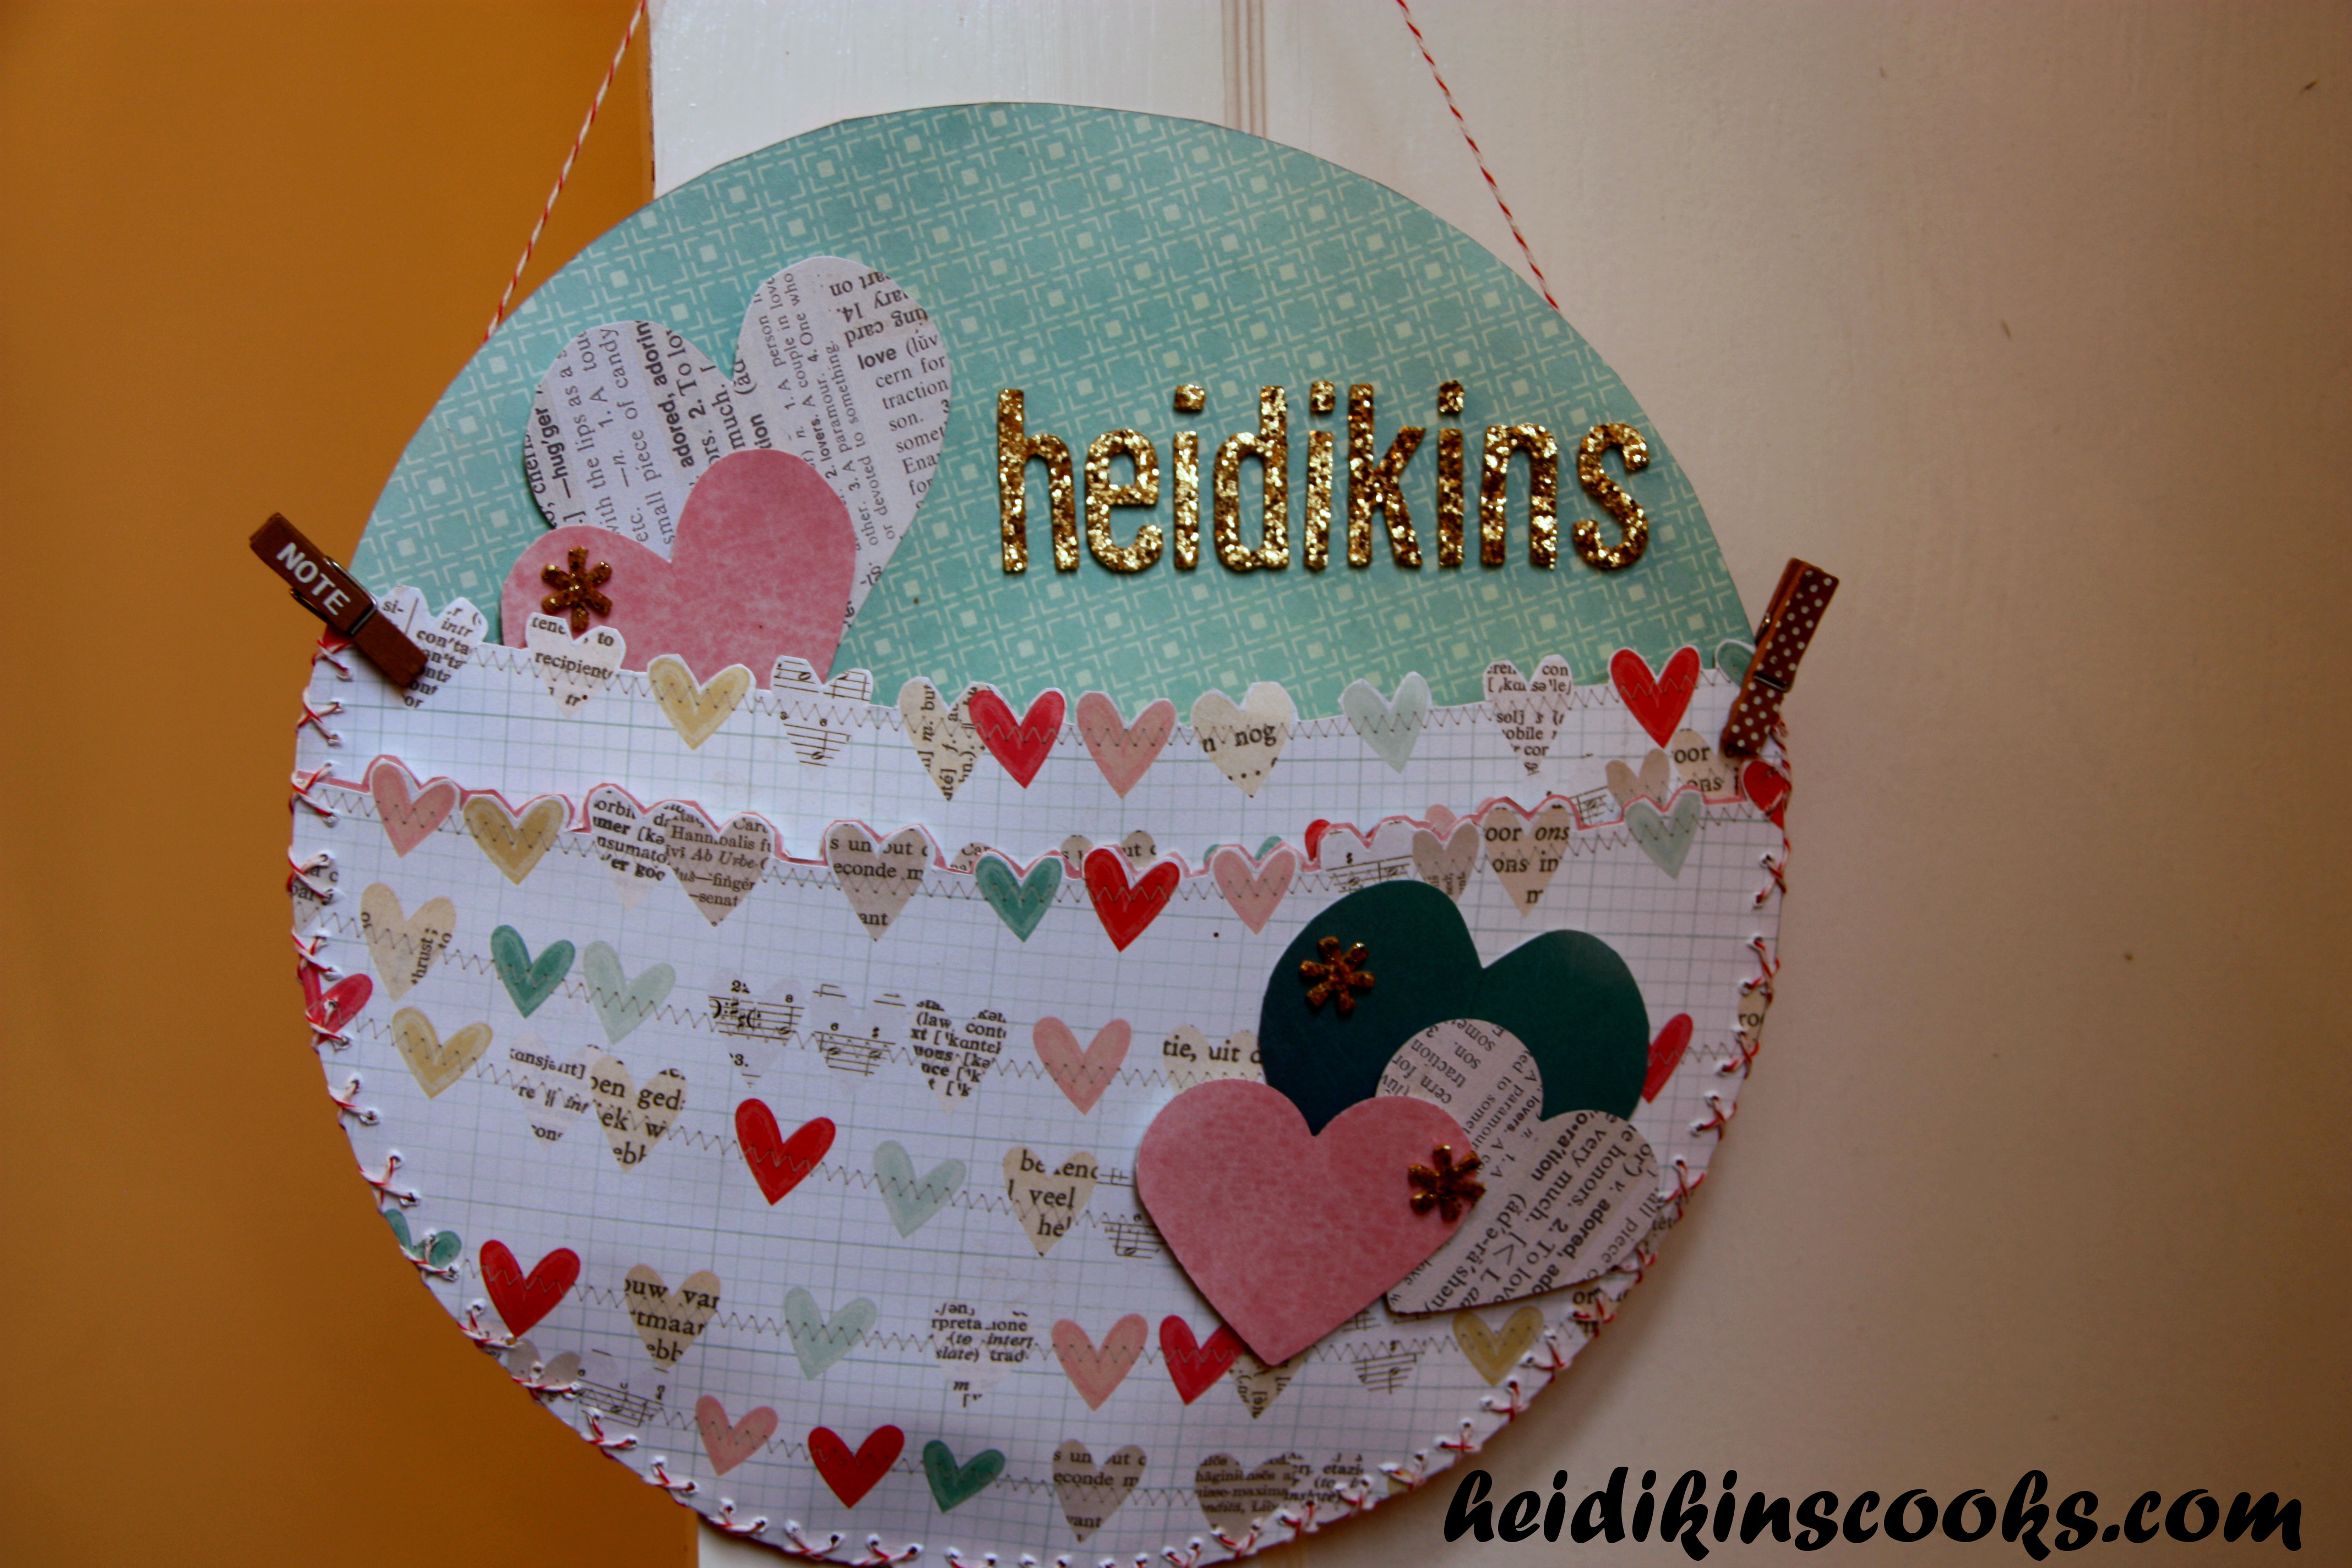
A few nights ago a lovely friend of mine, Ashley, hosted a craft night. Now, I am NOT crafty. I can make you dinner, but I don’t know what to do with scrapbooky stuff. I knew I would be a little out of my element, but I also knew I could make a killer Valentine’s Day pocket. I forgot to bring paper plates, but I traced a dinner plate onto cute scrapbook paper and went from there. The patterned paper actually made this whole process much easier and far cuter, we used to use wrapping paper but the scrapbook options are really really adorable. (My friend designs scrapbook paper, so she’s got PILES of it hanging around waiting to be used.)
I cut out a few hearts and attached them using glue dots (which I had never heard of before) to make them stick out a little bit. And then I added some sparkly gold stickers, two tiny clothespins (to match my strings of hearts) and laced it together with baker’s twin and a large quilting needle.
Now, I just need to get J-Mo on board for the filling up of my little pocket!
*As we got older, our pockets became more and more involved. We’d create Valentine robots out of shoe boxes and the little surprise would be dropped into one compartment and follow a tube or something to the “safe box” at the bottom so no one would steal our heart-shaped eraser or fun-sized candy bar. These creations would sit next to our bedroom door for 2 weeks collecting our Valentine’s Day loot.
Lasagna

Heidi’s Lasagna
1 batch Marina sauce (The secret is in the sauce!!)
16 oz cooked lasagna noodles
16 oz ricotta cheese (I use part-skim)
4 cups mozzarella
½ cup Parmesan for the top
Preheat oven to 350.
Marina Sauce
1 lb ground turkey
1 yellow onion, diced
3-4 cloves garlic, minced
8 oz diced mushrooms
1 green bell pepper, diced
1 small zucchini, diced (about 8-10 inches long)
2 teaspoons salt
1 teaspoon pepper
1 teaspoon oregano
½ teaspoon basil
½ teaspoon rosemary
½ teaspoon dry mustard
½ teaspoon red pepper flakes
3 15 oz cans petite diced tomatoes
16 oz tomato sauce
6 oz tomato paste
1 teaspoon brown sugar
Splash of lemon juice
More seasoning as necessary
Chop your veggies: mince the onion and garlic, chop the mushrooms and green pepper into tiny pieces, cut the zucchini into long sticks and then dice into ¼” cubes. Brown ground turkey in large pot, breaking up the meat with a spoon or spatula. Add the onion and garlic, sauté until translucent. Add mushrooms and green pepper, sauté a few more minutes, throw in the zucchini. Add the tomatoes, sauce, and seasonings. Bring to a boil, then reduce heat and let it simmer uncovered for 30 minutes or so, stirring every so often. Taste and adjust seasonings as necessary; if it feels a little blah, add more of your herbs, ground black pepper, or red pepper flakes. If it is too acidic, add a half teaspoon more sugar.
Lasagna
Make (or thaw) your sauce. While it is simmering boil a large pot of water and cook your lasagna noodles. I put them in a few at a time and when they are done I pull them out with tongs and let them drain on a wire rack over my sink.
In a bottom of a 9×13 glass pan spread 1-2 cups of sauce. Then add a layer of noodles topped with ricotta cheese. I use a tablespoon or regular soup spoon and put 3-4 dollops of ricotta on each noodle. Then add about a cup of mozzarella cheese and top with a healthy portion of sauce, about 2-3 cups, don’t be stingy. Keep laying noodles, ricotta, mozzarella, and sauce three more times. On the last layer after the sauce add a ½ cup of Parmesan cheese.
Spray the inside of your foil (so the melting cheese doesn’t stick) and cover. You can bake immediately for 50-60 minutes, let it cool for 10-15 minutes before you cut and serve (this helps the sauce not be so runny). This is more delicious if you put it in the fridge overnight, bring to room temperature, and then bake. Or put it in the cold oven, set the temperature to 375 and the timer for 1 hour 20 minutes, again letting it cool 10-15 minutes before eating. OR you can freeze this (put two or three layers of foil on the top), thaw in the fridge 24 hours, and then bake.
Whew! That’s a lot of options! Regardless of your baking preference, this will be absolutely delicious!! Several people who vehemently told me “I really don’t like lasagna that much” came back for seconds and thirds.
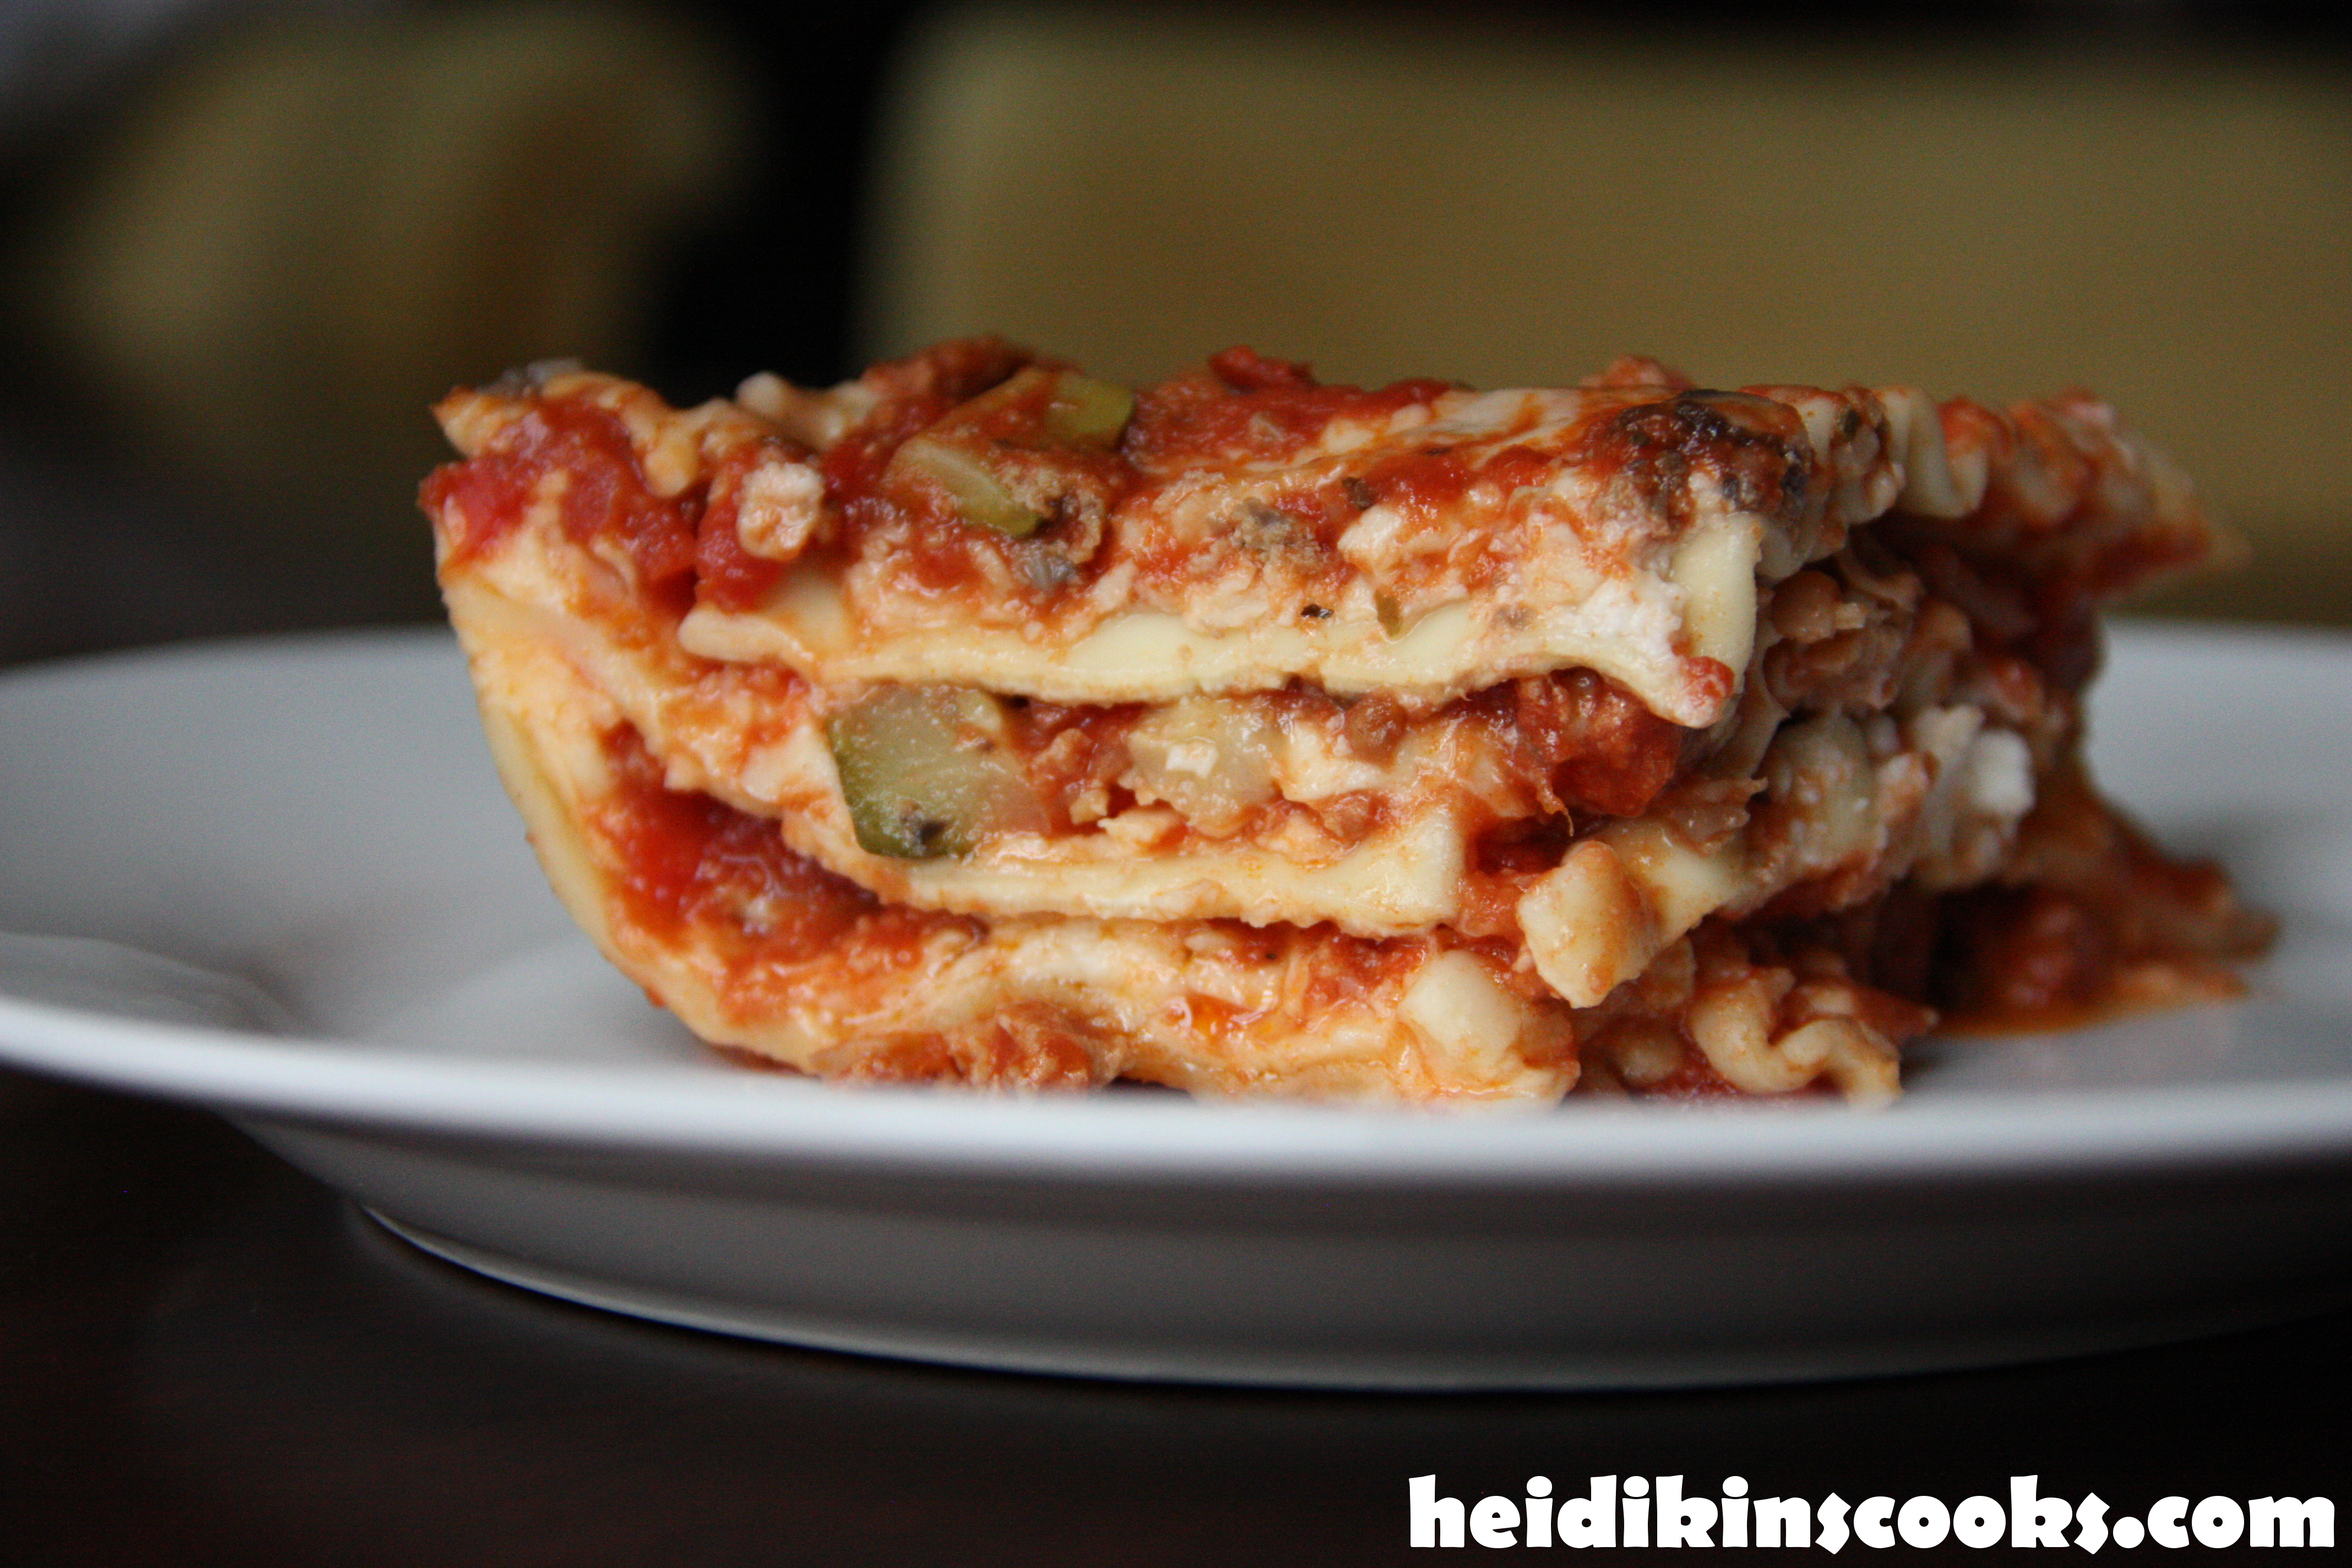
*Confession, warm lasagna is impossible to photograph well. The slice above was completely cold when I took my pics because that way it stays in cute little layers without slopping (deliciously!) all over your plate.
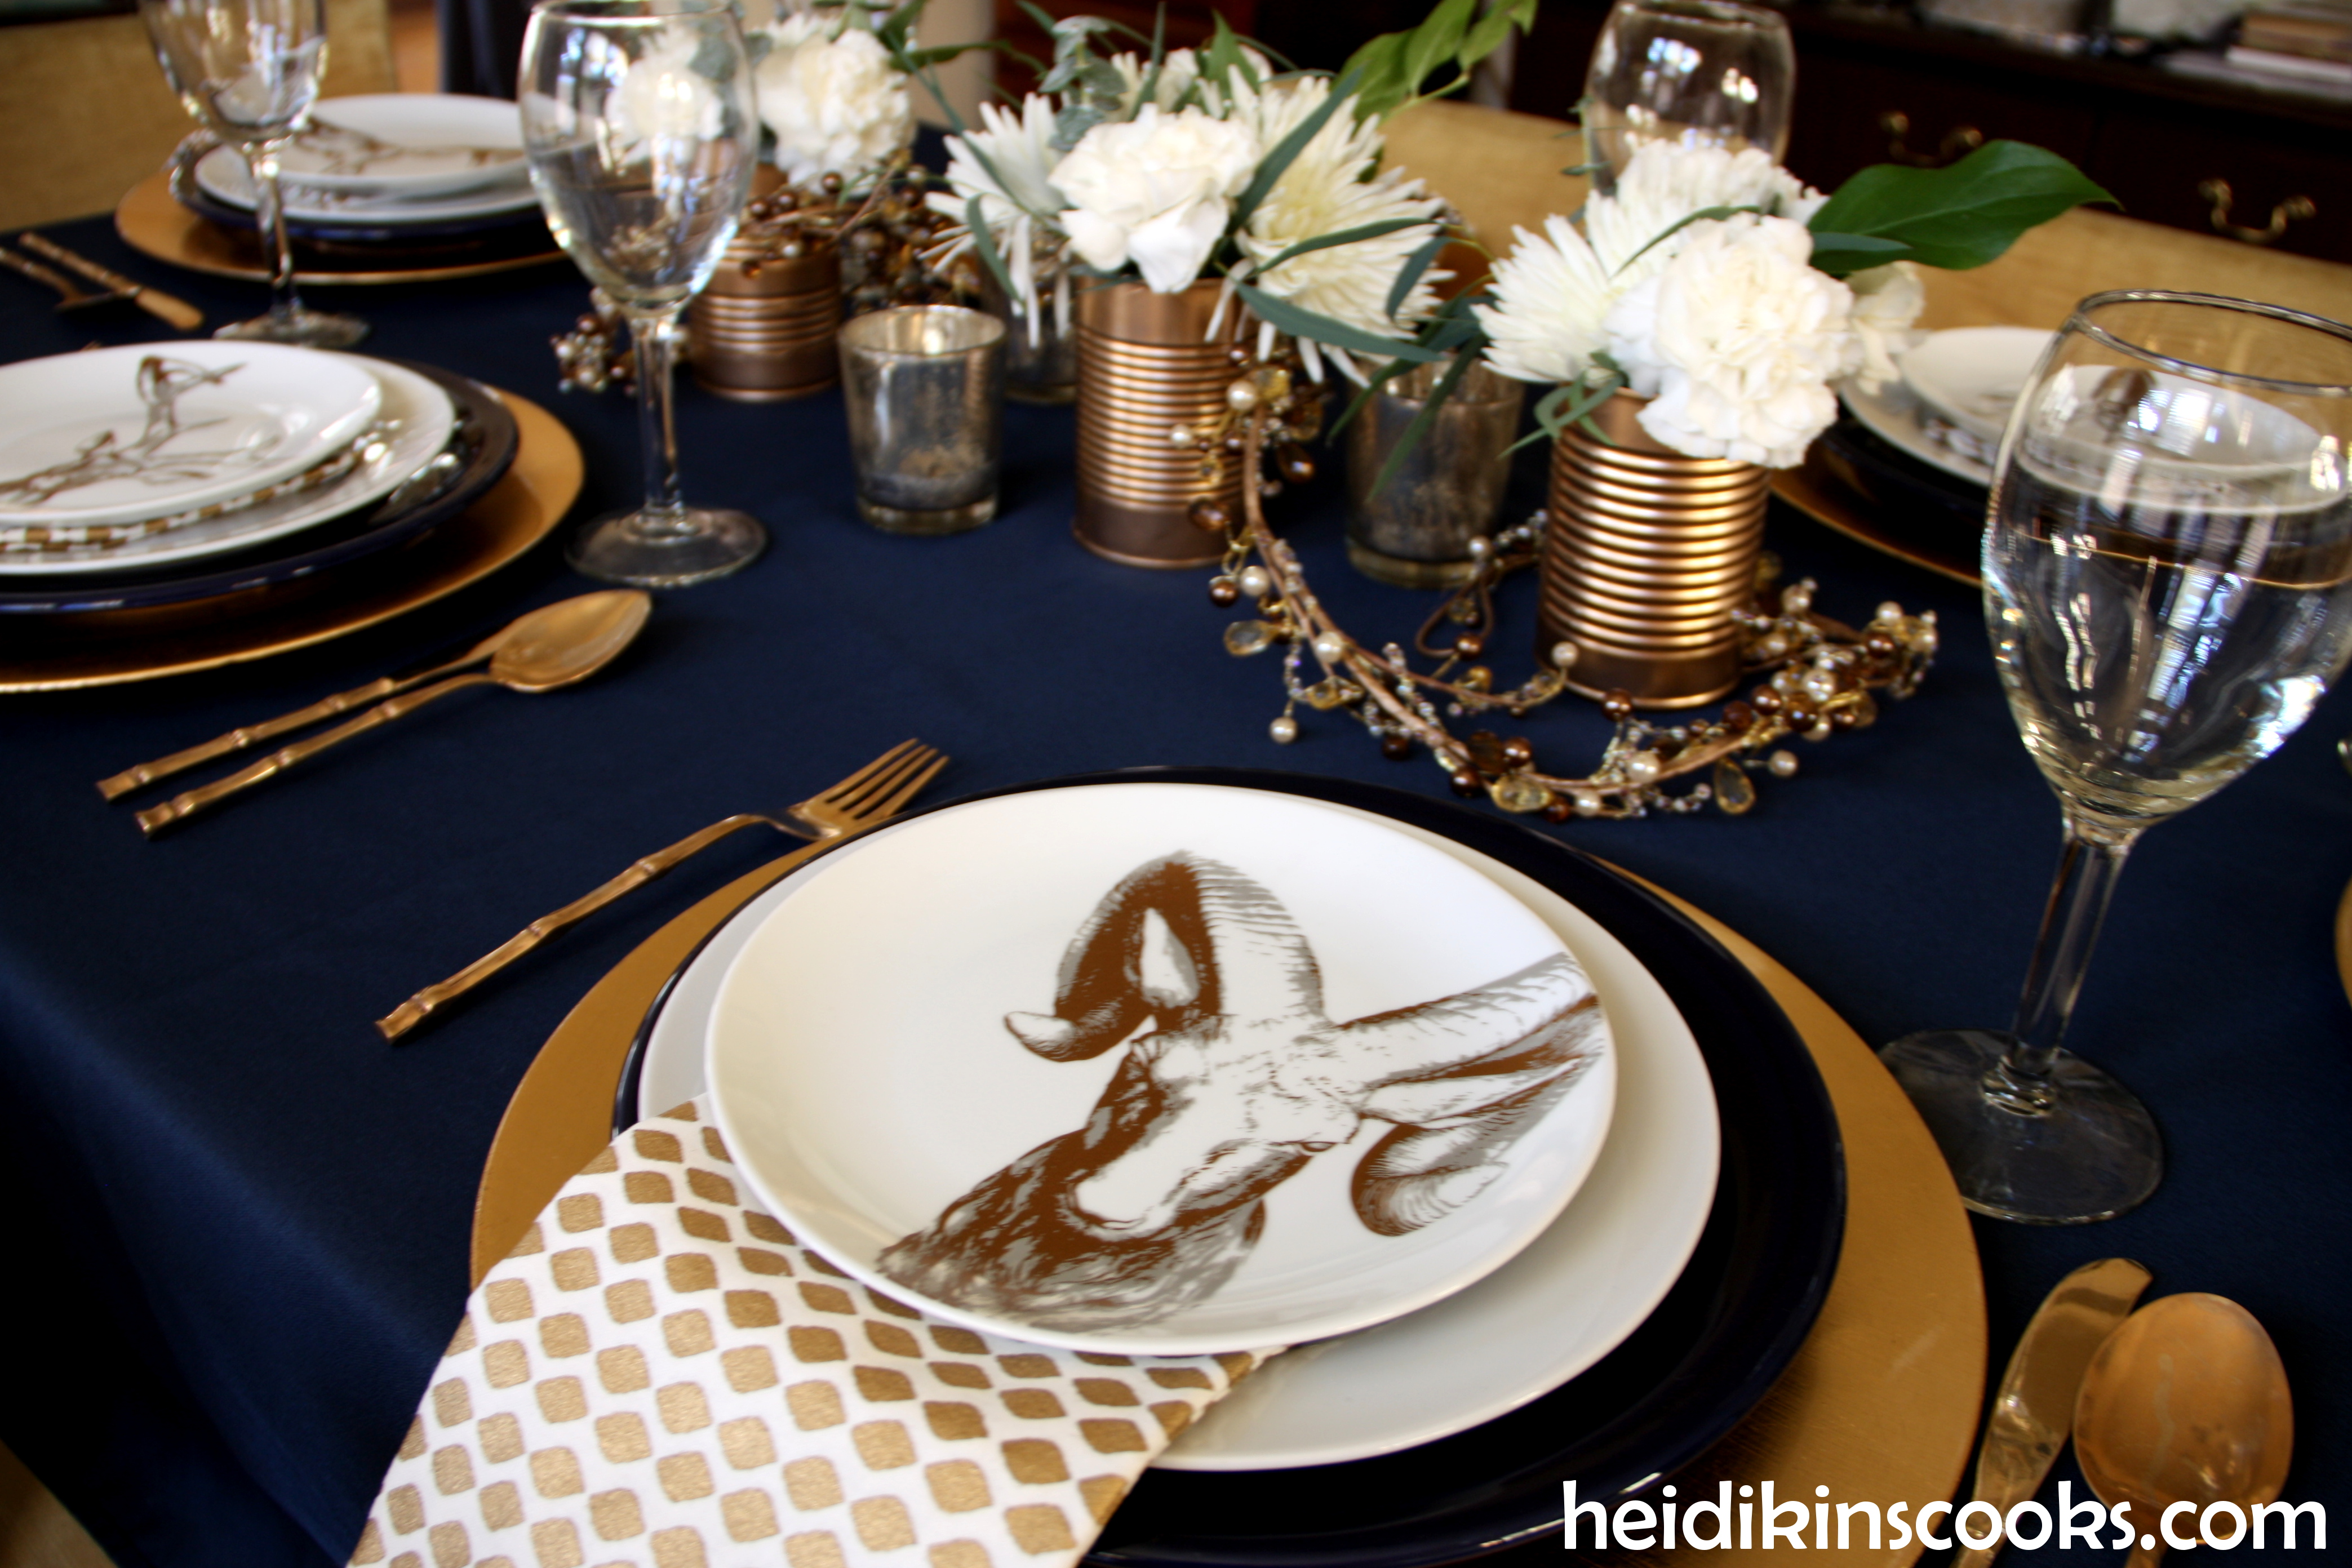
Table setting with gold and navy. And antlers.

A few weeks ago the Z Gallerie that is near my office closed their doors and marked everything down on a tremendous discount, on top of post-holiday sale prices. This resulted in my coming home with these quirky-but-awesome dessert plates that I probably would not have paid full price for. (They are on sale on Z Gallerie’s website still, but probably not for much longer.)

The plates have a mix of silver and gold (which I have never mixed before…in anything) and have the head, shoulders and horns of a ram, deer, moose, or antelope (one each for a set). I like that these are a little masculine, I think I like both the silver and gold (I’m still getting used to it, to be honest), and because they were priced so low I decided to take them home and see, just in case.

The more I arranged and rearranged things, the more I really liked these plates. And when J-Mo came home he gave them two thumbs up–Montana boy that he is–so the plates are staying!

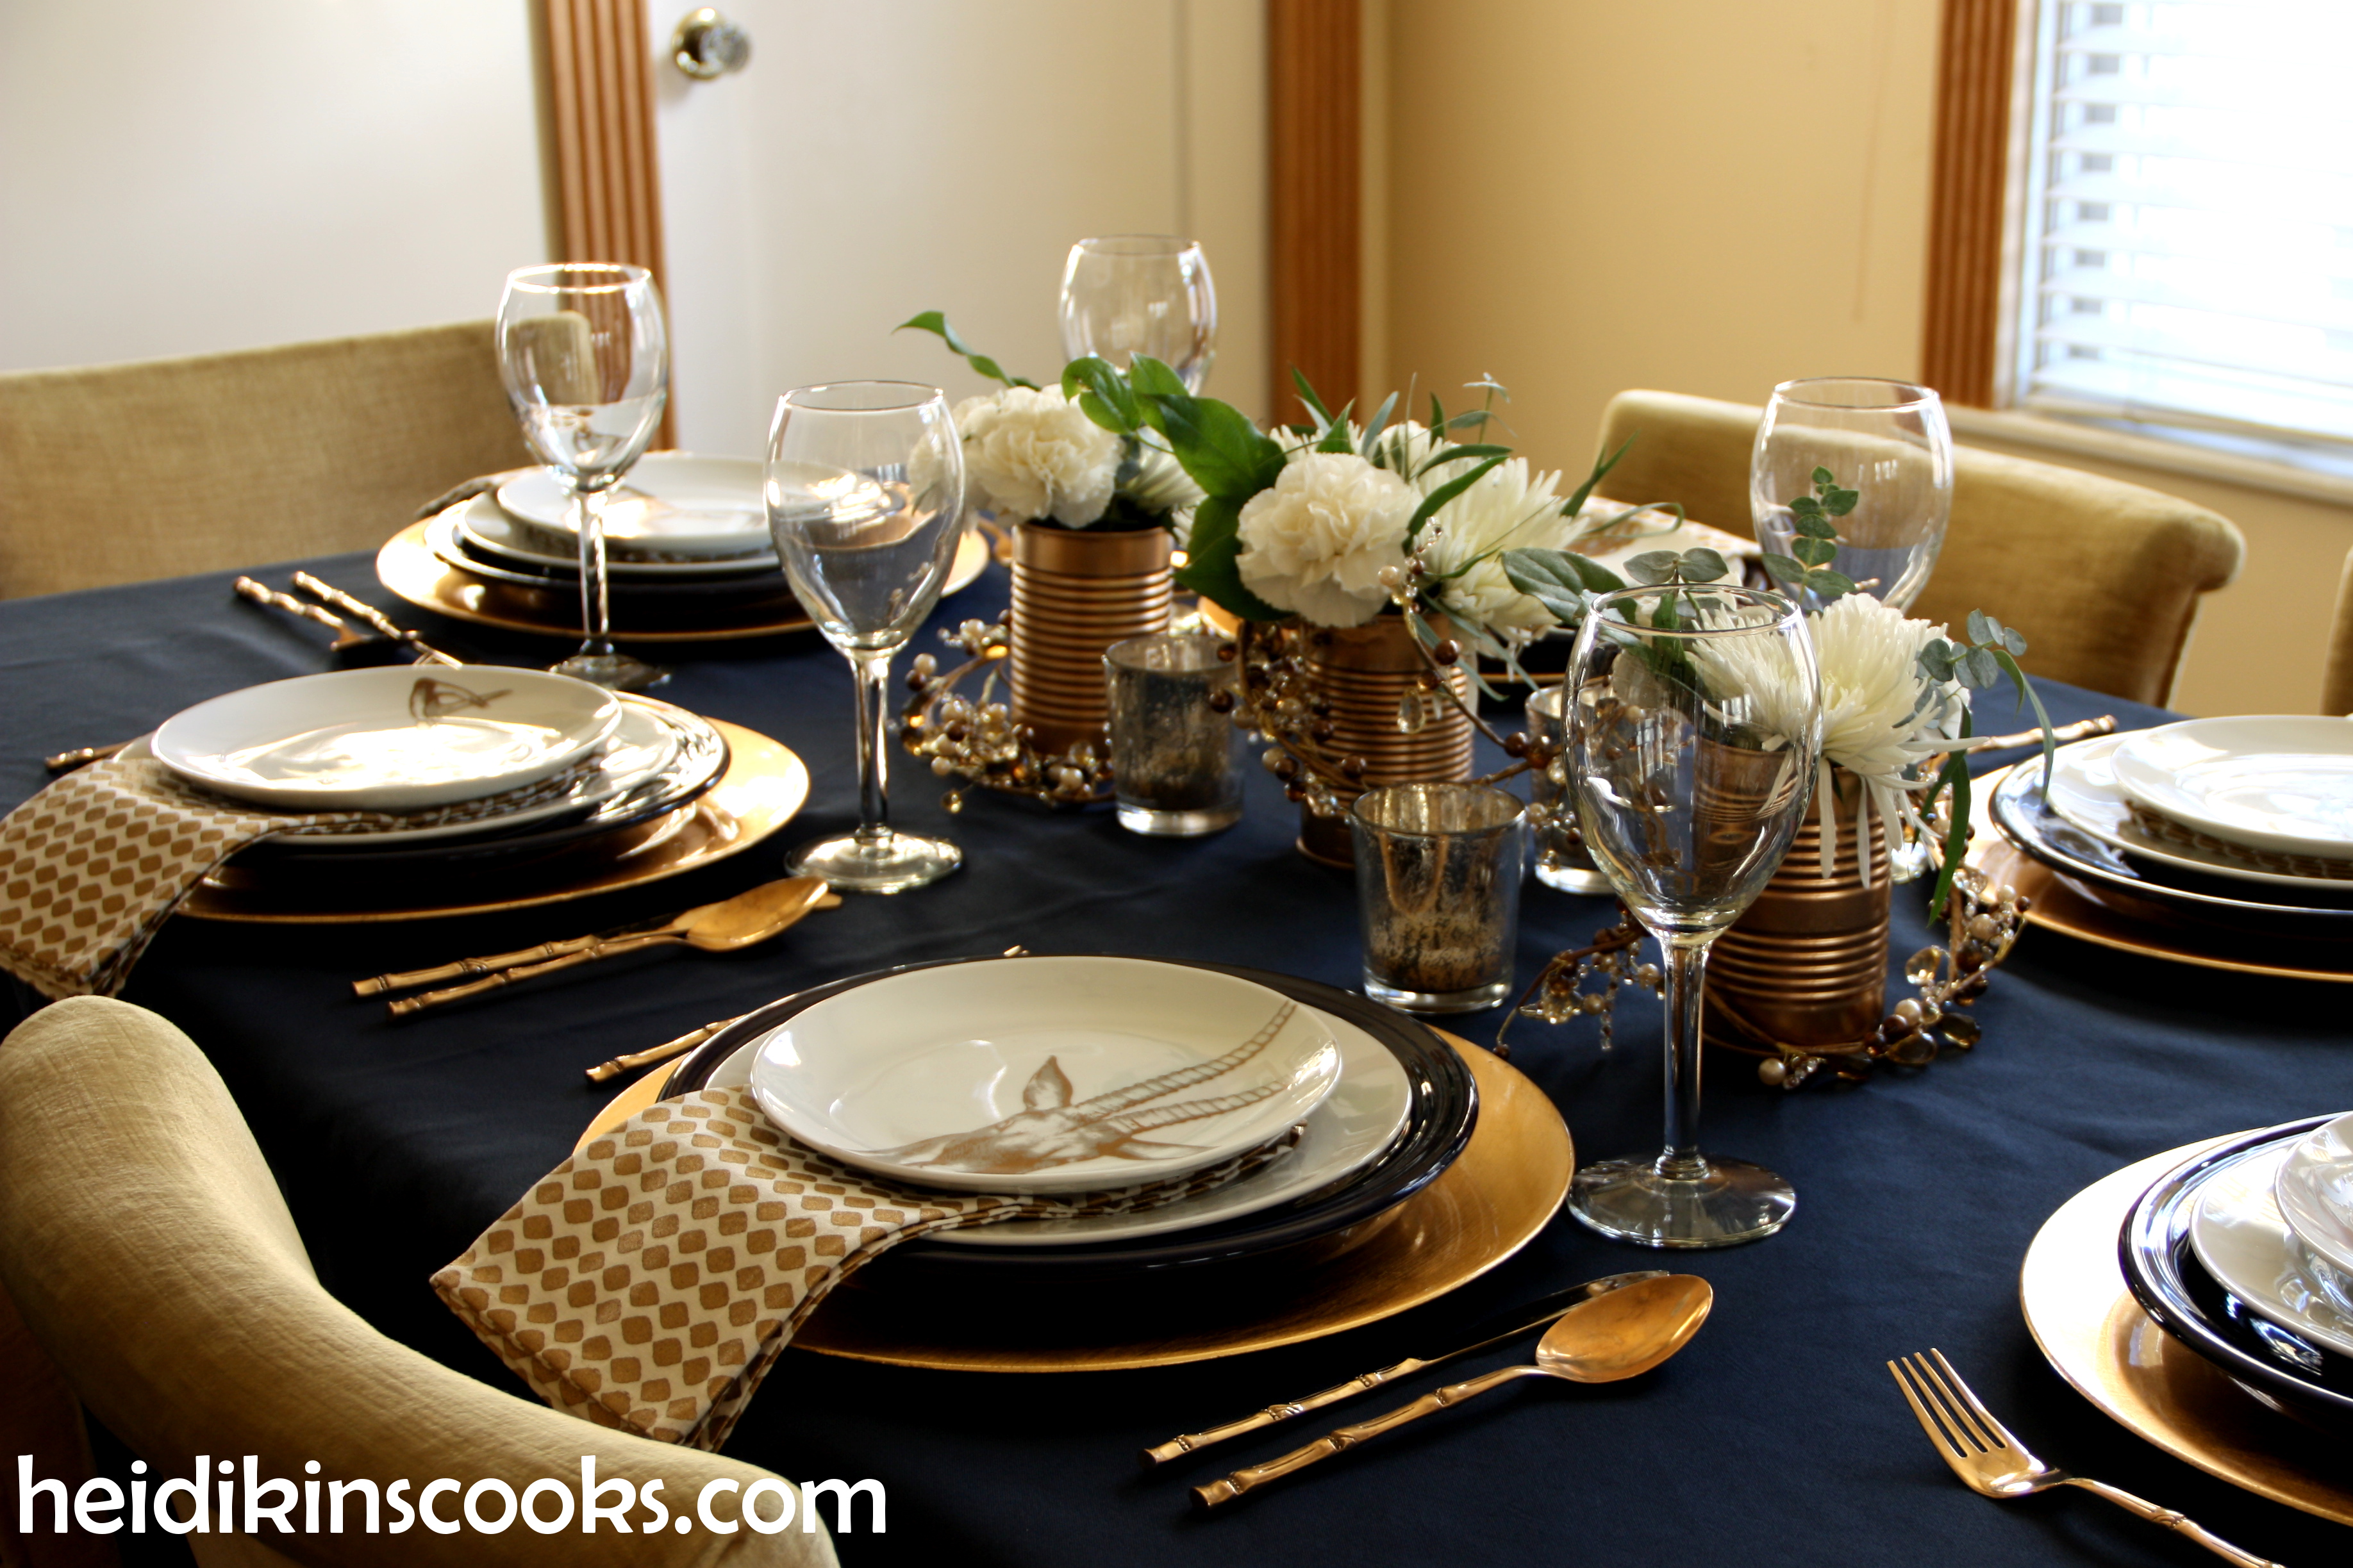
I had very few other things that were gold, but a little gold spray paint, some washed tin cans, and $7.00 of grocery store flowers and greens were the beginning of this lovely, simple centerpiece. The votive candles are old, old, old, and I found the garland on sale at Micheal’s right before Thanksgiving (used in this autumn table setting). I like how the navy tablecloth sets of the gold so nicely, it seems to be the workhorse of these little tablescape adventures!)
The gold metallic chargers are from Michael’s, bought on sale with the intention of spray painting them to something other than gold. Luckily for them (and me?) that hadn’t happened yet and probably won’t due to how much I am liking this end result. The napkins I got from West Elm on an end-of-season sale (they were marked down more in the store than they are online, so it wasn’t nearly so much of a splurge). A friend loaned me the gold flatware (thanks, Shelbs!). Of course some gold-rimmed wine glasses would look wonderful here, but I don’t have any and my regular old plain ones work just fine.

The rest of this setting is Cobalt Fiestaware dinner plate, a wedding gift, and a salad plate from our regular every-day dishes.
 Sources:
Tablecloth: Amazon
Gold Chargers: Michael’s
Cobalt Fiestaware Dinner Plate: Homer Laughlin
White Salad Plates: Pottery Barn Caterer’s Box
Antler Appetizer Plates: Z Gallerie
Gold Ikat Napkins: West Elm
Gold Flatware: Borrowed
Wine Glasses: Pier 1 (old)
*No affiliate links
